
Brown -> Brown/White
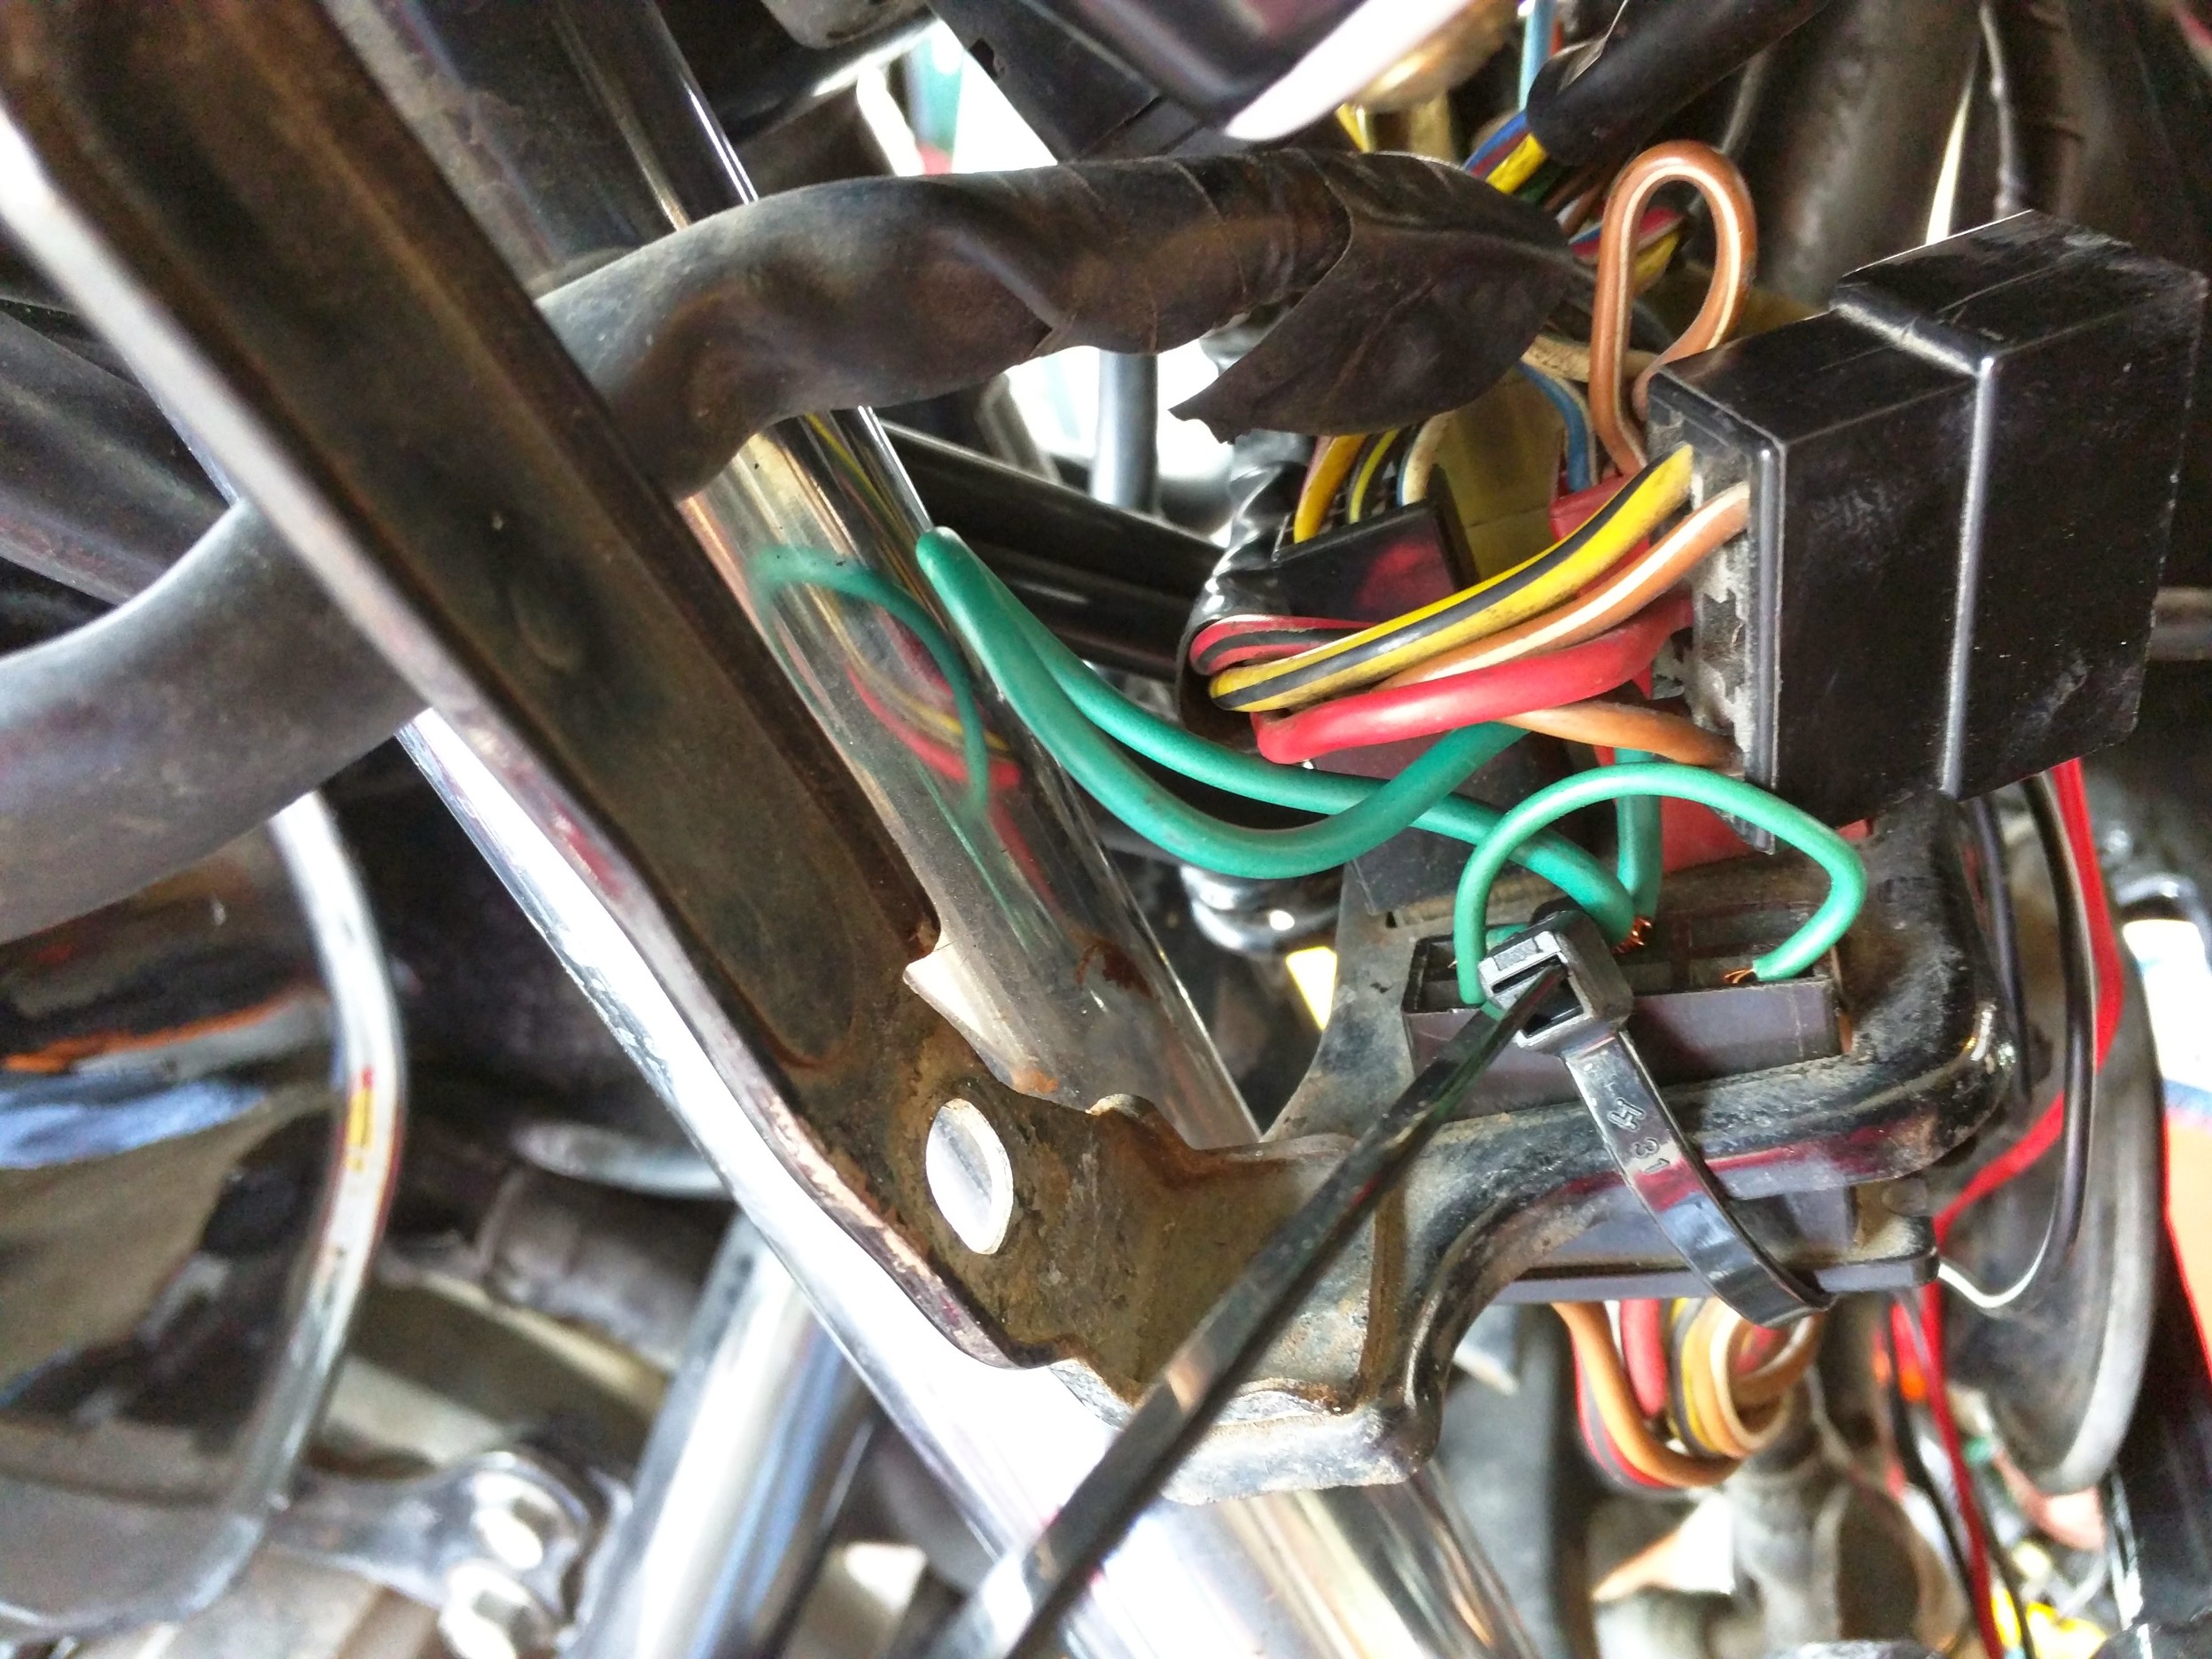
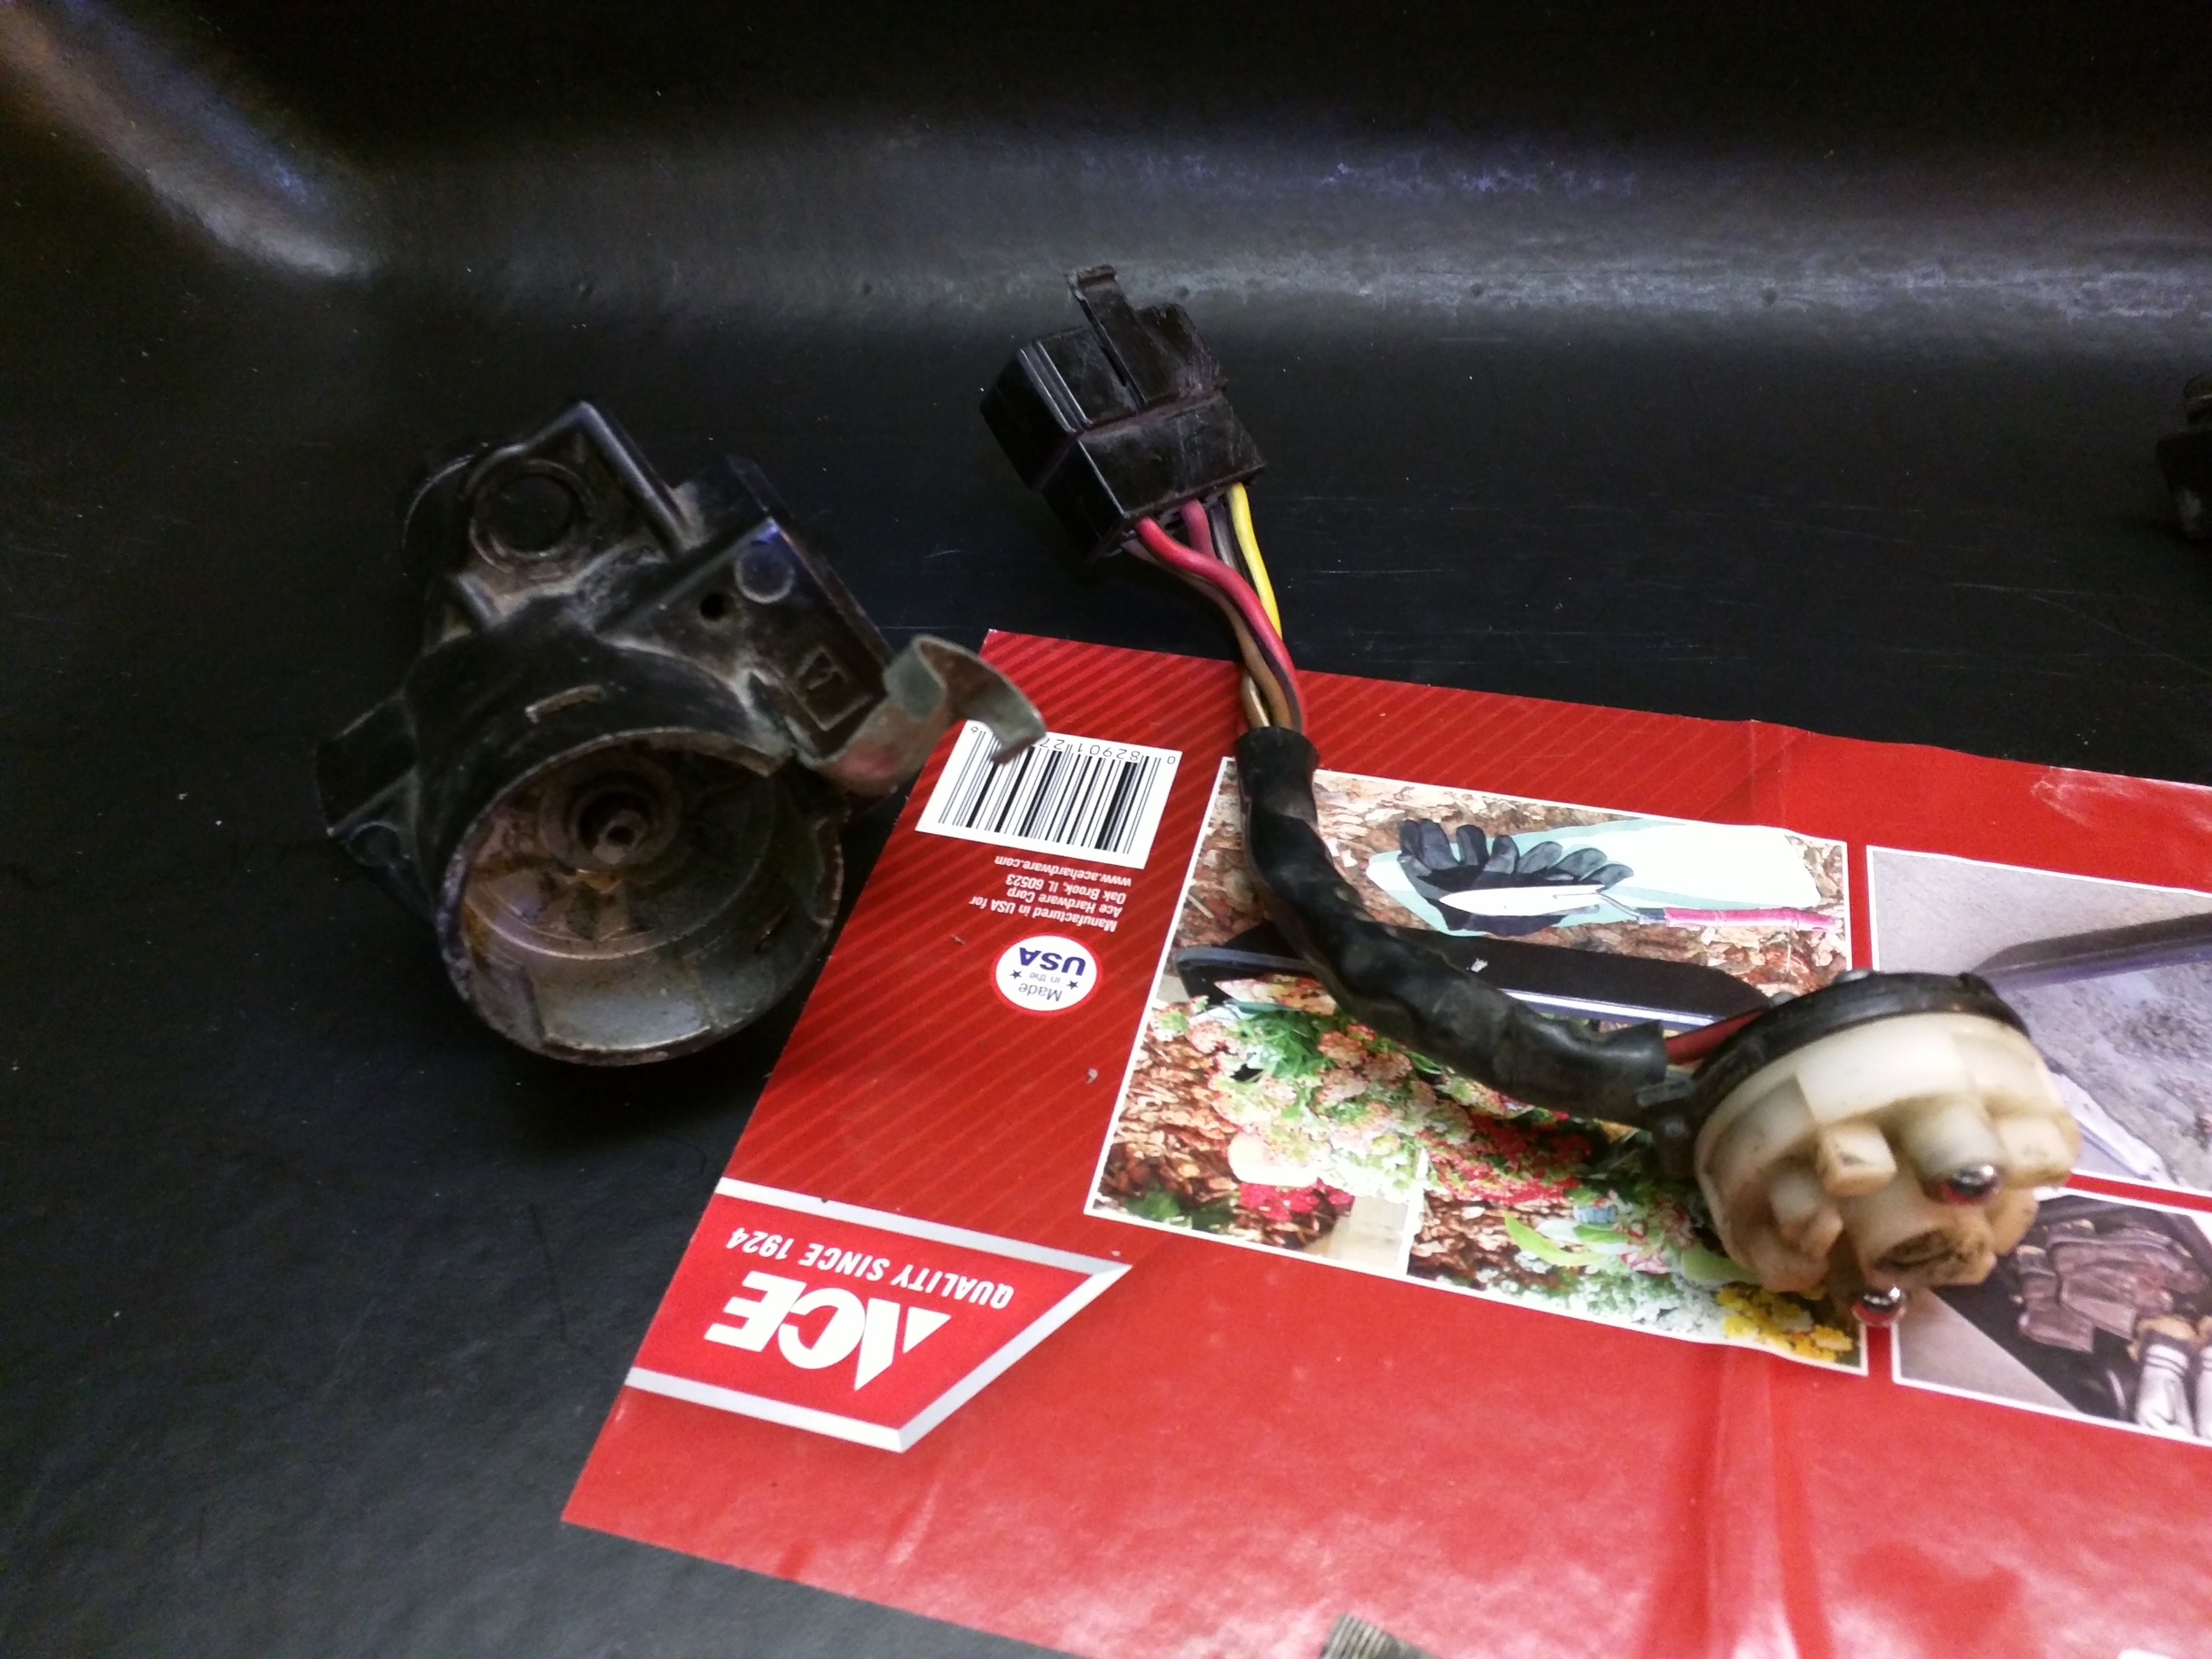
So last weekend I finally joined the Bad Ignition Switch Club. It’s an exclusive club, only those of us who have been stranded get to join. Luckily this happened at the end of my ride just 1 mile from the house and I was able to hotwire the bike to get home.
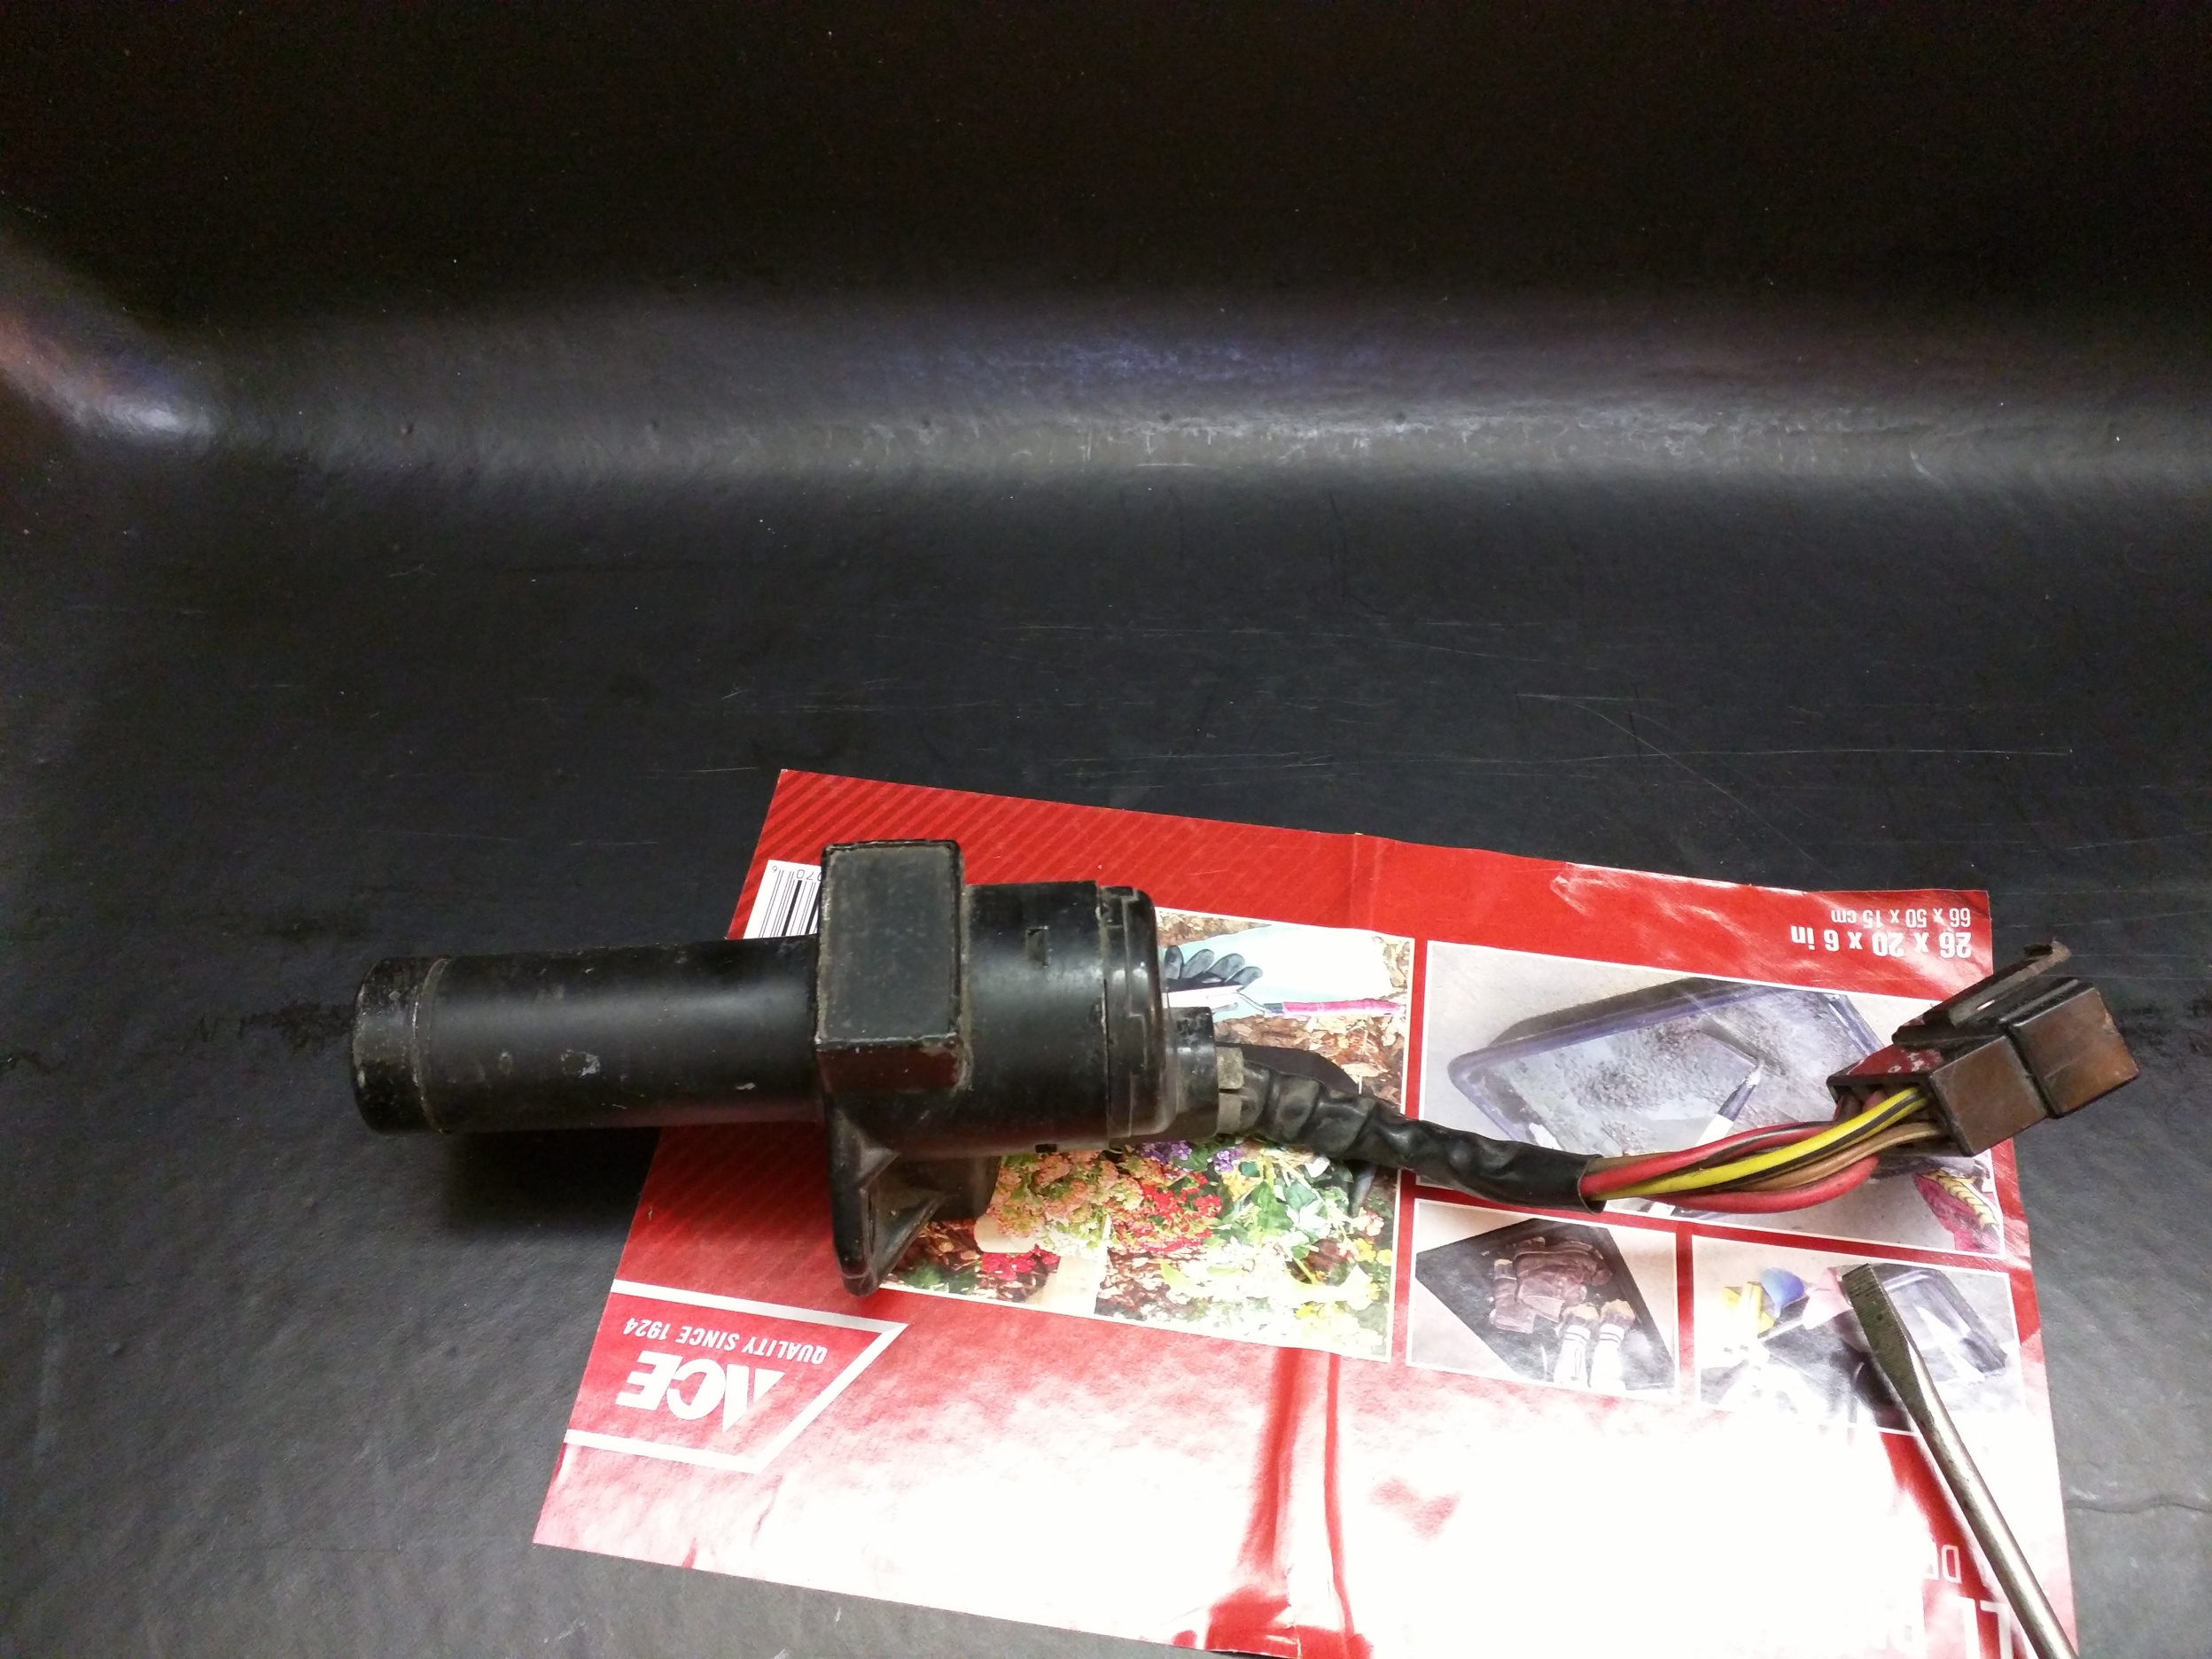
So I removed the ignition switch to see what went wrong. An old friend pointed out that there are small bits springloaded inside the switch, so I figured it was best to work on this inside a bucket.
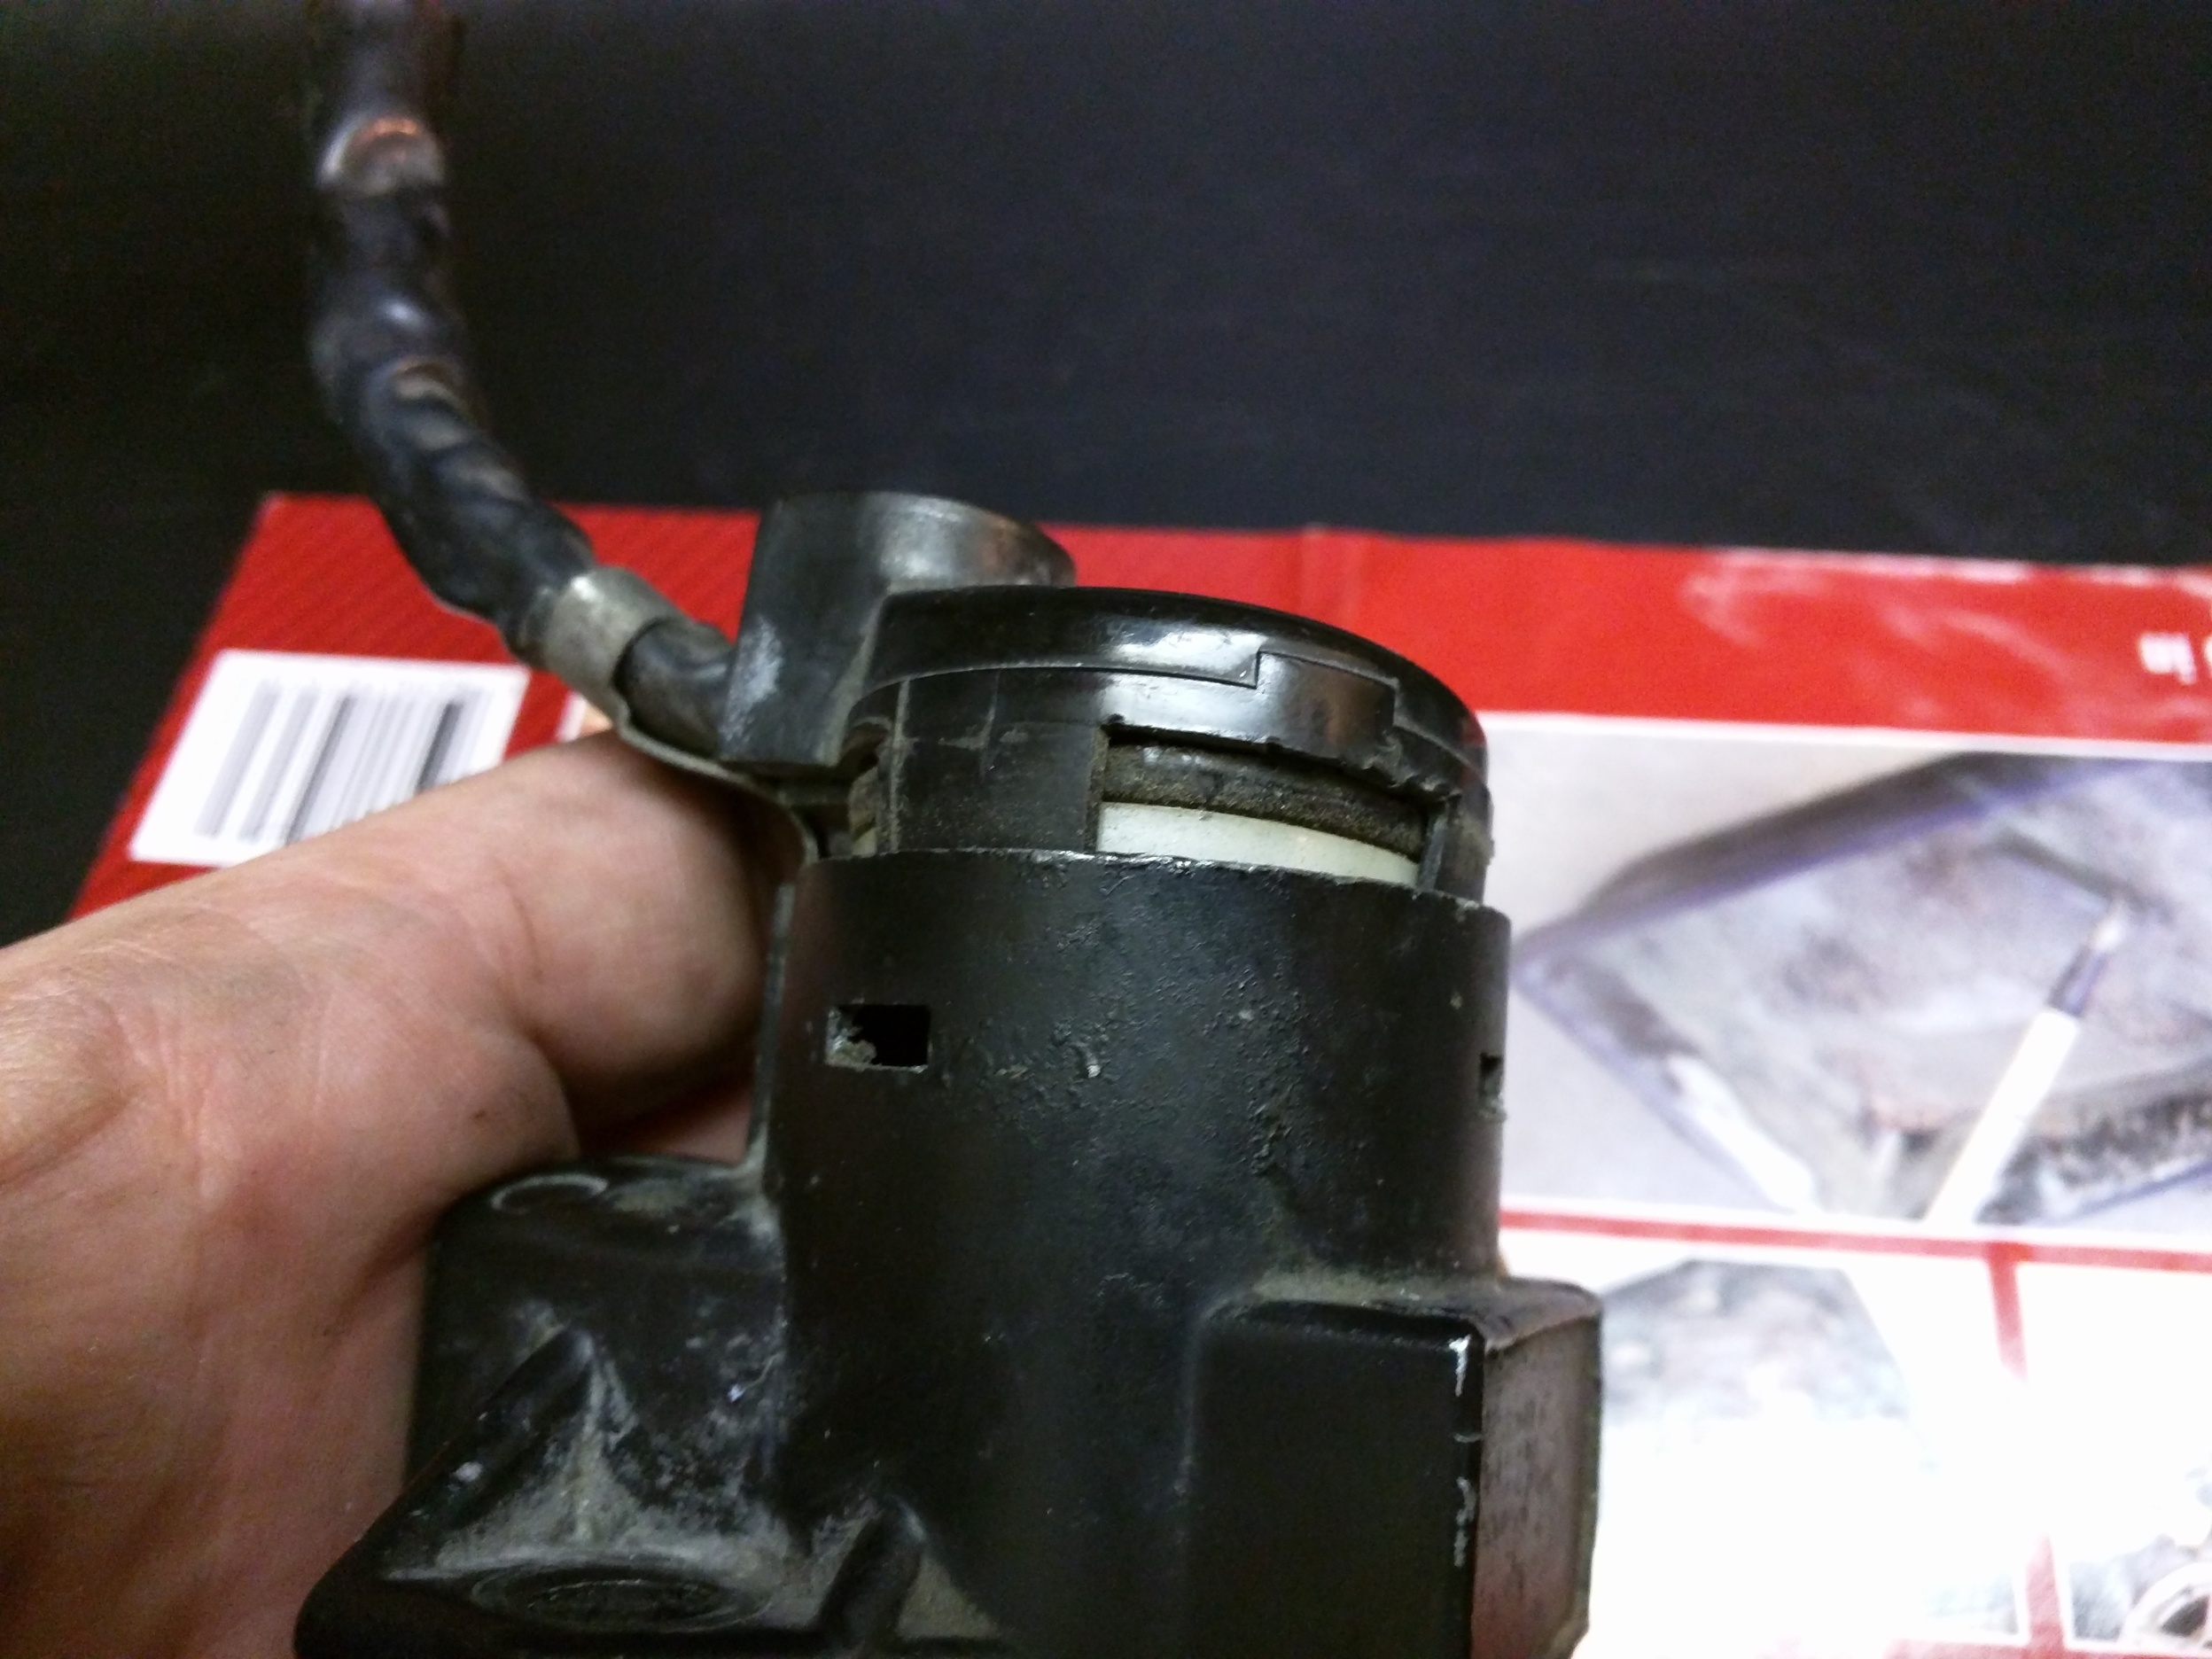
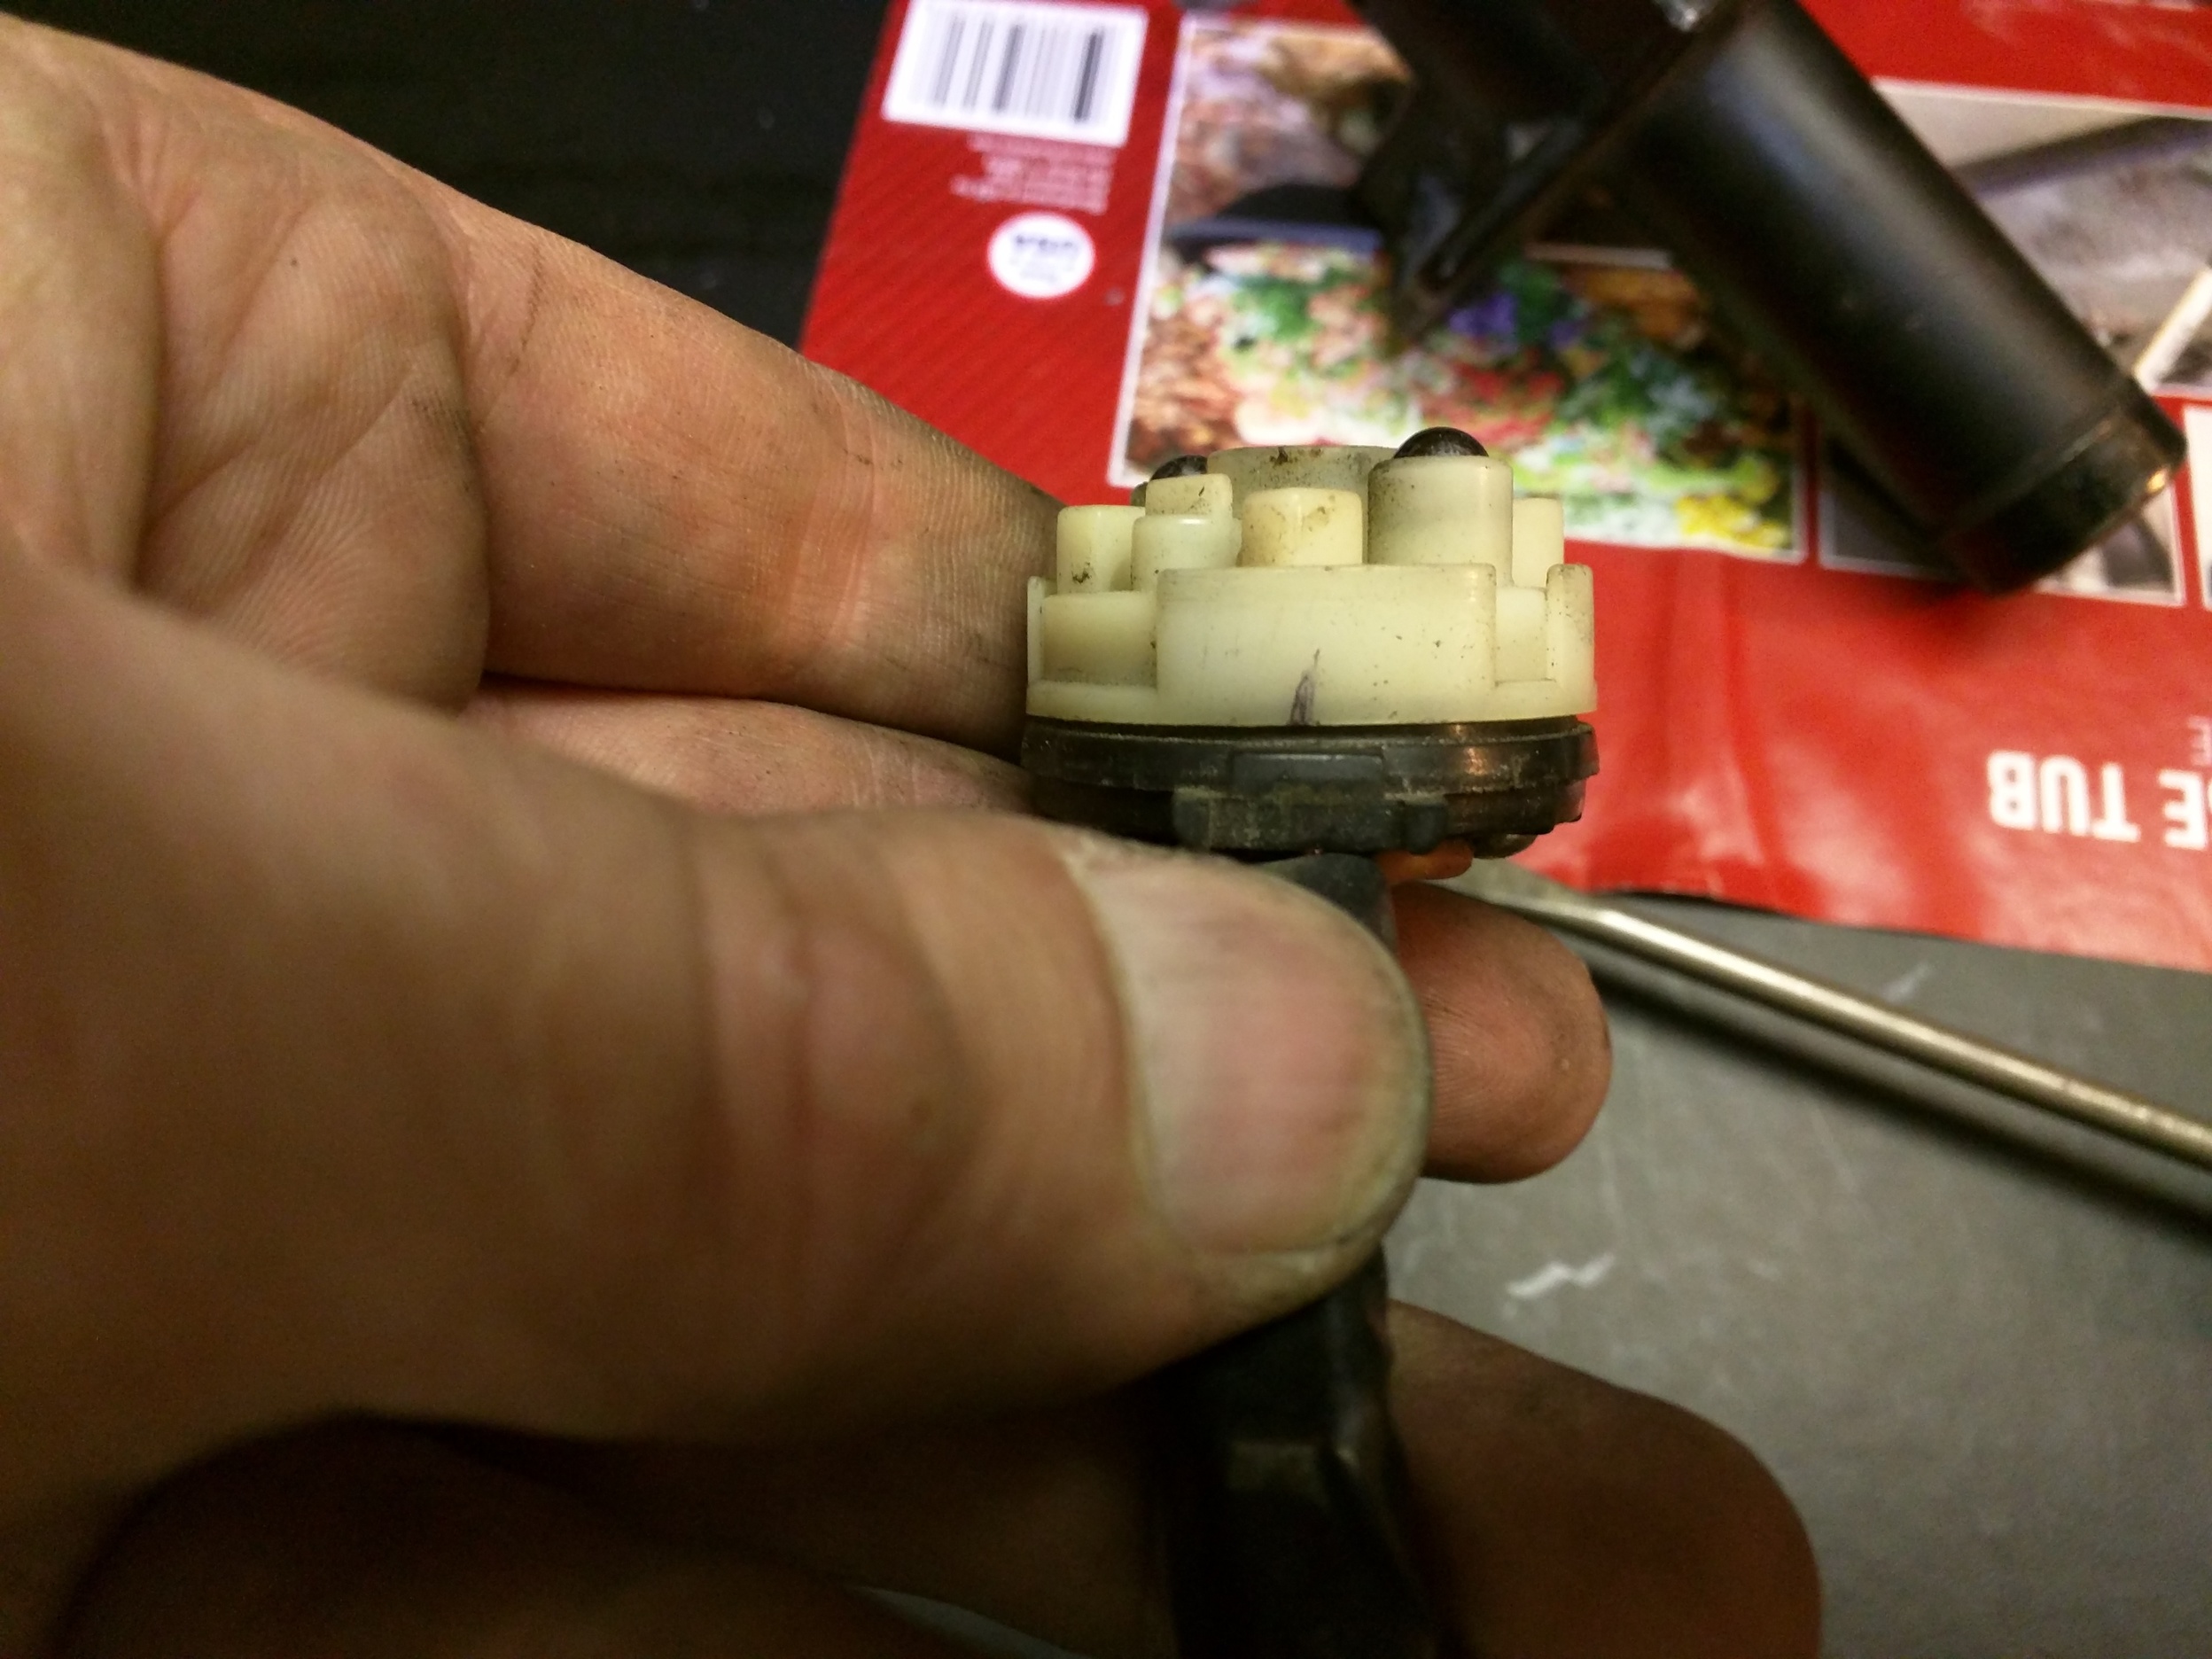
The end cap is held in with 3 tabs. Depress all 3 and gently pry along the seam to remove the end cap. Don’t worry, nothing will fall out just yet.
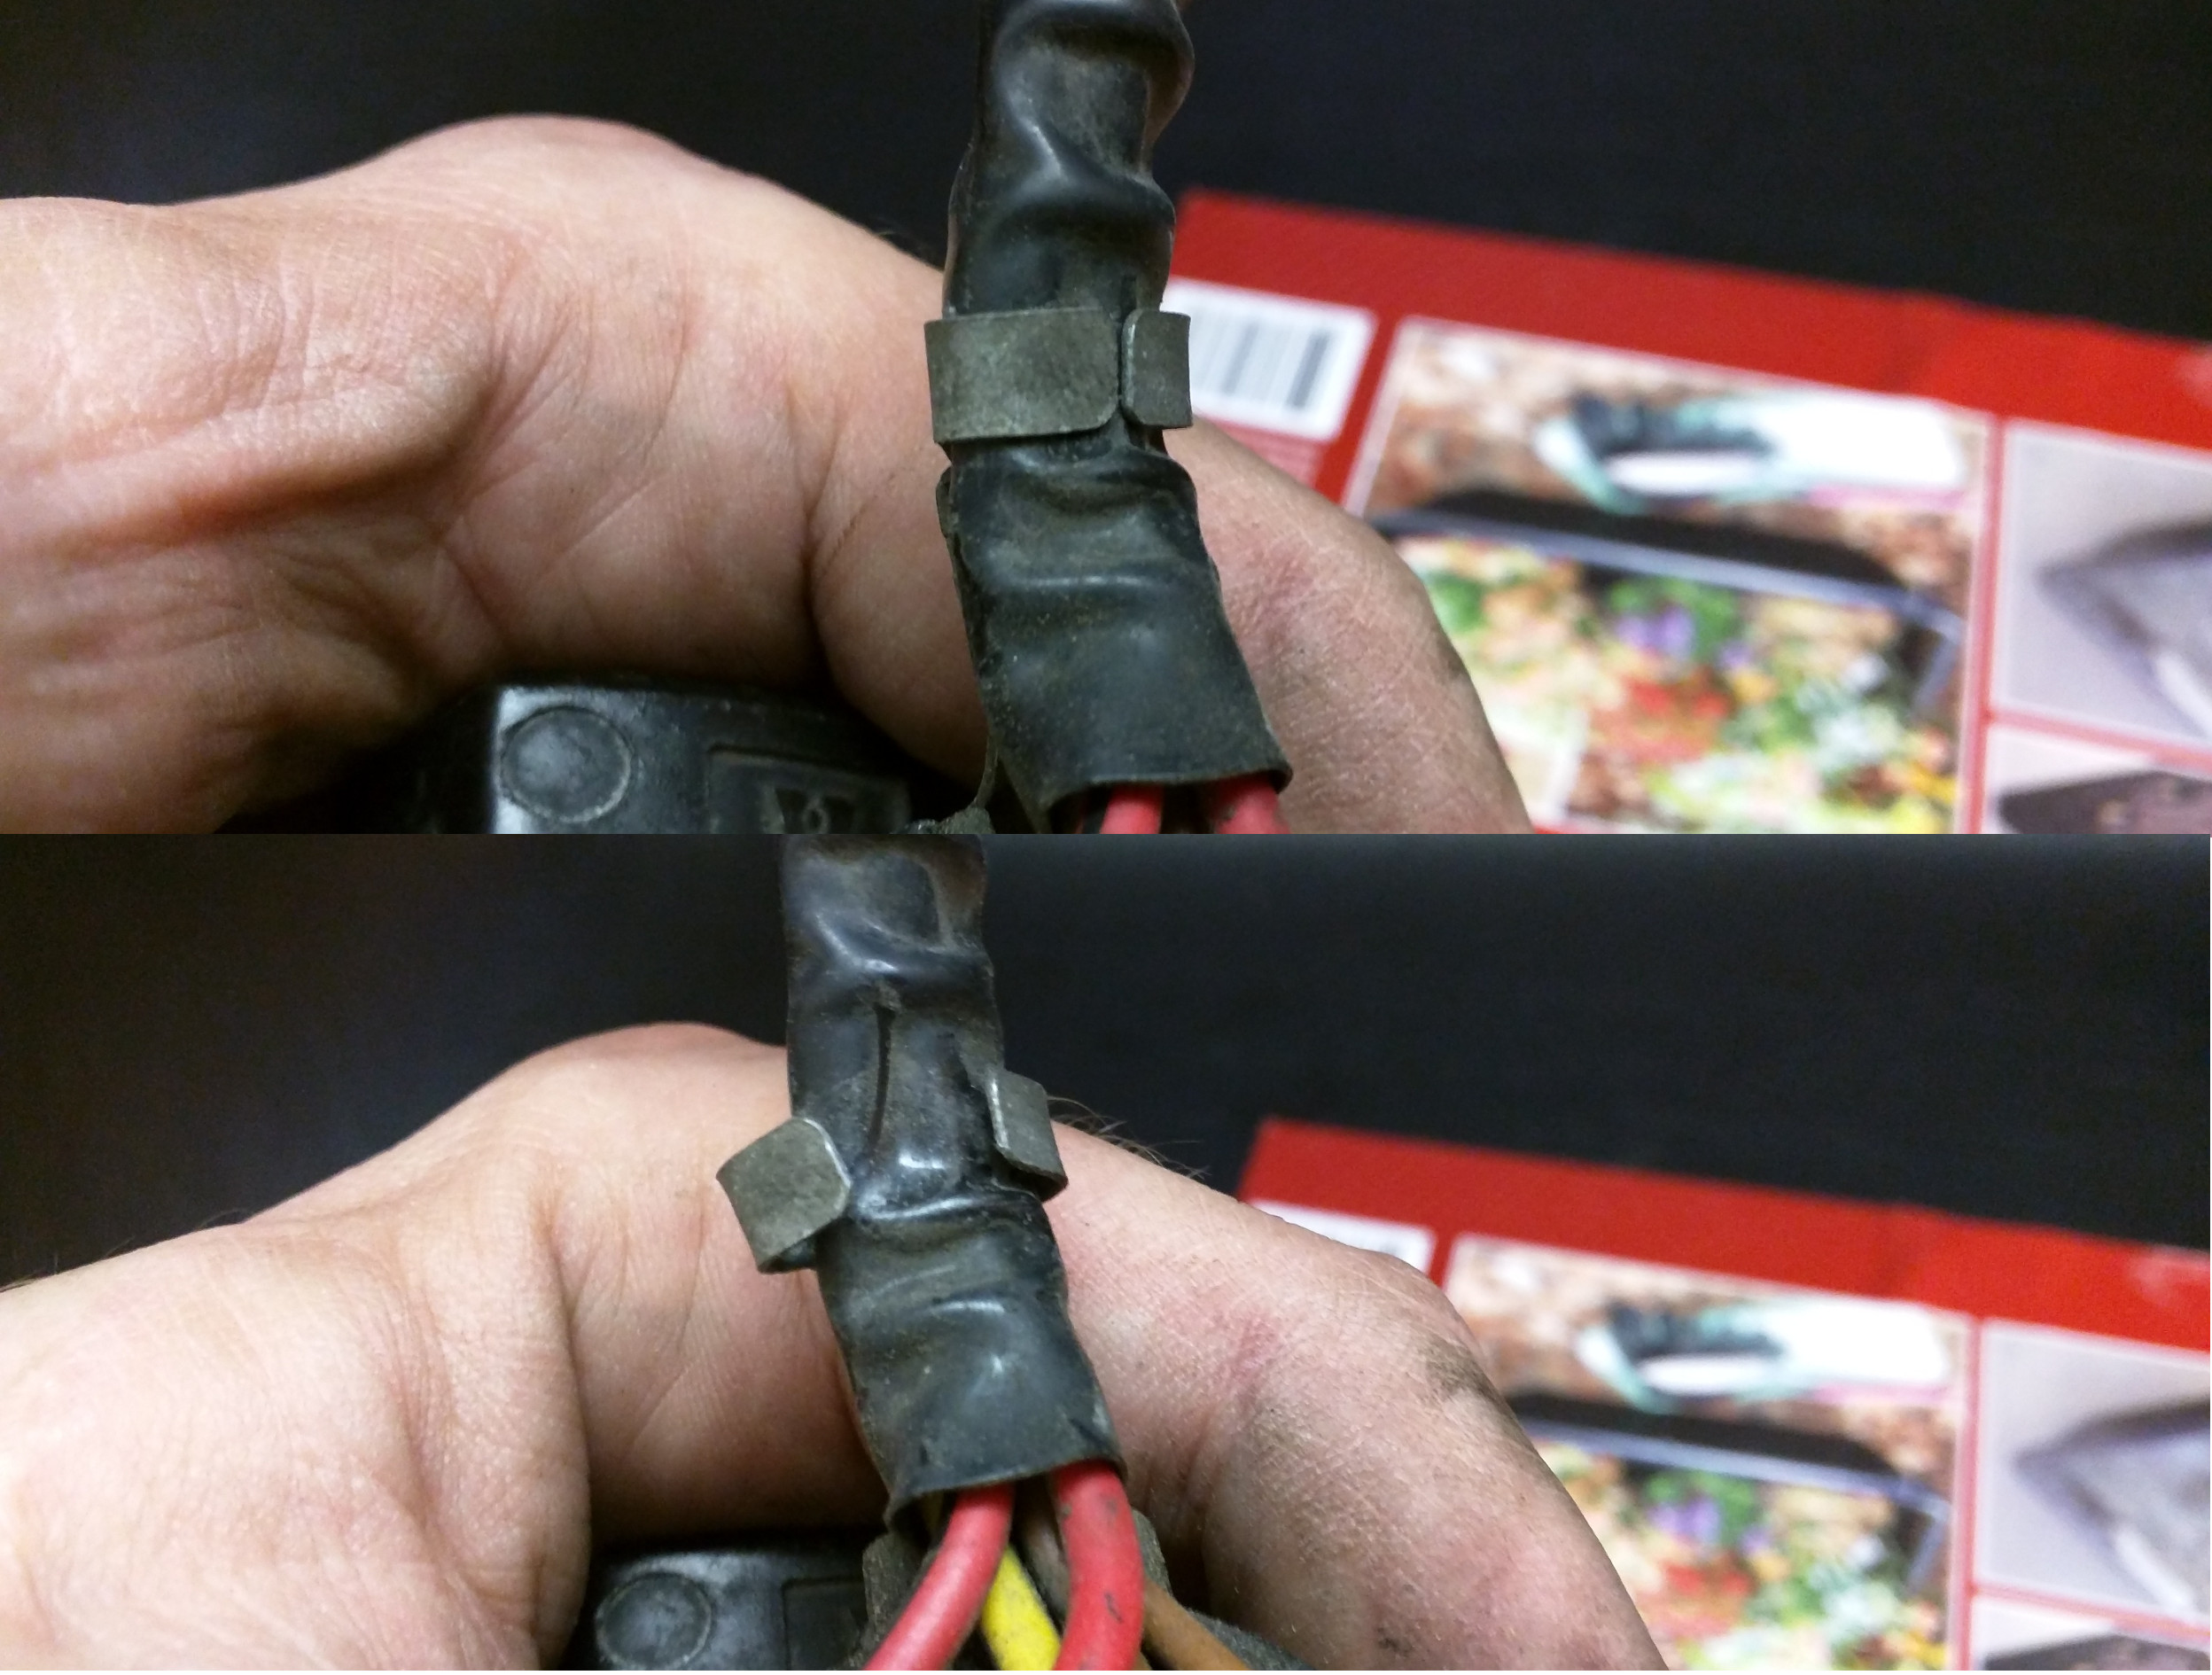
There is a metal clip holding the wiring harness in place. Gently pry it open to remove the wiring bundle.
The ignition switch should now be in two pieces. Take the barrel part and set it aside, you do not need to take that half apart any further.
In a rare moment of foresight I decided to make a mark on the switch oriented into the OFF position. This proved helpful during reassembly.
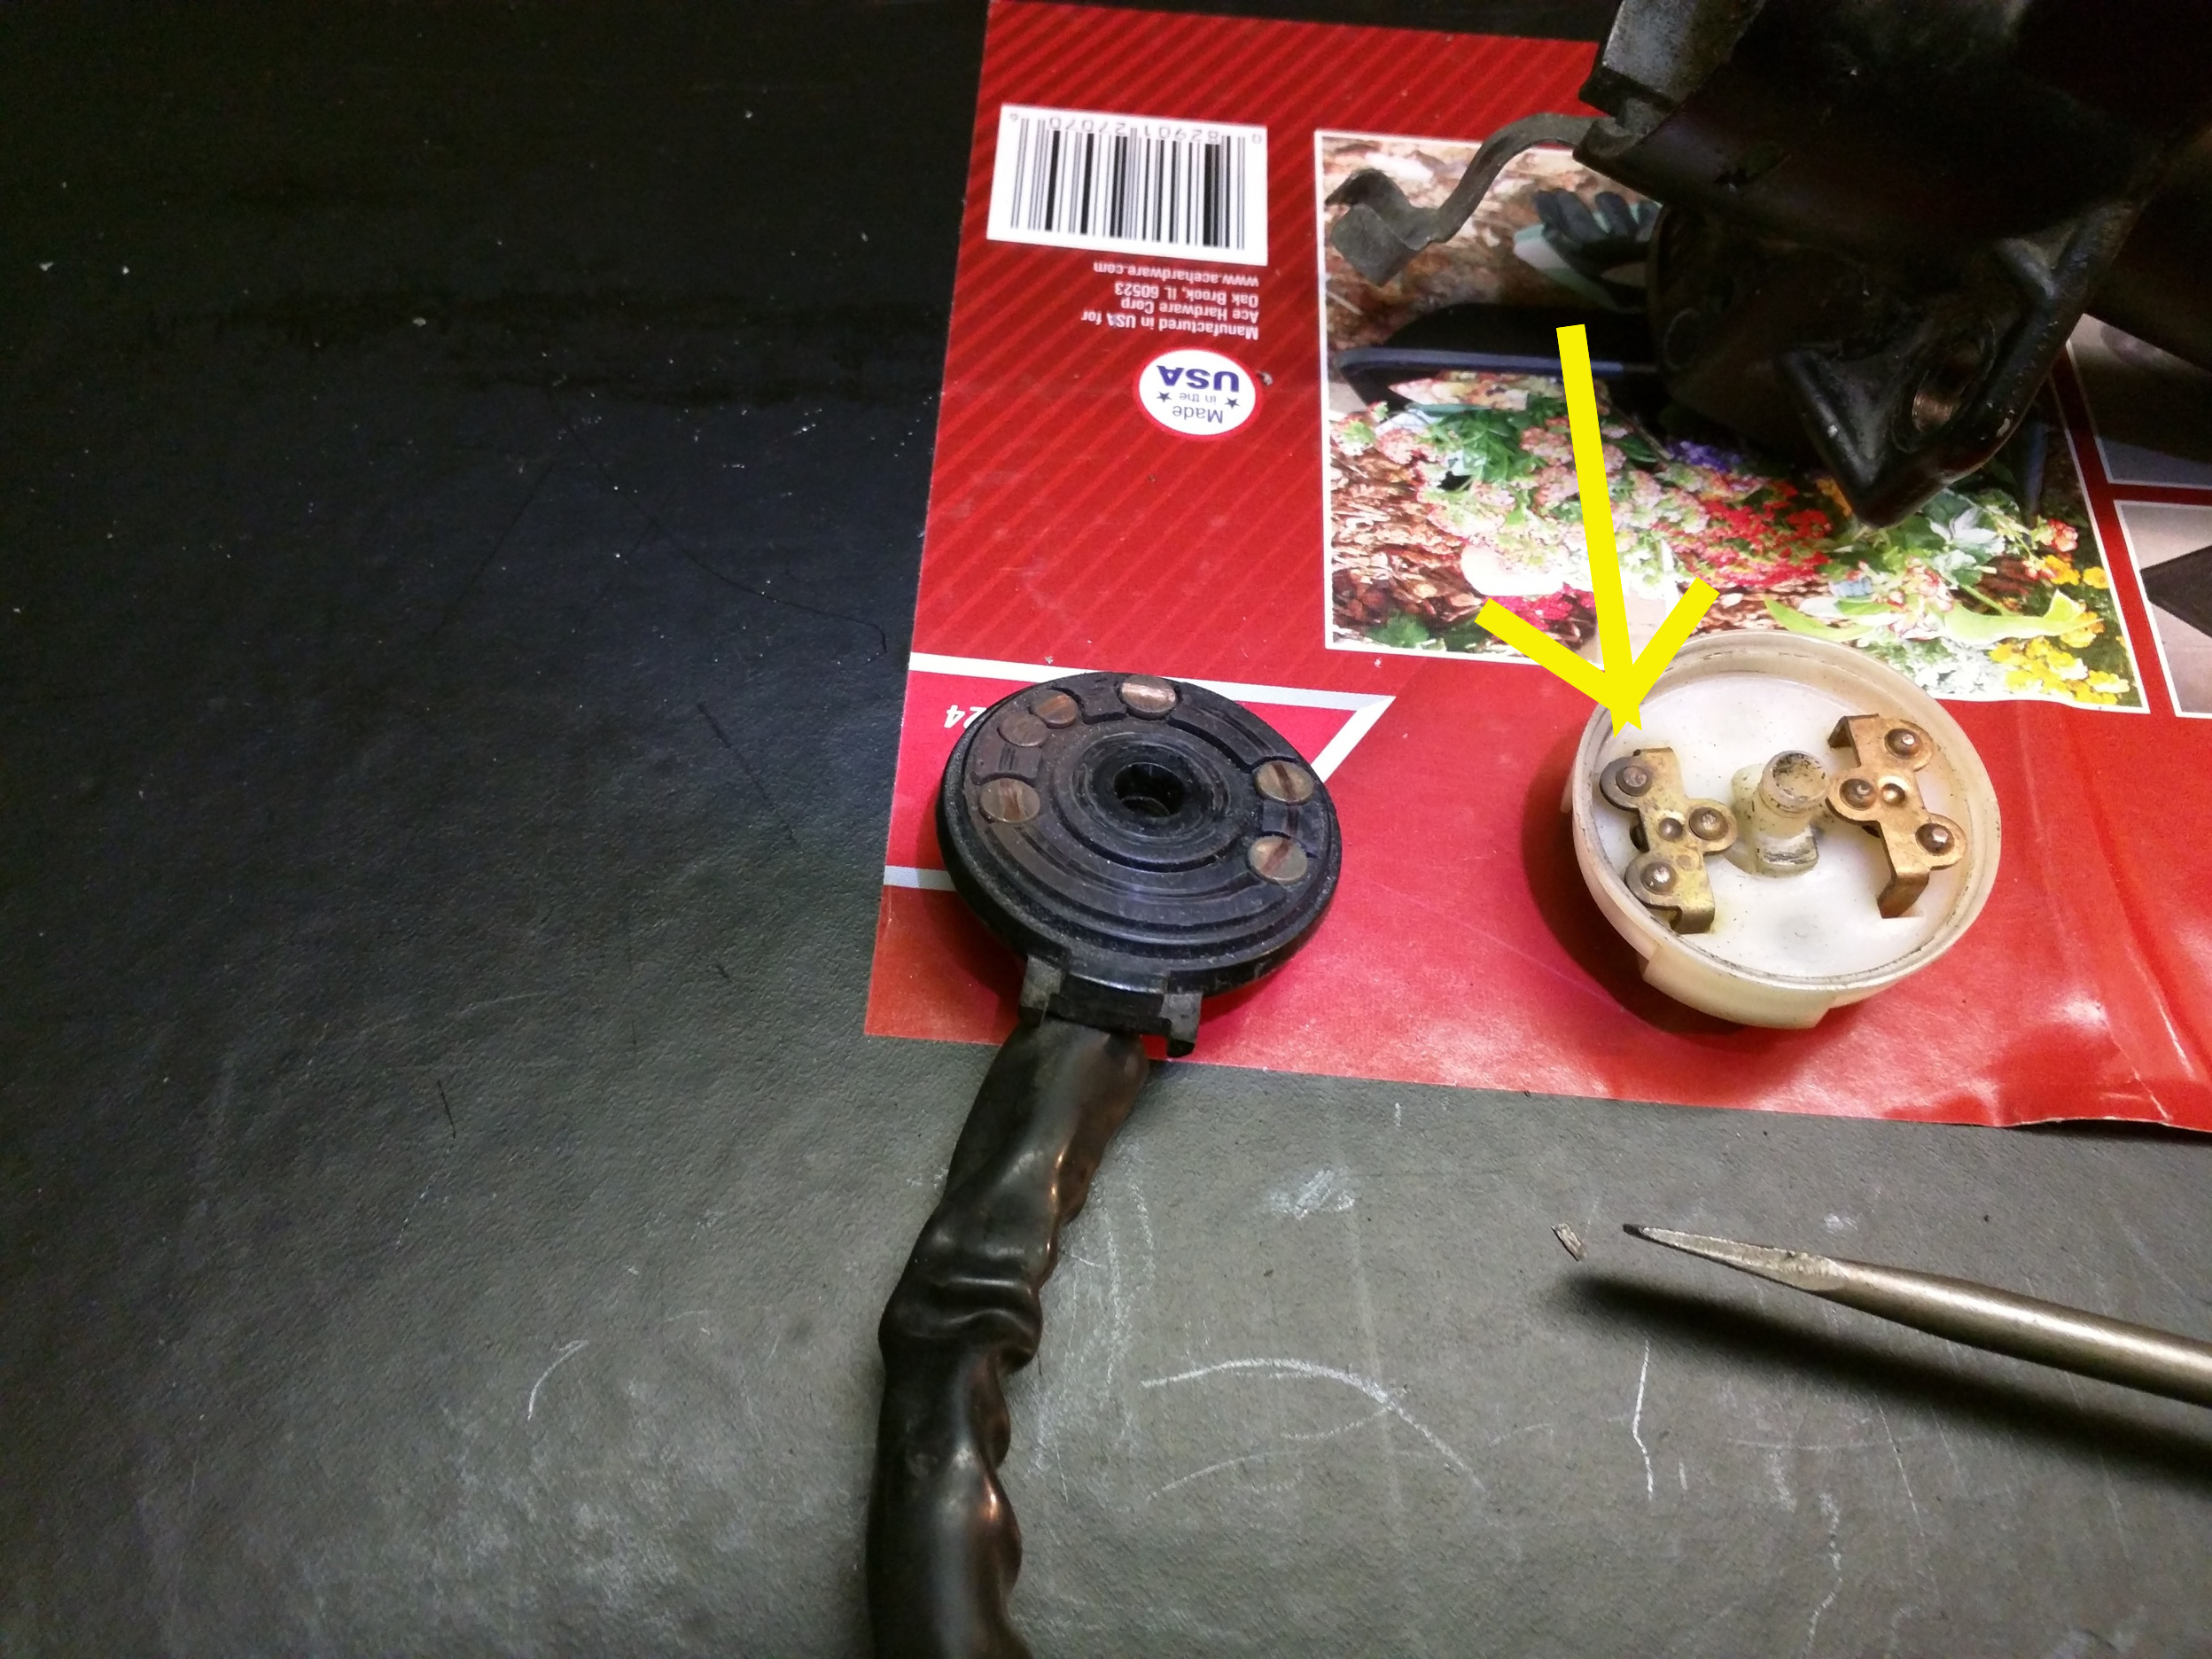
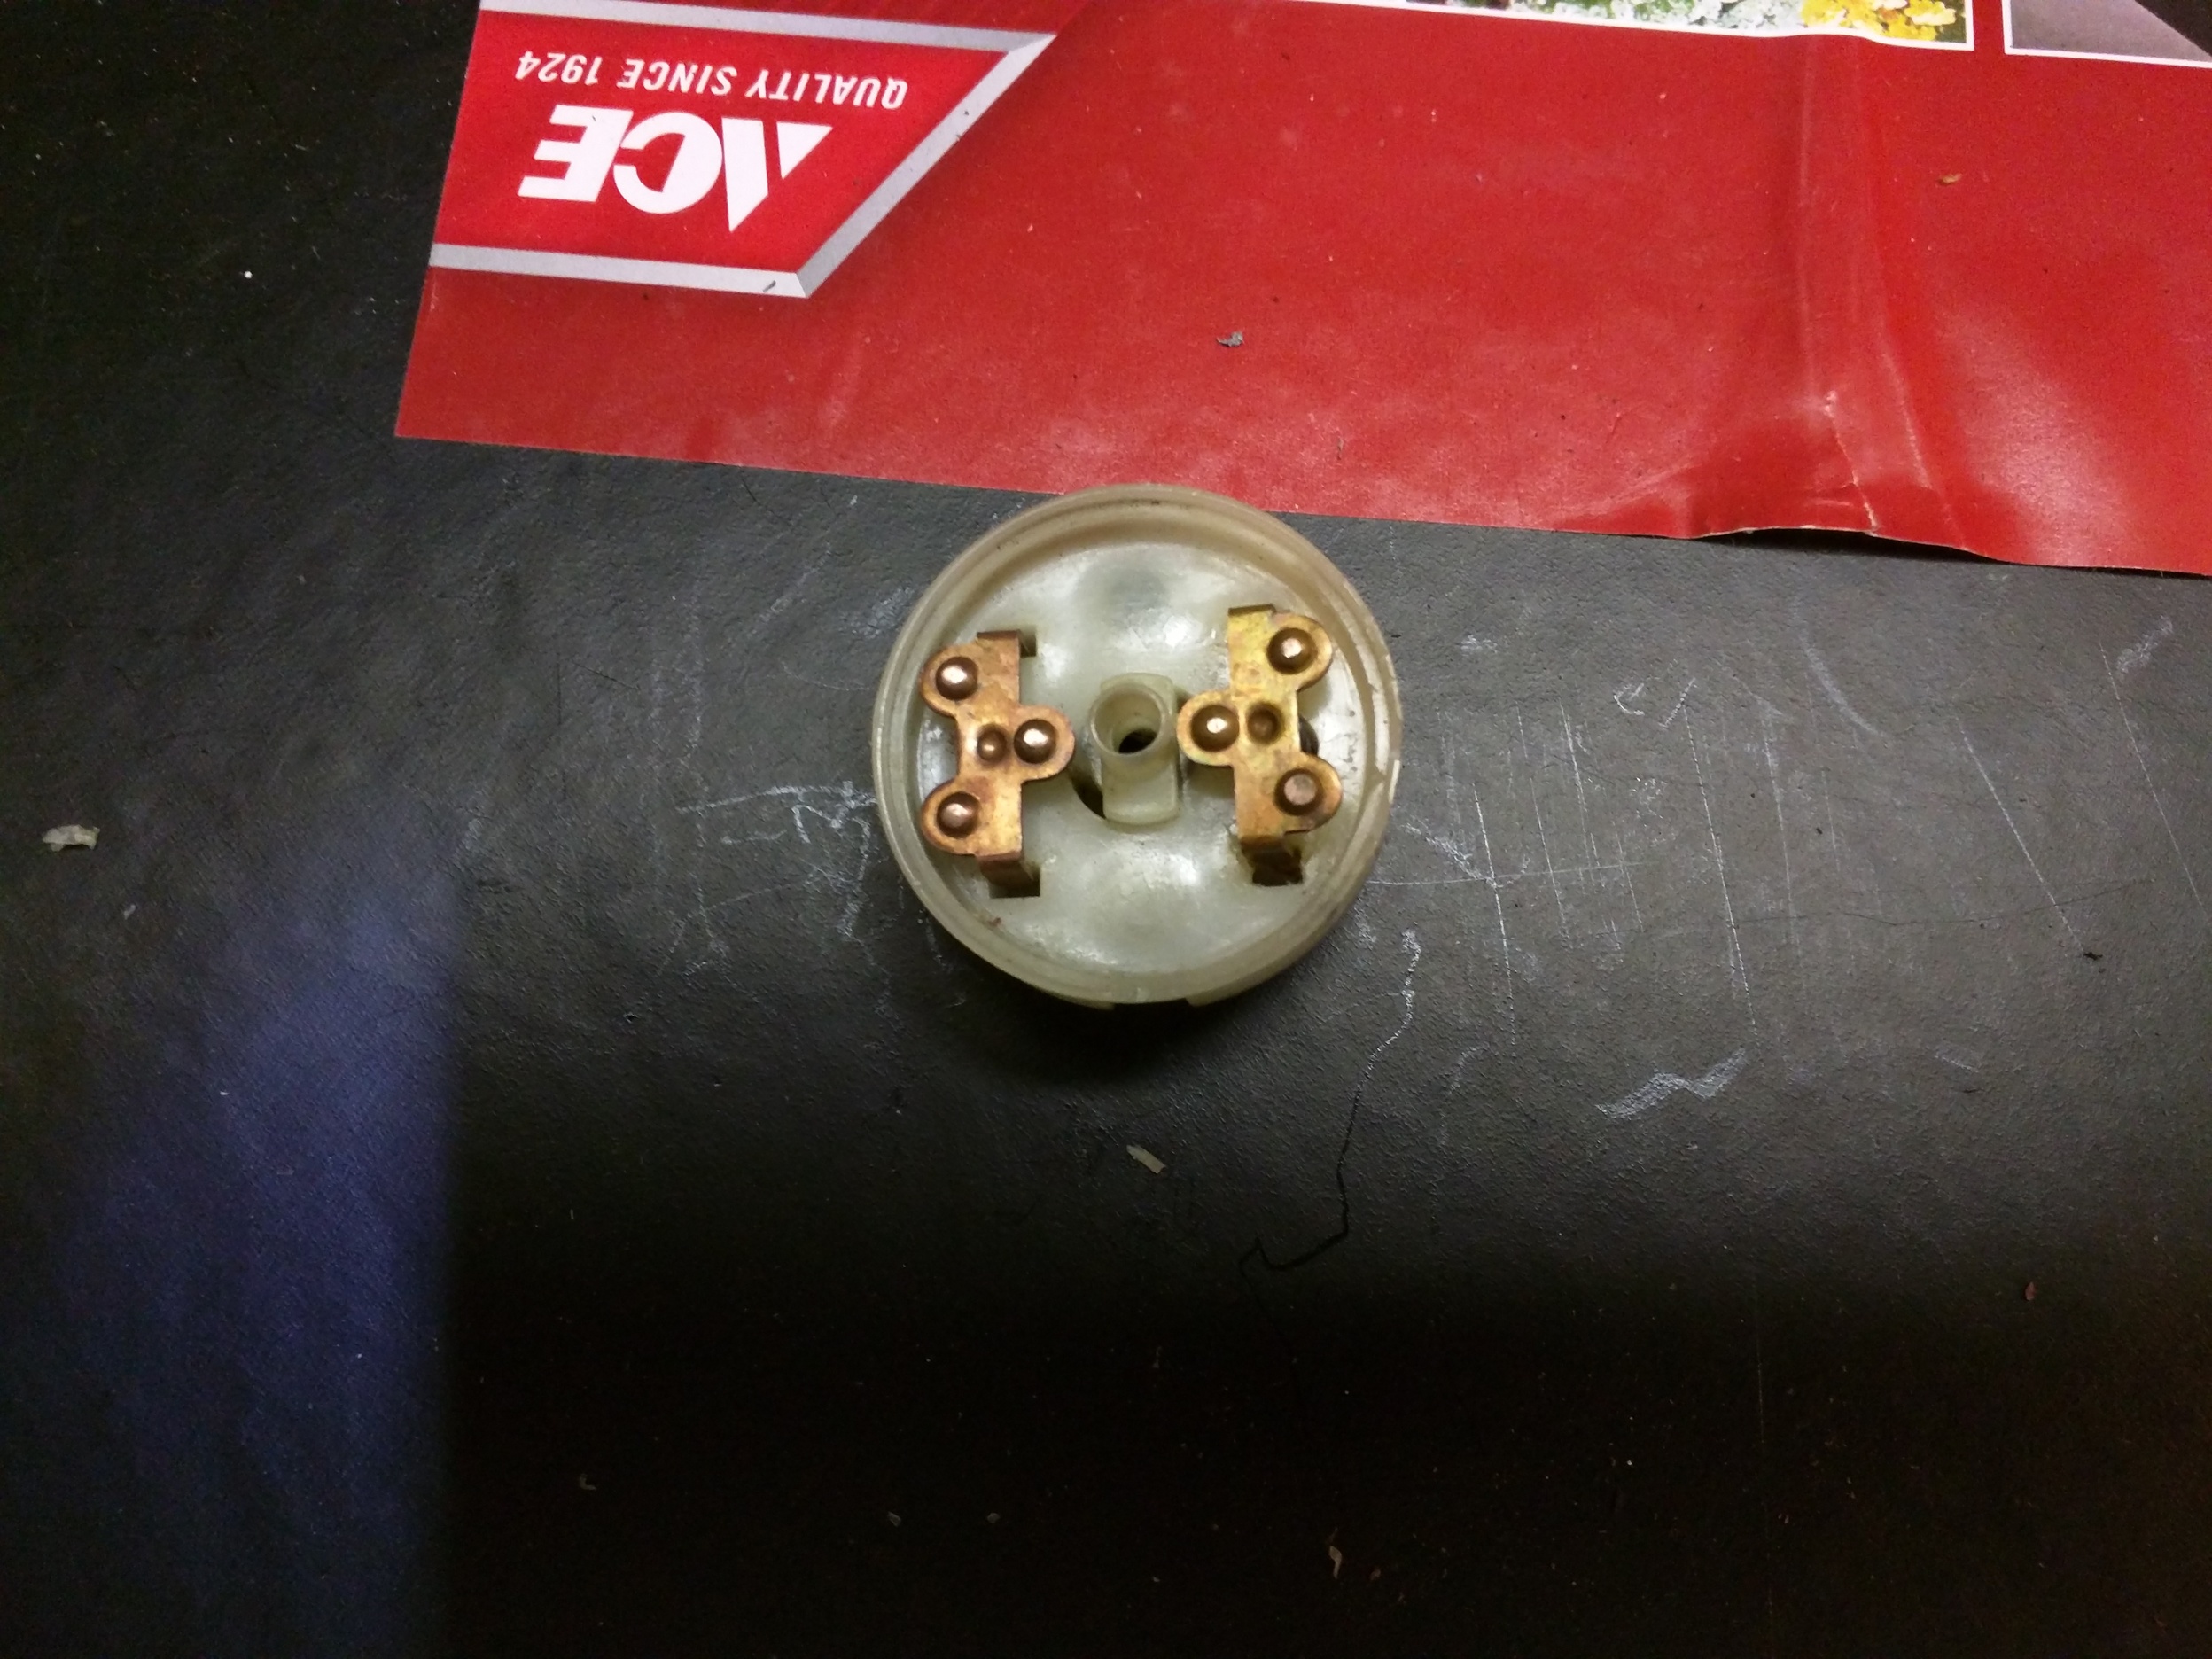
Now gently twist and pull the white disk away from the black disk. This is the part where small spring loaded bits fall out so be ready for it. Those copper jumpers in the white disk have springs behind them to press them against the contacts on the black disk. If you look closely you can see exactly what left me stranded. The jumper on the left is still depressed while the other one is pushed out. It came out easily with some prying but wouldn’t pop out on its own. This prevented the switch from closing the Red -> Red/Black wires powering the ignition circuit.
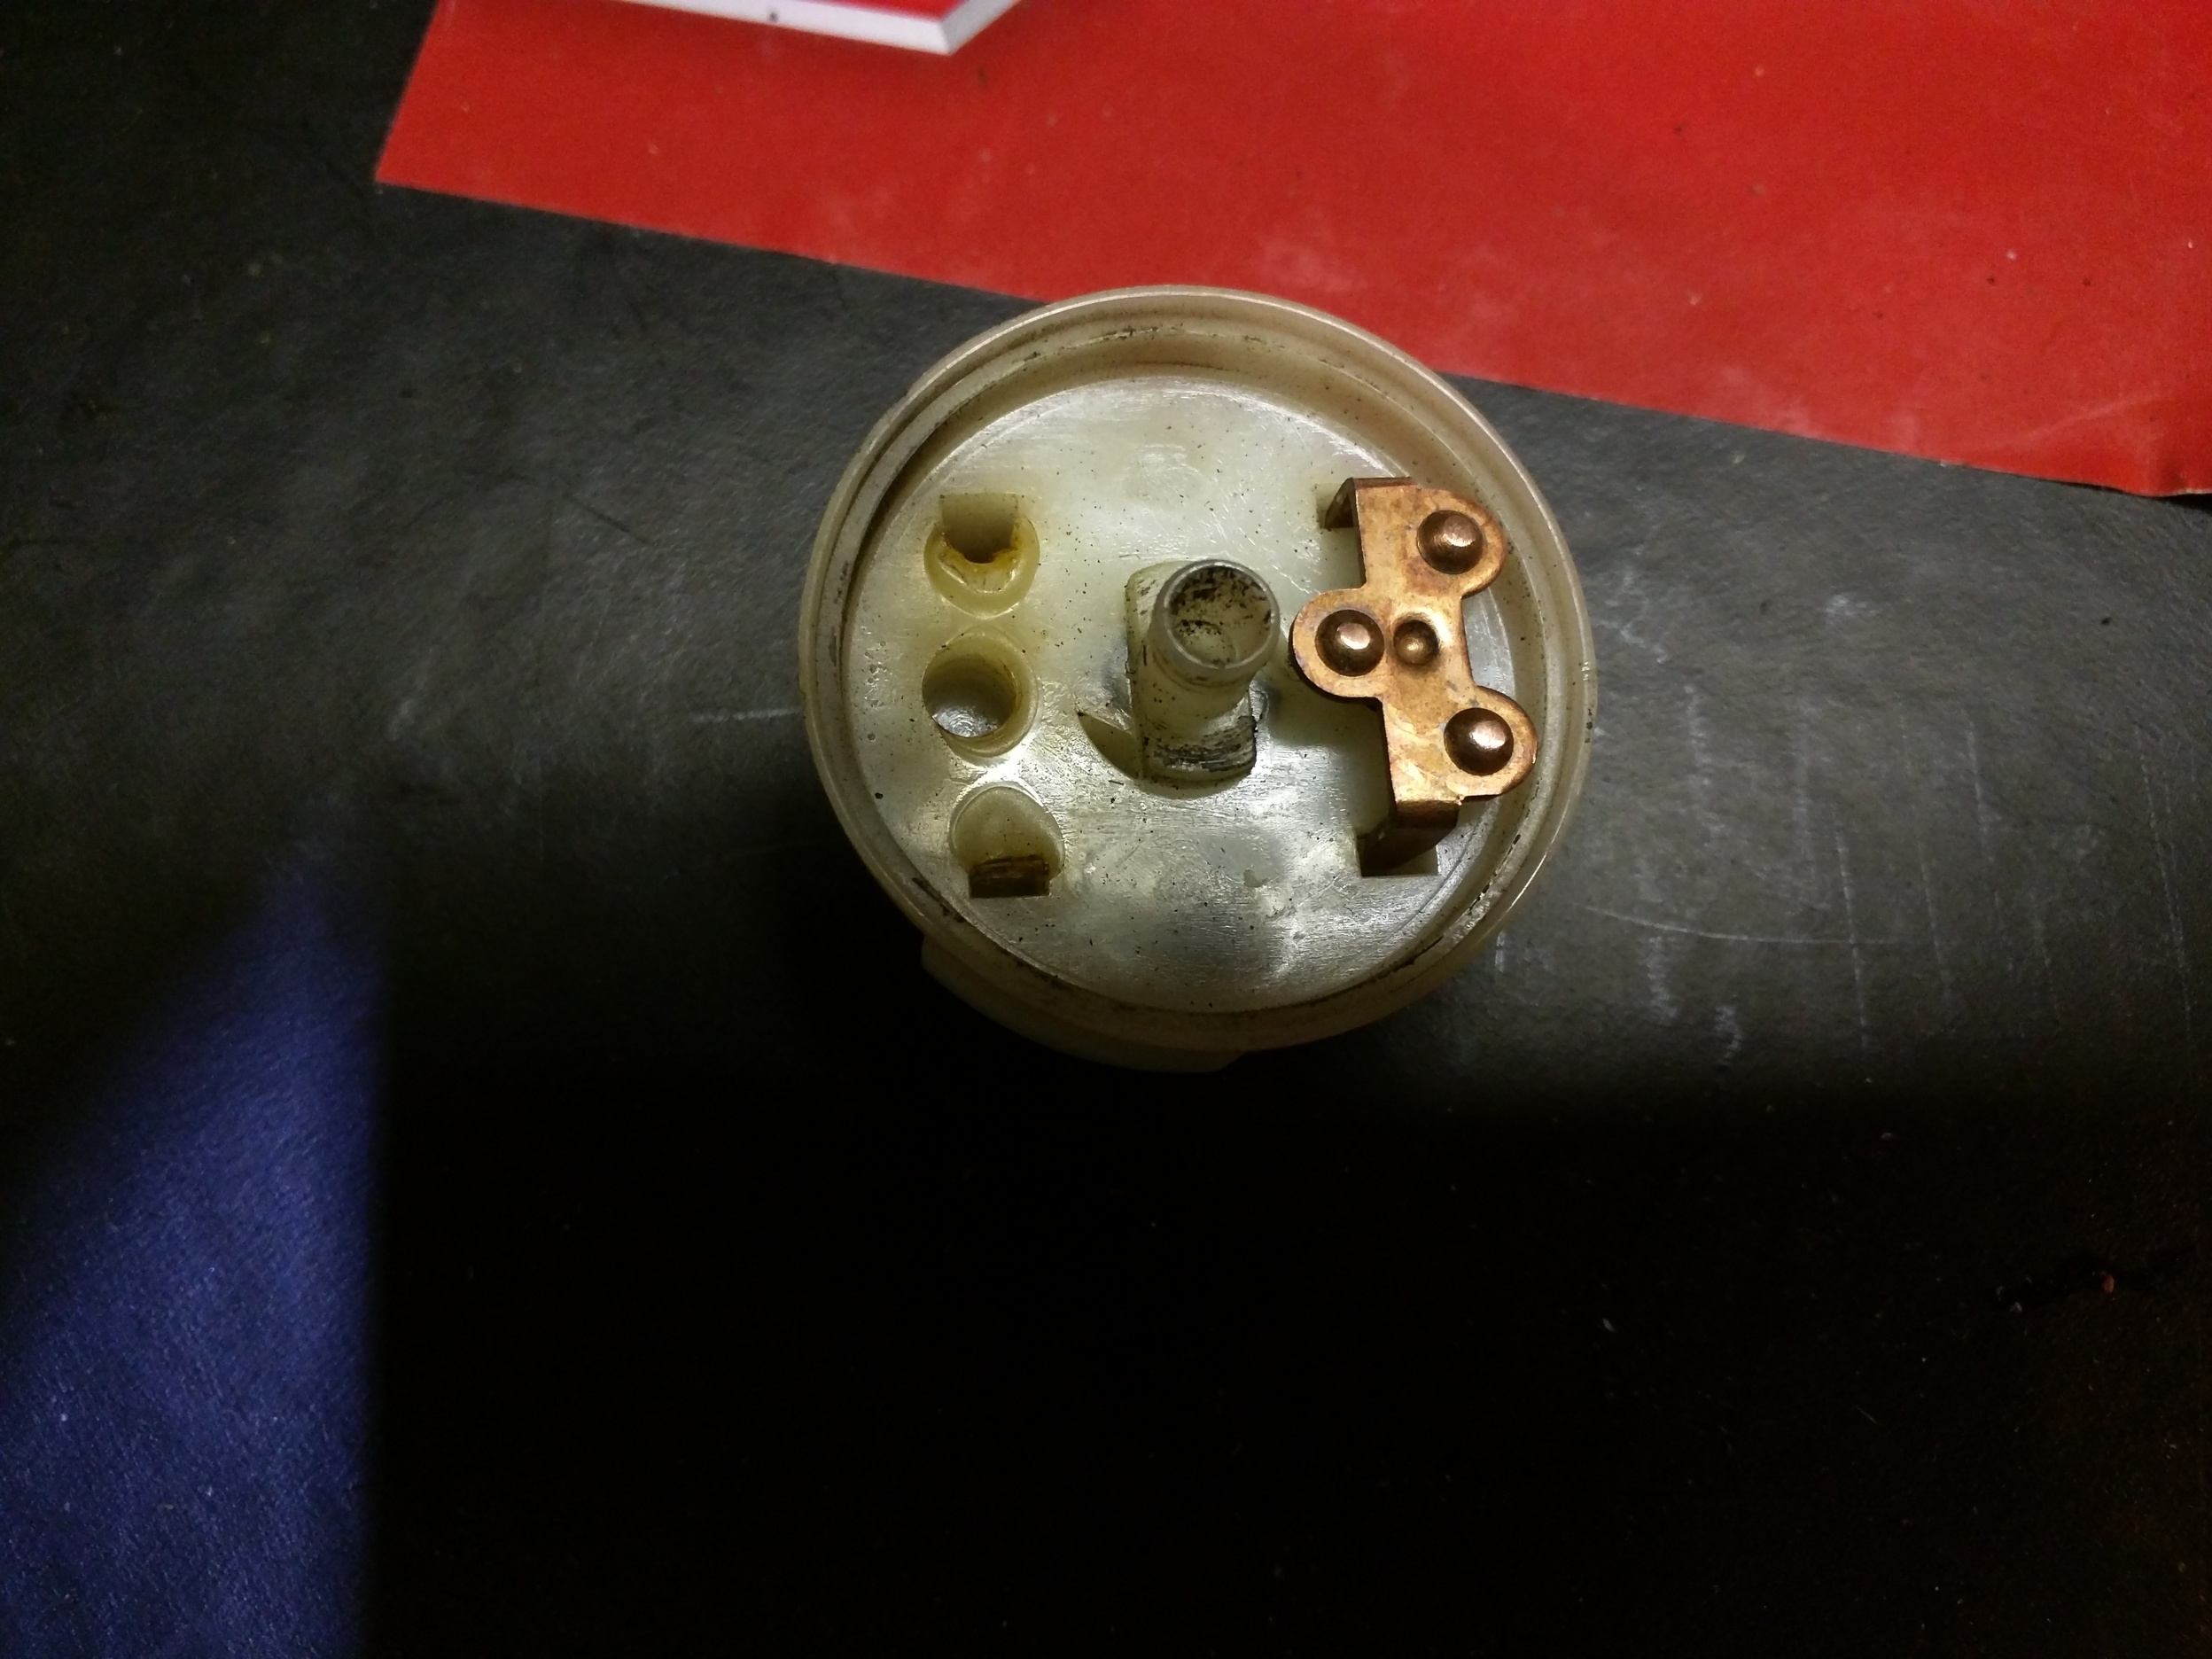
The plastic disk melted and deformed, this is what was holding the jumper back and not allowing it to extend. I used my razor knife to trim the melted blobs away and to slightly reshape the slots that the jumper slides into. I didn’t want to trim too much plastic away since that would allow the jumper to shift around.
After trimming the melted bits away I cleaned the copper contacts and jumpers with some electric degreaser and 1000 grit sand paper. I also stretched the spring behind the left jumper a little to give it more force. Then I cleaned up the contacts on the black disk and gave everything a light smear of dielectric grease.

I lined the white disk up with the mark I made earlier and slid it back into the black disk being careful not to let the jumpers fall out. I then slid the reassembled disks back into the switch and snapped the end cap back on. I turned the key to ON and P and tested the appropriate circuits. All tested good!
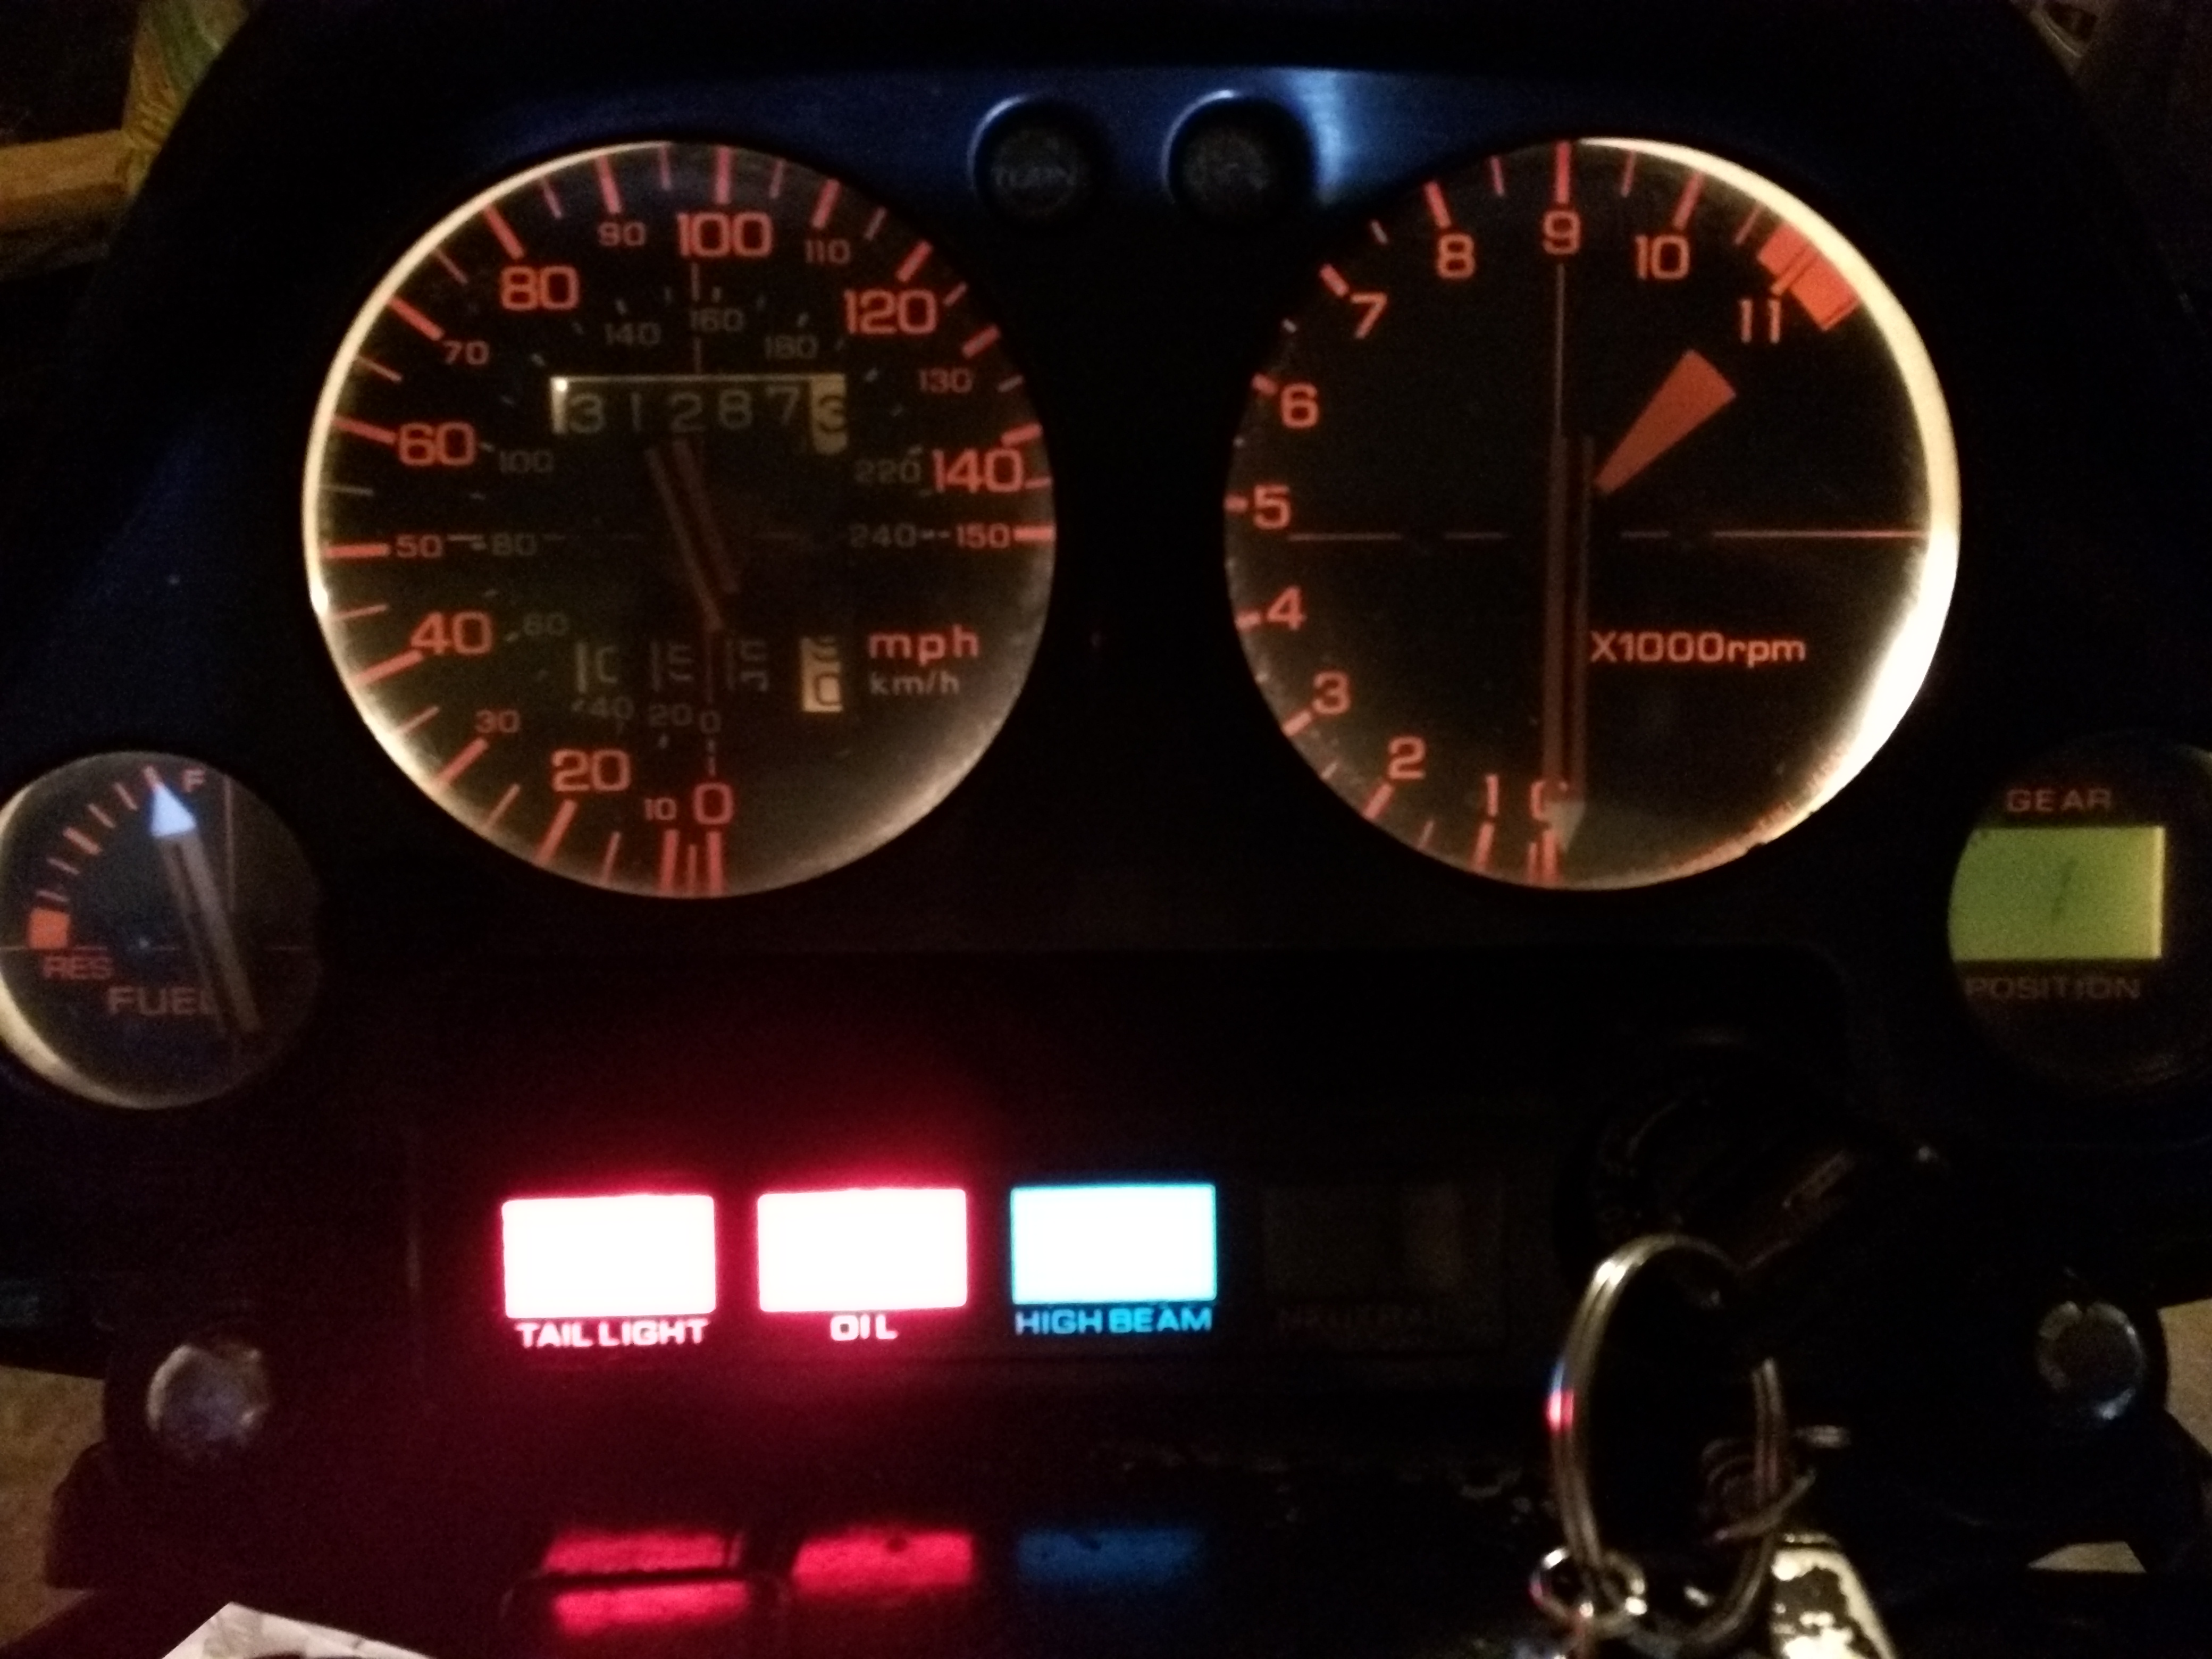
The ignition switch reinstalled, key turned on, dash lights up! The bike is running again. I hope this doesn’t get me kicked out of the Bad Ignition Switch Club!