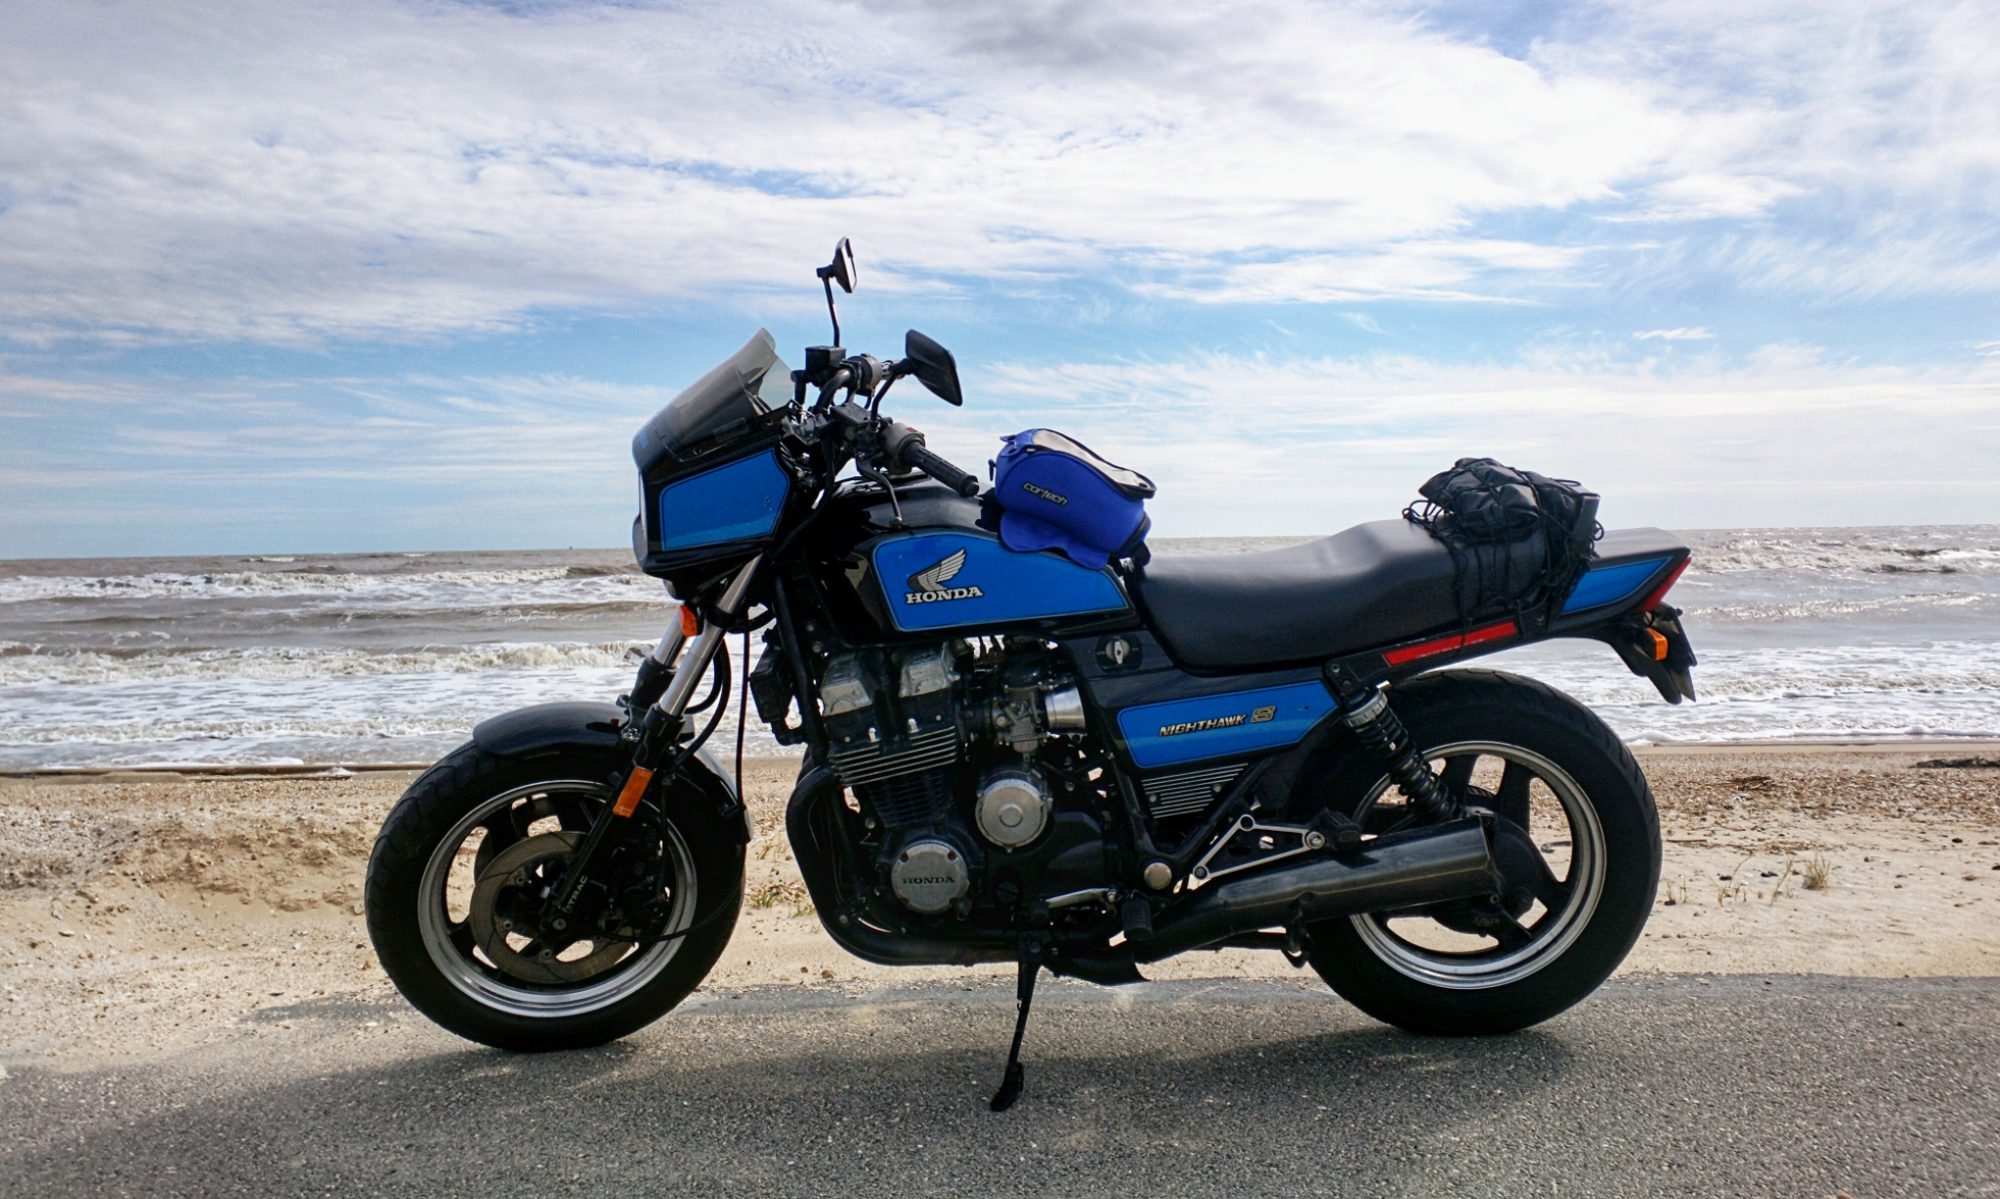
Yeah it’s been a while since I’ve posted anything, because I’ve been busy (or riding). Well I finally have time to get around to putting the correct front end on my 700S. This means swapping the whole front end, none of it is interchangeable between the 650 and 700S. So I had to order brakes off of eBay and since I don’t trust eBay brakes, step 1 is rebuilding them.
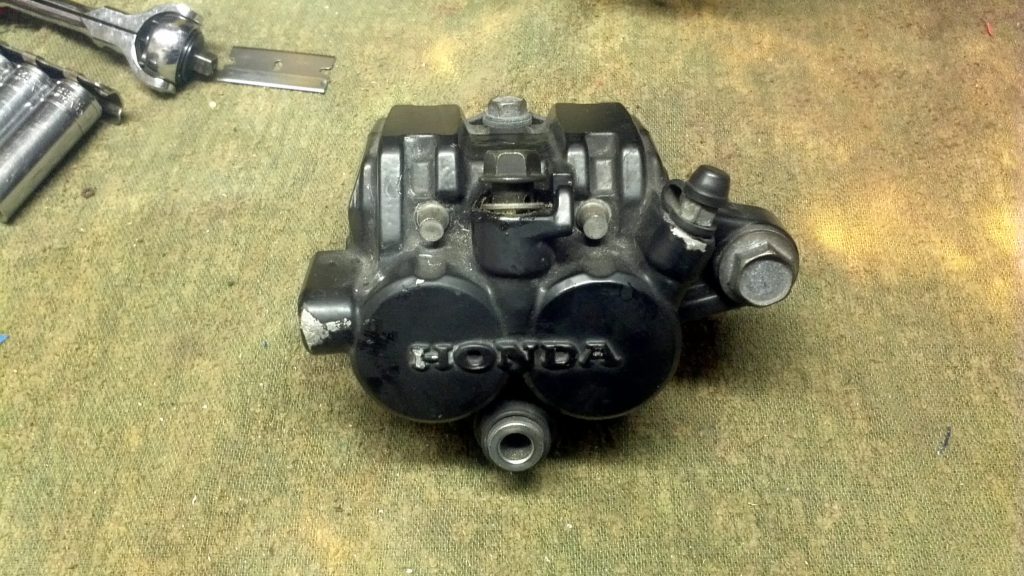
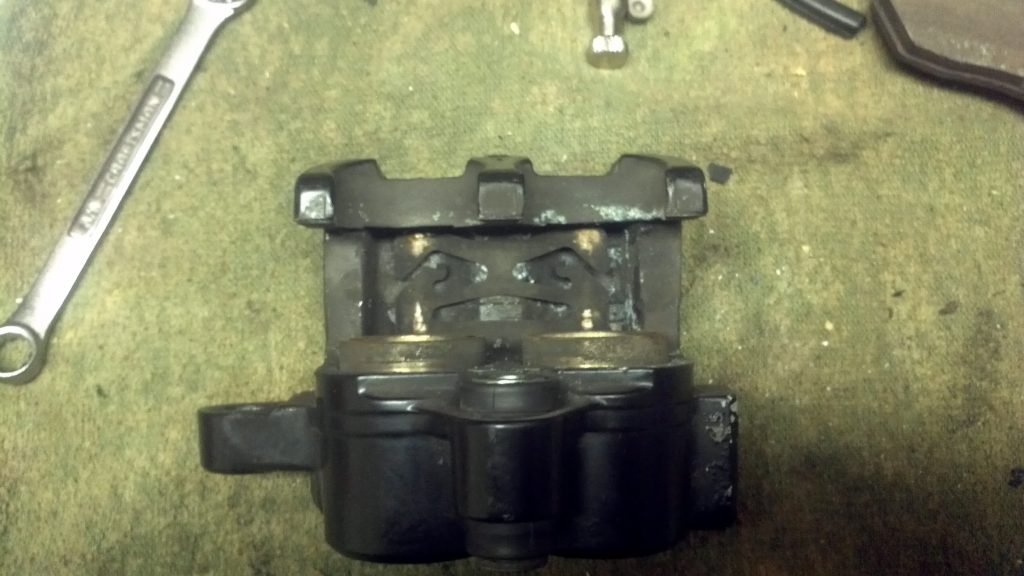
Here’s the before pic. Doesn’t look too bad, on the outside.
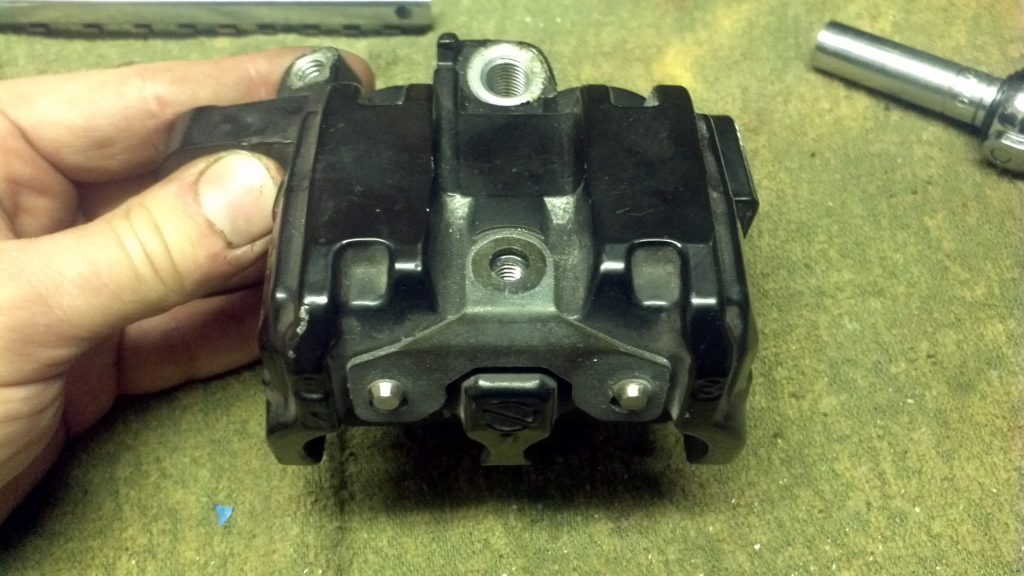
Remove the obvious, the banjo bolts and bleeder valve and the bolt for the retainer clip. Don’t go too far with the bleeder valve though, you’ll want to put that back in to pop the brake pistons out.
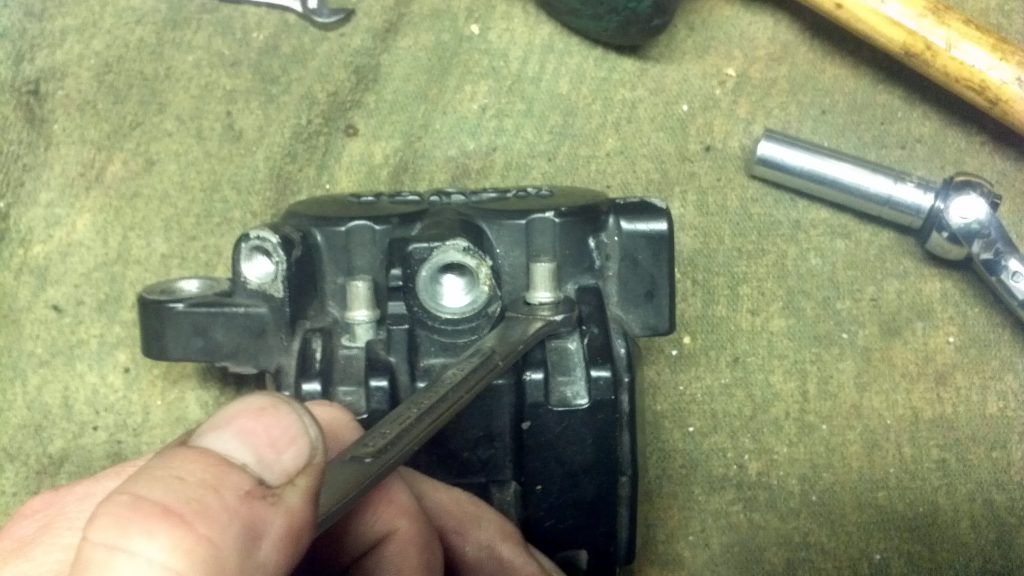
The pins can be pretty stubborn to remove. You can try jimmying the pads to release any binding on them, but if that fails, a small wrench will grab them under the collar and let you pry. The wrench won’t score up the metal like pliers would.
Well, you can try using channel locks or vicegrips to remove these pistons, or do it the easy way.
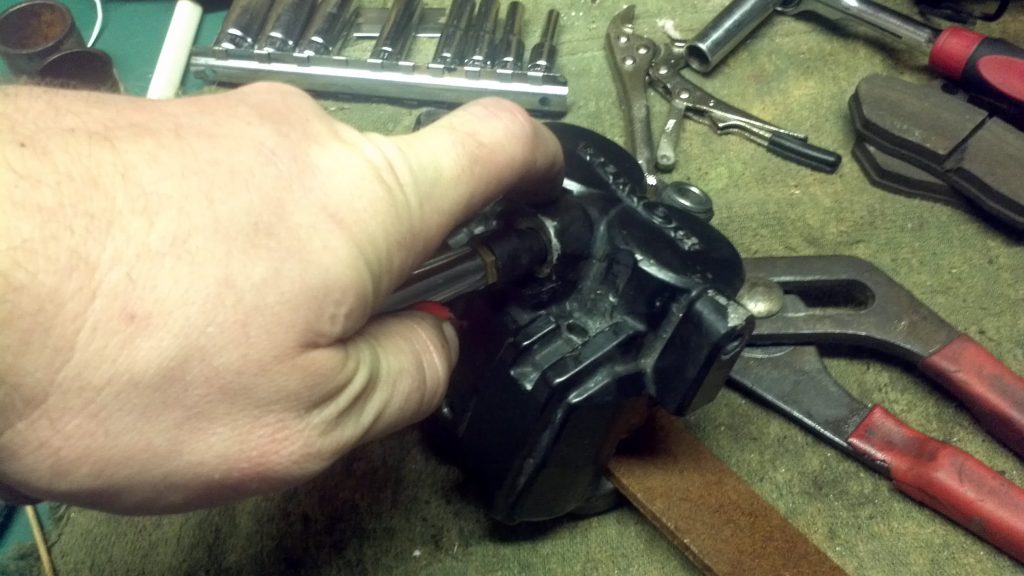
Remember earlier I said not to go too far away with the bleeder valve? Now’s the time to pop that back in and snug it up, shove the air nozzle into the opening for the banjo bolt and let the air push the pistons out. I place a thin strip of wood just inside the caliper though to keep the pistons from flying out at odd angles. It also keeps one piston from flying out past the seals before the 2nd one has a chance to pop out.
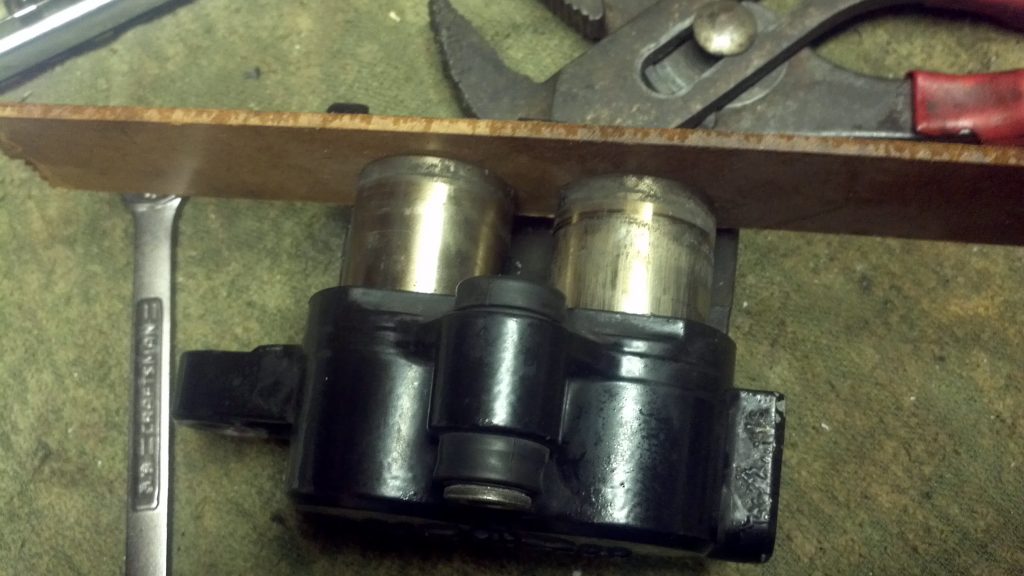
Pistons ejected. Notice the thin strip of wood to keep them from flying away. Also notice that it keeps them within the seals, that way you hold air pressure to pop them both out.
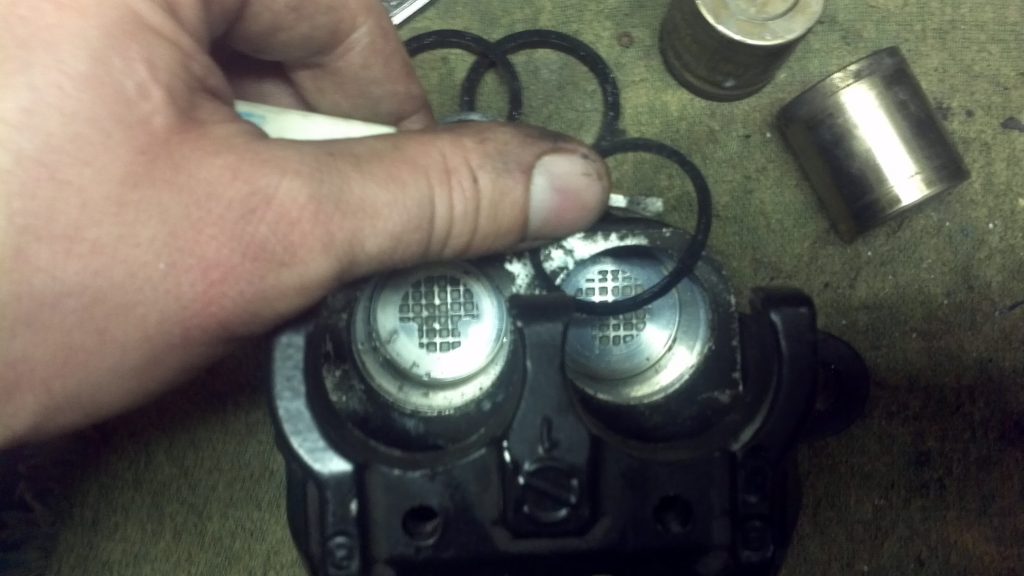
A small screwdriver is all you need to remove the rubber bits. These need to be replaced anytime you remove the pistons so don’t worry too much about damaging them.
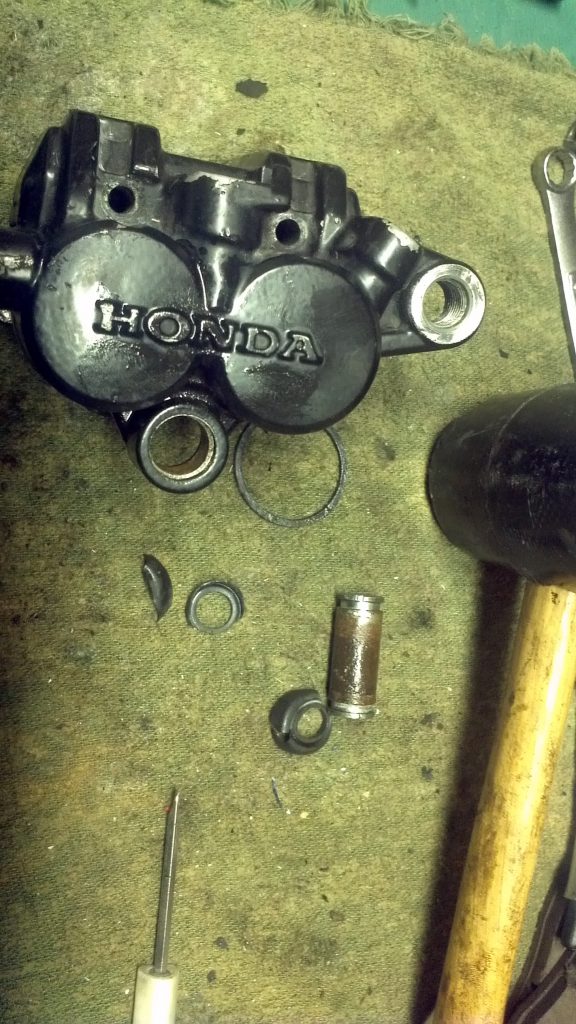
The collar can be a trick to remove, don’t try to just pry the boots out, that can’t be done. Instead, push the collar all the way to one side or the other until it pops past one of the boots. Then you can remove that boot and slide it back out the other way. In my case, the collar was seized and this method wouldn’t work. New boots come in the rebuild kit so destroying the old ones was a viable option. A little persuading with the mallet helped too.
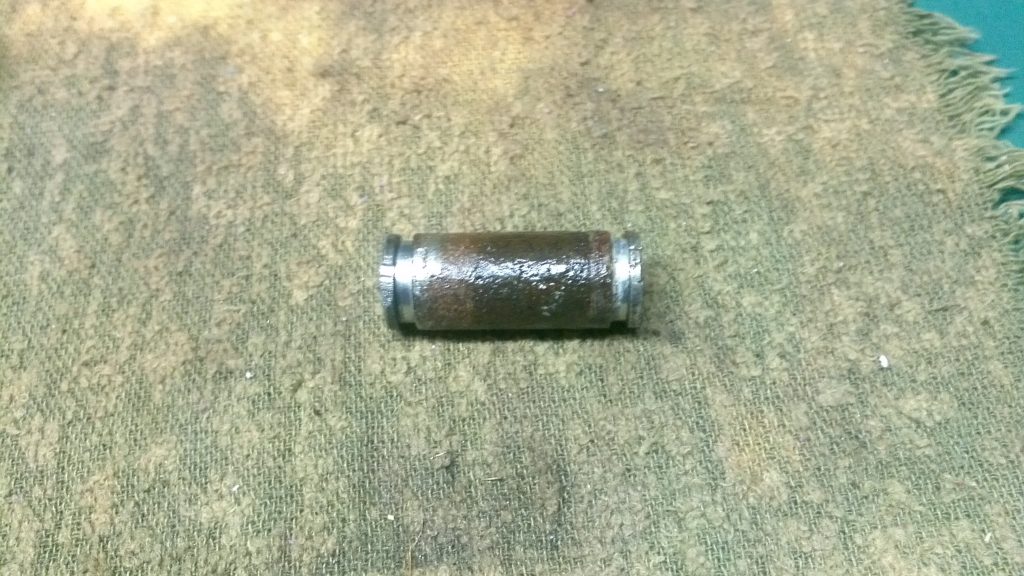
Here’s the collar before cleaning, it looks a bit pitted.
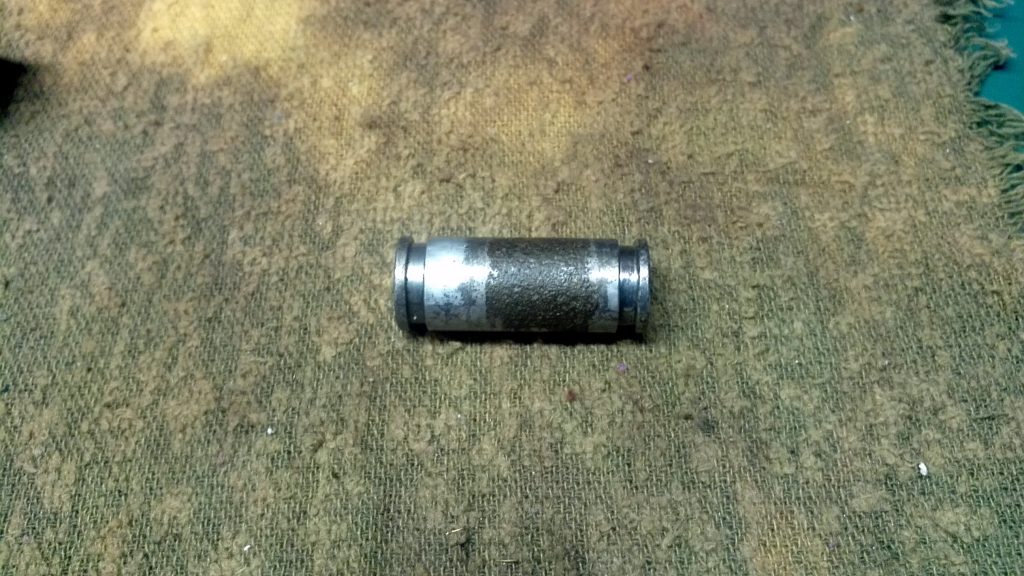
Yep, it’s definitely pitted. This explains why it was seized and gave me so much trouble removing from the caliper. Surprisingly the channel the collar goes into isn’t pitted so I’ll be fine. I just need to order new collars when I order new pistons.
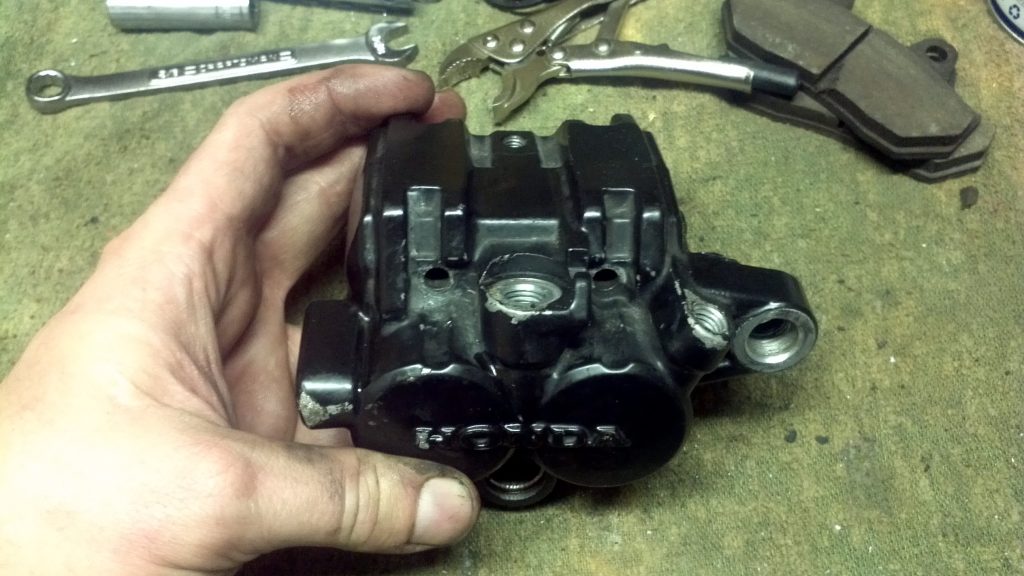
Finally, all stripped down, right? Better give it a once over.
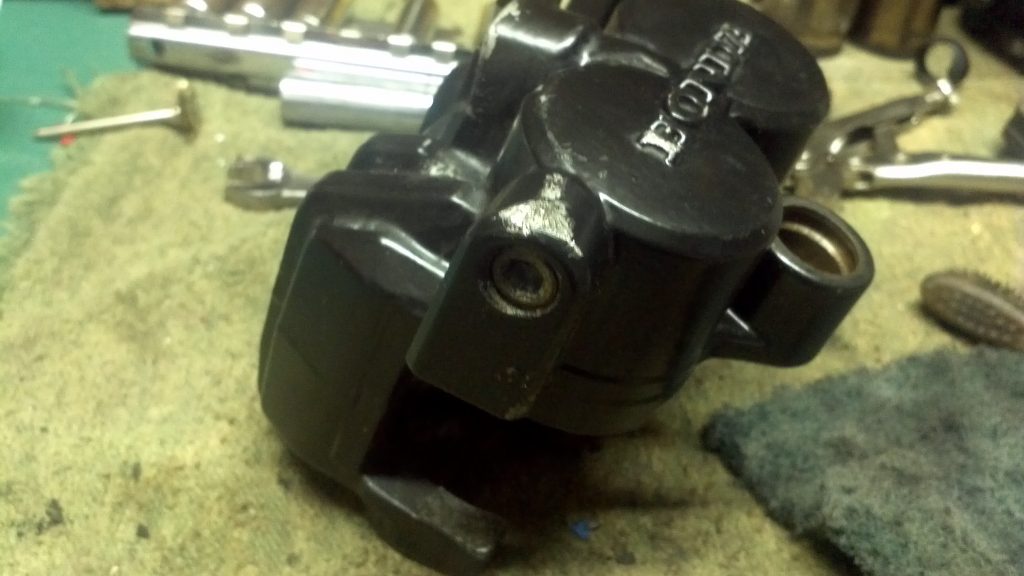
Not so fast, still one hidden bit from when they machined the caliper. Grab your allen wrenches.
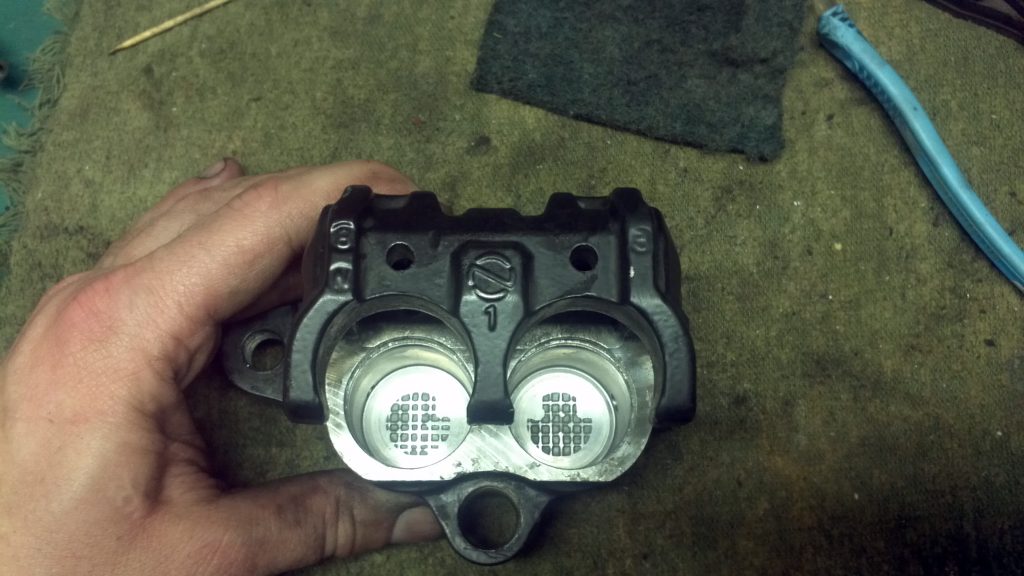
Caliper finally stripped down and shiny.
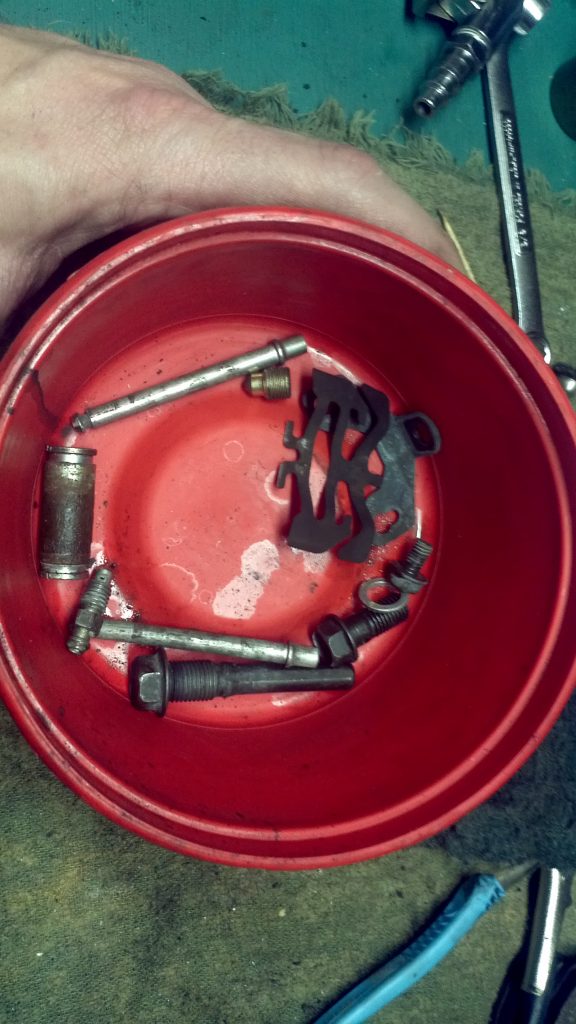
All of the internal bits before cleaning.
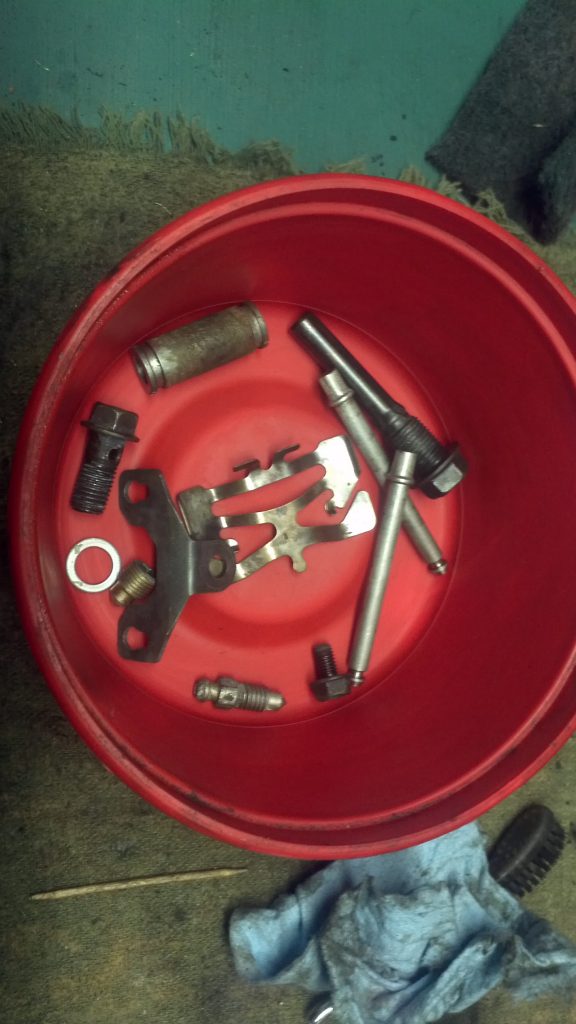
Internal bits after cleaning.
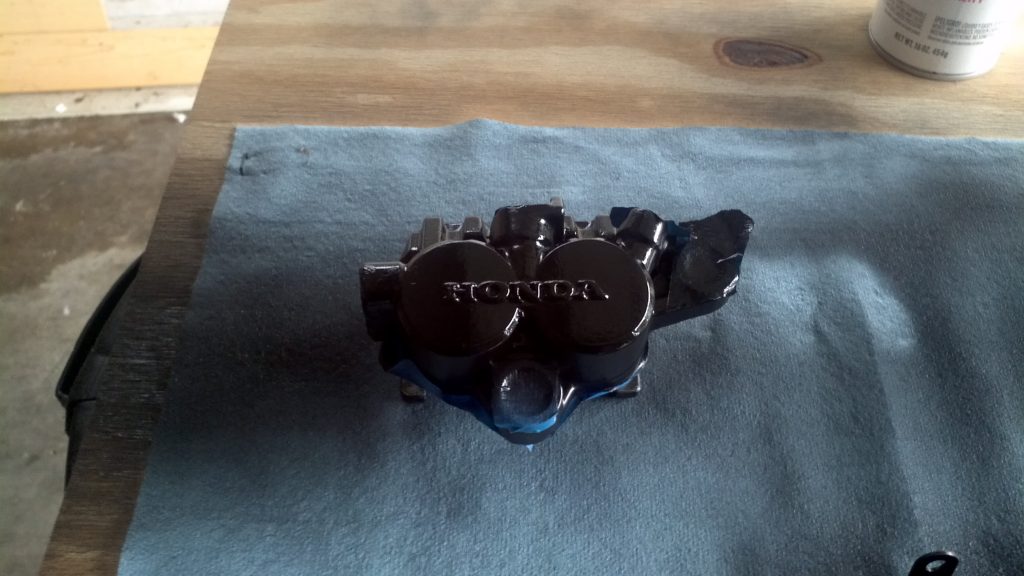
Light dusting of paint to cover up any nicks or scratches.
Check out the rebuild in Part 2.
