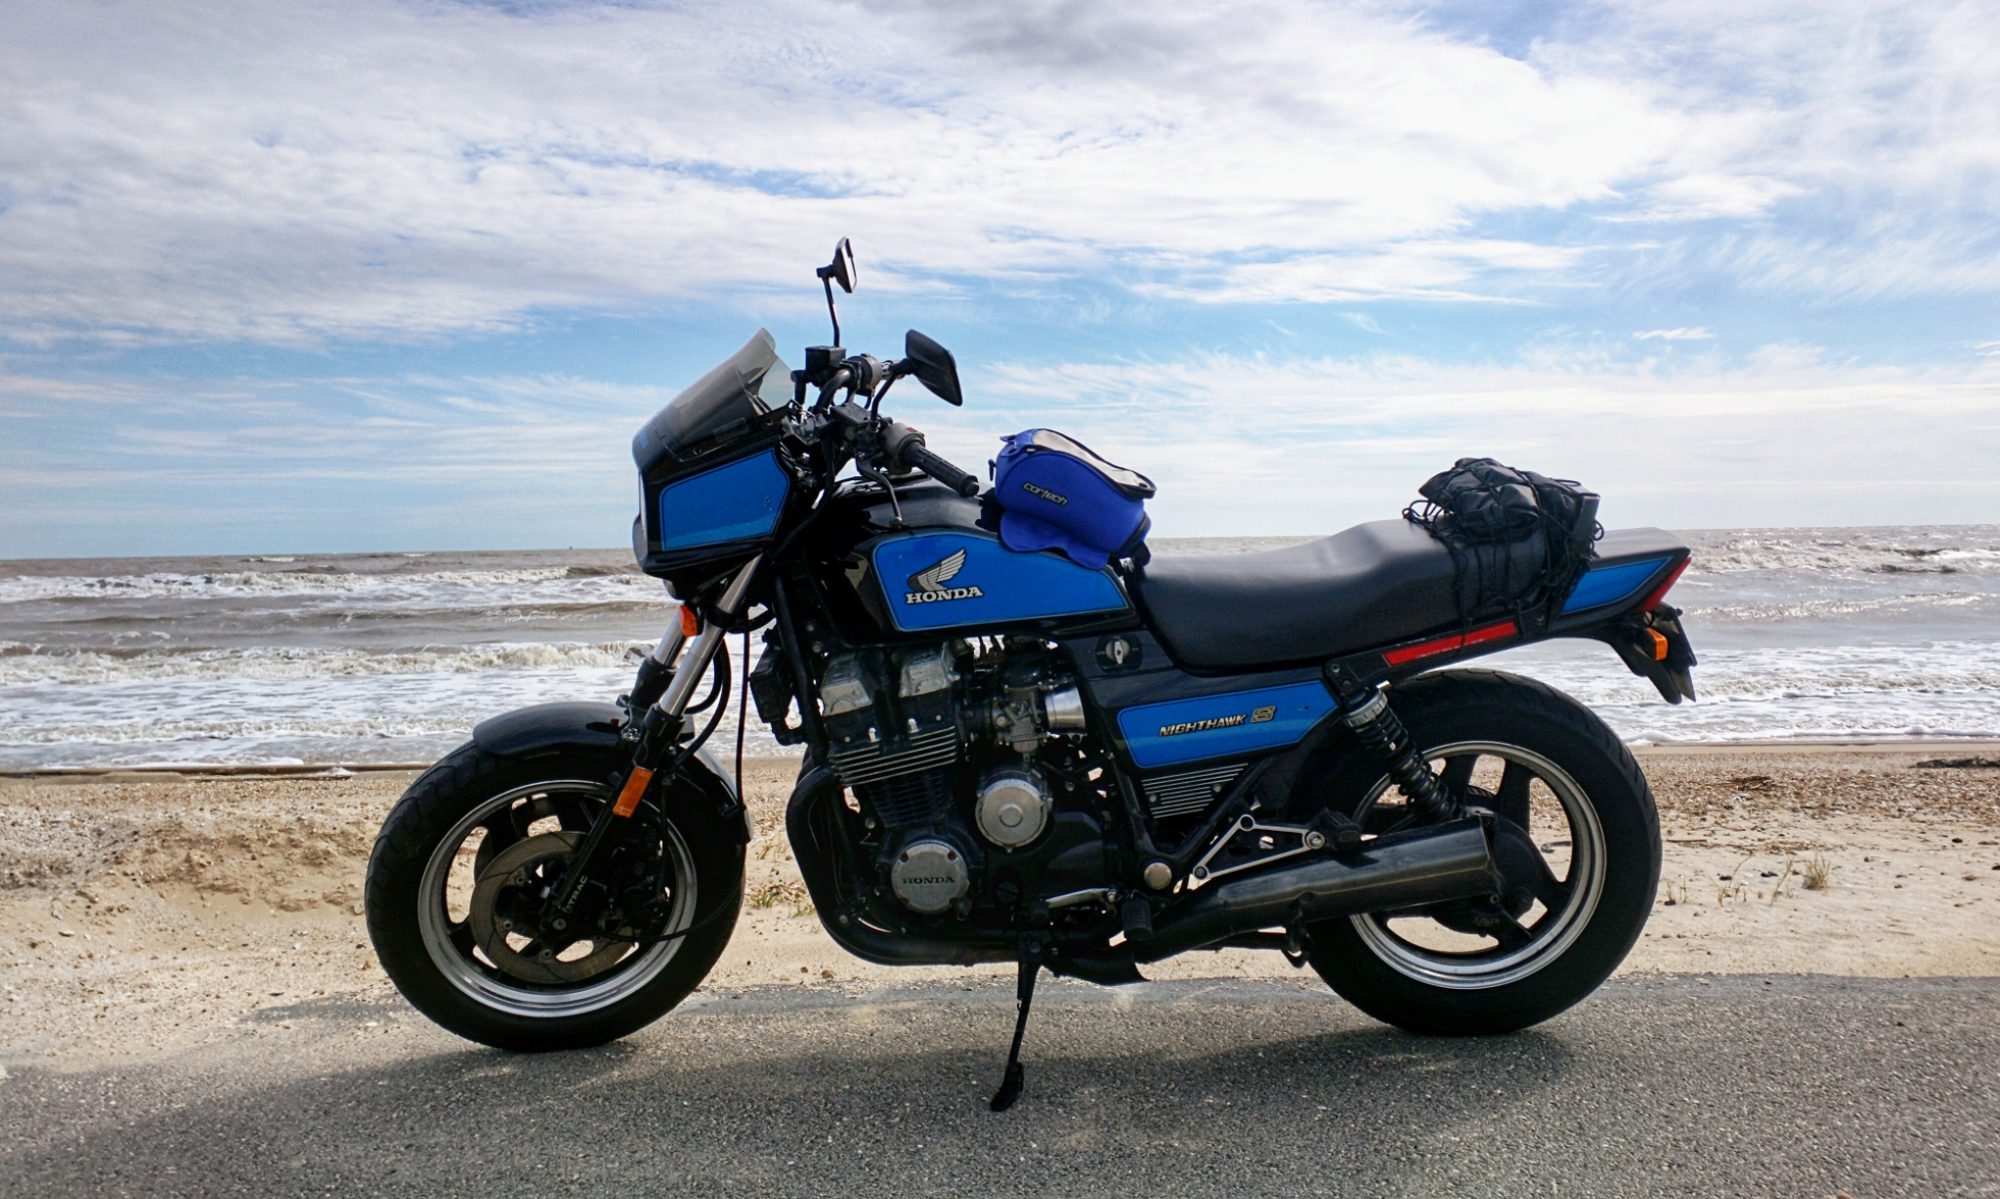
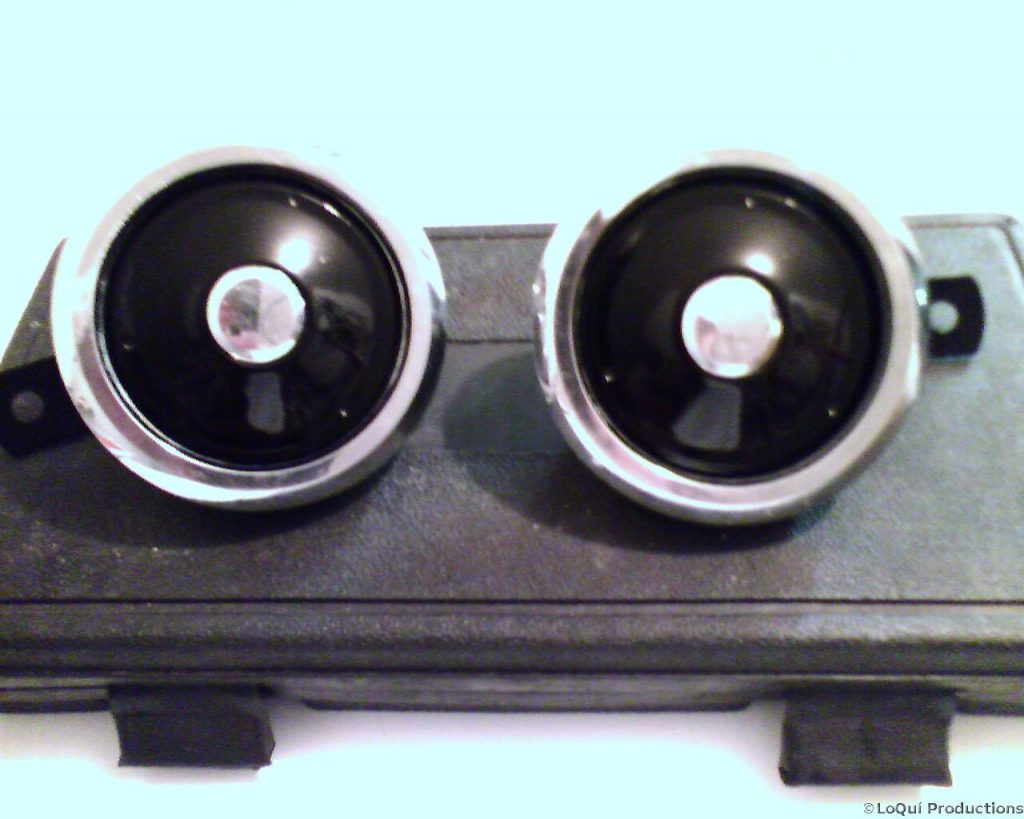
Incase you don’t read my other blog I’ve been busy lately. Some Jack drove through my house and I’ve been pretty busy getting the car shaped hole in my house repaired. Just before the big event tho I had just fixed the horns. Both horns on the bike were dead. Honda wanted over $80 for a new pair, and JC Whitney wanted $105 for a pair of after market motorcycle horns. So I went to Pepboys and picked up a pair of regular 3.5″ automotive horns for $15 each. A can of black spraypaint for $3, snap the chrome trim pieces off the old horns and voila, cheap horns.
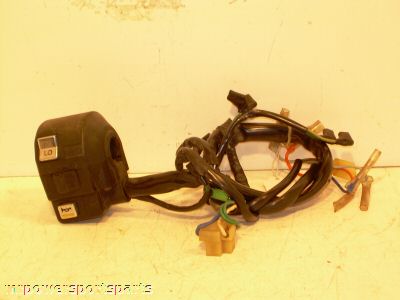
Left Hand Ctrl
And you didn’t even know I needed a left hand control? Well the blinkers ain’t working, and if I’m working my trusty meter correctly then the switch is bad. Its entirely possible that the blinker relay may be bad too, but one step at a time. Well I found one on ebay, and won the auction with my first bid of 99cents! plus $13.10 S/H Hopefully it’ll arrive soon and you’ll get to read another exciting post covering the installation!
The Manual Is WRONG!!!!!!!
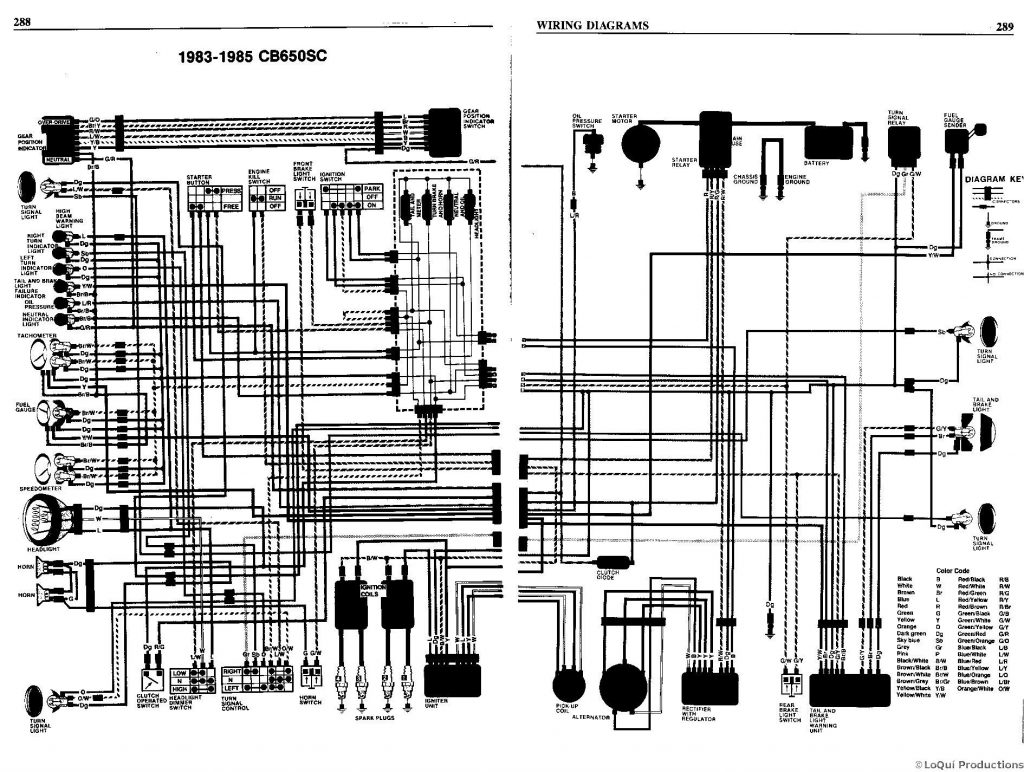
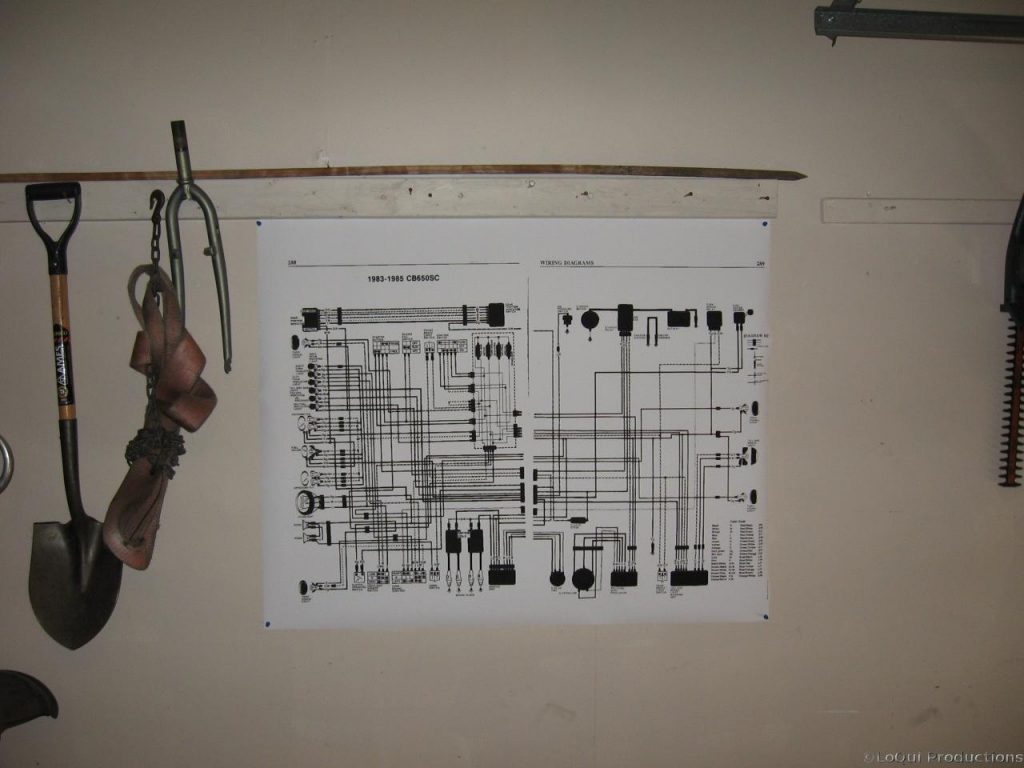
Ok, Sunday I spent 10 hours straight working on the bike. No stops for lunch or anything. From previous posts you can see I was fighting the wiring. Part of the problem was my stupid assumption that the wiring diagram in the back of the Clymer manual would actually be correct. As you can see, the wiring diagram shows the four wires for the starter switch. According to Mr Clymer the red/black and red/yellow are bridged when the button is free and the black and blue/white are bridged when the button is pressed. Well that’s WRONG Col Sanders! See, since my four wires were cut and I didn’t get my new starter switch yet I didn’t have any idea how these wires should really be, so I was gullible and trusted the damn manual. Working on this wrong assumption I went ahead and twisted the red/black and red/yellow wires together while trouble shooting other systems and for the life of me couldn’t figure out why I was having such a damn hard time. Lights were coming on that shouldn’t be on, ones that should be on weren’t coming on, etc etc.
Well after 8 hours of banging my head against the wall I succumbed to frustration and gave up. I grabbed a and pulled up a seat, ok actually it was the cat’s stoop +, but I sat back, enjoyed my beverage and just stared at the diagram on the wall . I stared and I stared and concentrated and tried to understand. Finally waiting was filled and I grokked in fullness that it was WROOOOONNNNGGG!!! Ahh! Why would blue/white be bridged when the button was pressed? Blue/white feeds the headlight and thats s’posed to be turned off when you start the bike! It just didn’t make sense! Finally I started to suspect that the diagram was less than accurate and thought to myself, “How would I have wired this?” Well, its simple Bob, I would want the blue/white bridged to red/black when the button was free, and the red/yellow bridged to black when the button was pressed. Well sure enough, THAT’S HOW IT’S SUPPOSED TO BE!!!! ARG! I wasted almost 8 hours tracing down every circuit in that damn bike looking for a short or a loose ground all because the manual was wrong. Did I mention the manual was wrong? Oh man, felt good to get that off my chest. The damn manual was w-r-o-n-g.
New Starter Switch
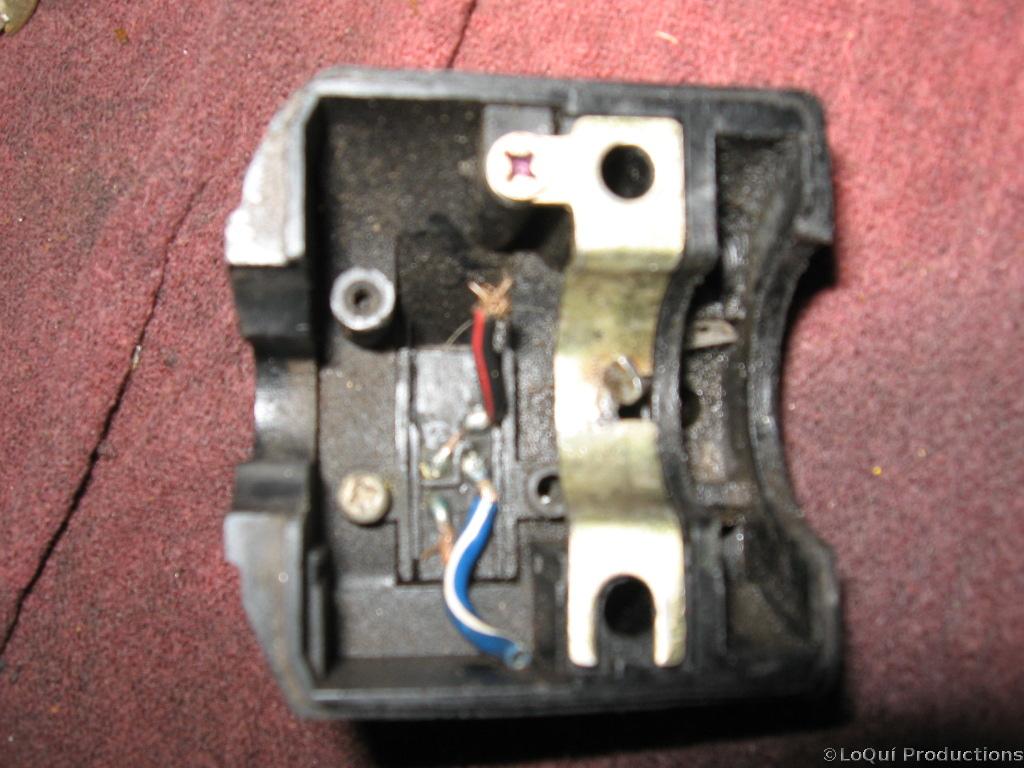
For starters is the old starter switch. Notice the wires are cut so damn close you can’t see what color they’re s’posed to be? Doesn’t really matter, since I tested the switch and it was bad in the free position.
I hate wires
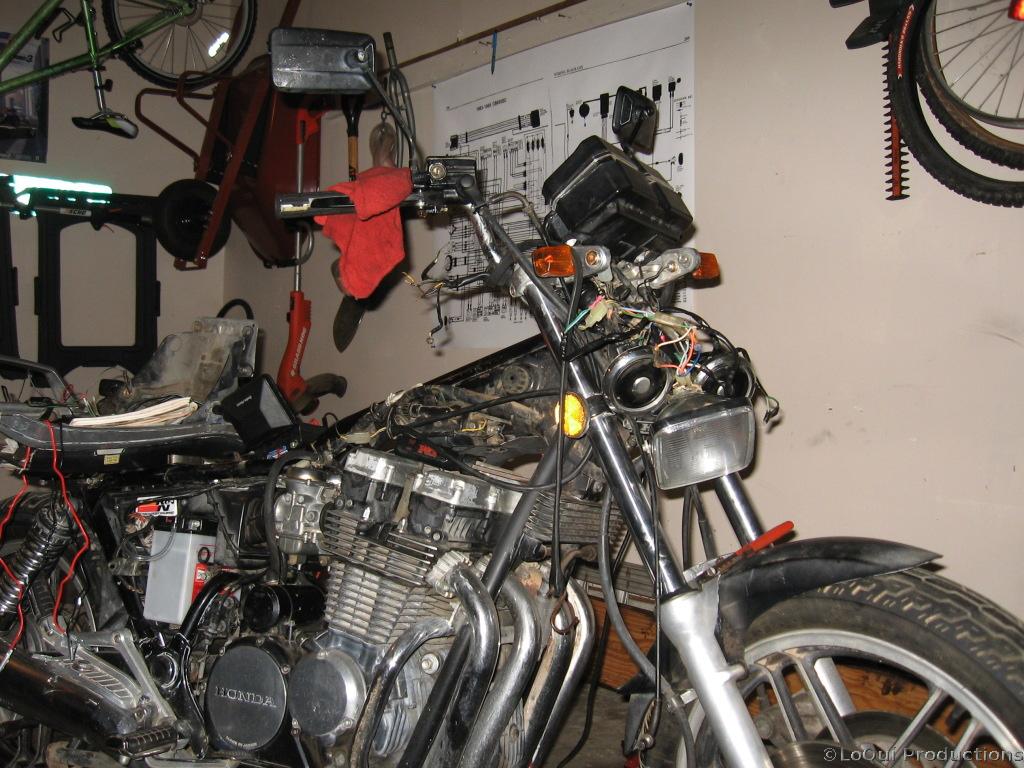
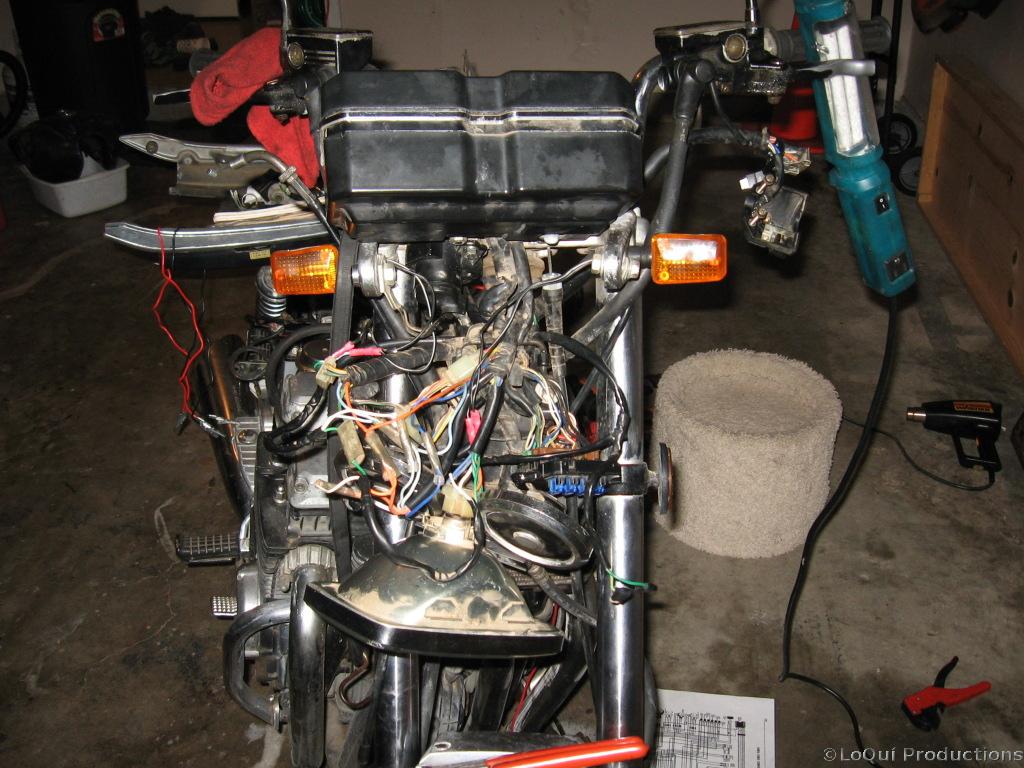
Wiring used to be just another job, but now I hate it. I’d love to slap whoever F$#@ed up the wiring on this bike. Carbs are on, intake is on, new ignition switch is installed, battery’s charged, lets hook it up and see if it turns over right?
Well, for starters, the starter button doesn’t work. So, I open up the right hand controls and the wiring harness going into it has been completely cut, and taped off like an amputee and just shoved back in place. The 2 wires for the kill switch have been permanently wired together, and the hot wire for the headlight has been permanently twisted to its return path. This still didn’t get the headlight working tho, as I found a separate wire coming off the back of the headlight and grounding directly to the frame.
Long story short, headlight works now, instrument backlights work, tail/brake lite works after replacing the bulb, warning lites for neutral/oil pressure/tail light/high beam work. Horn, turn signals, fuel gauge, and gear indicator are still stubborn and refusing to work.
I just picked up a new right hand control from Houston Cycle Salvage which should fix my starter button and kill switch woes.
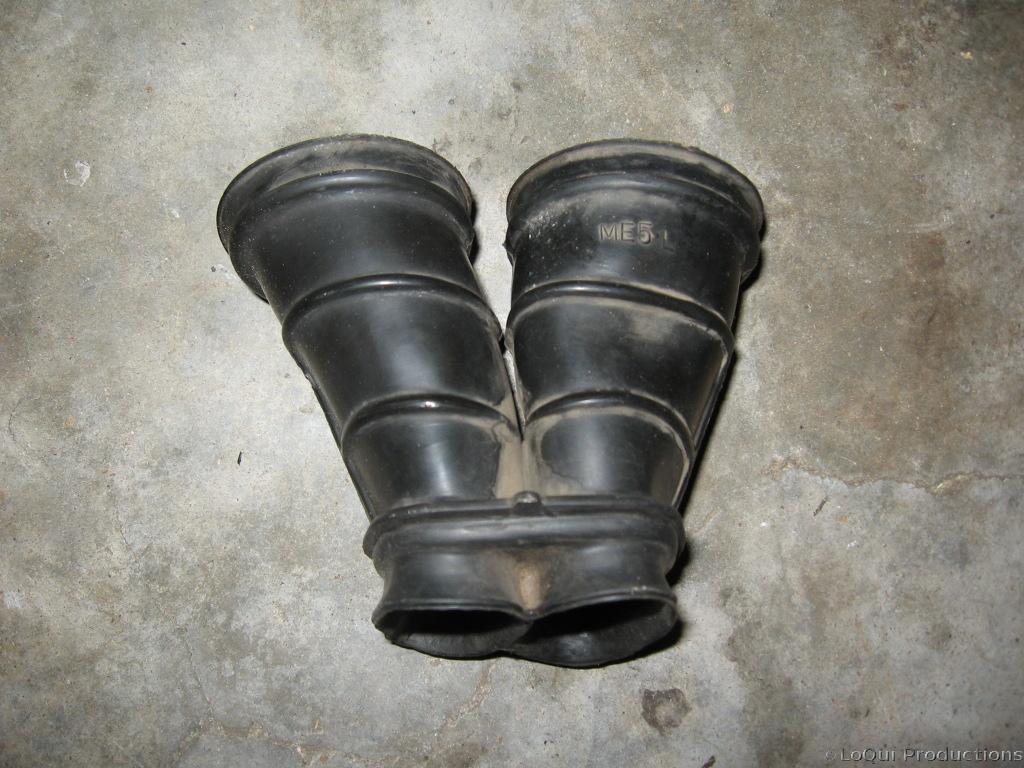
Oh those damn rubber intake tubes!
The problem is these damn rubber thingies have to fit on 2 carbs at the same time. You can fit them on one carb or the other, but they’re just not flexible enough to stay on both at the same time.
In the Scheme of things…
Whenever you’re doing wiring, its good to have the Schematics easily at hand. Actually, whenever the kids at work try to print something to the plotters and get it wrong, its always me they come to because I’m the only one there. The problem being I’ve never actually “used” these plotters so I have no idea how to give them any advice. Well, I could just sketch up a smiley face in gimp and print that, but why waste paper? So I scanned in the wiring diagram from the back of the book and printed it out at 36″x44″.