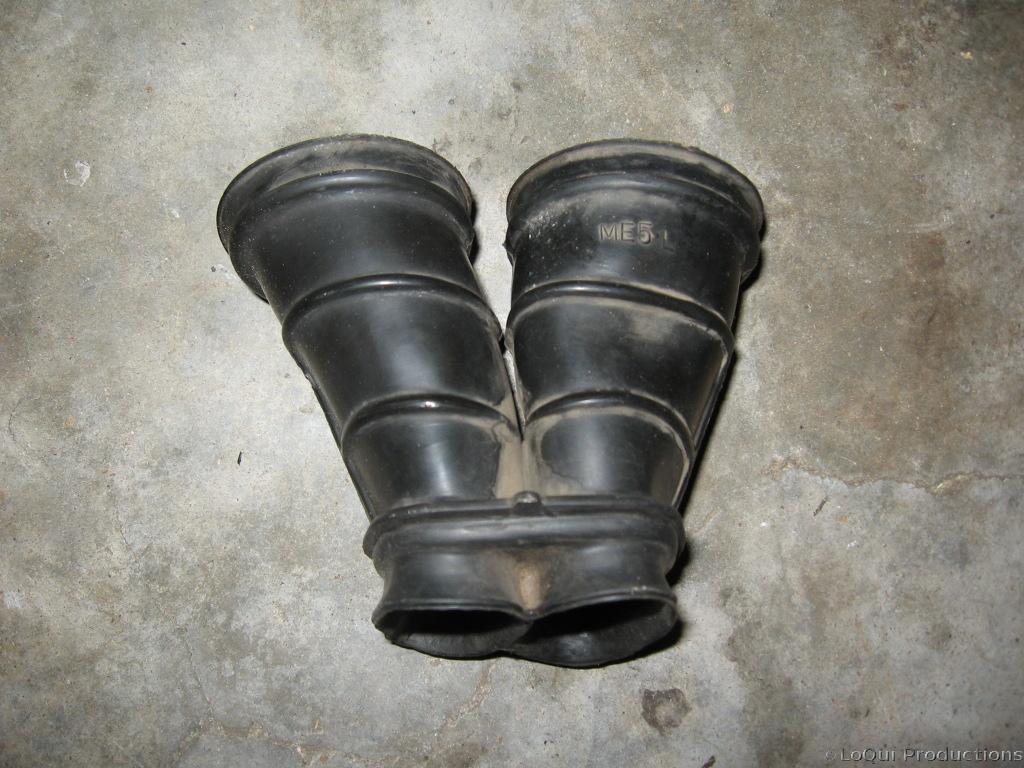
The problem is these damn rubber thingies have to fit on 2 carbs at the same time. You can fit them on one carb or the other, but they’re just not flexible enough to stay on both at the same time.
In the Scheme of things…
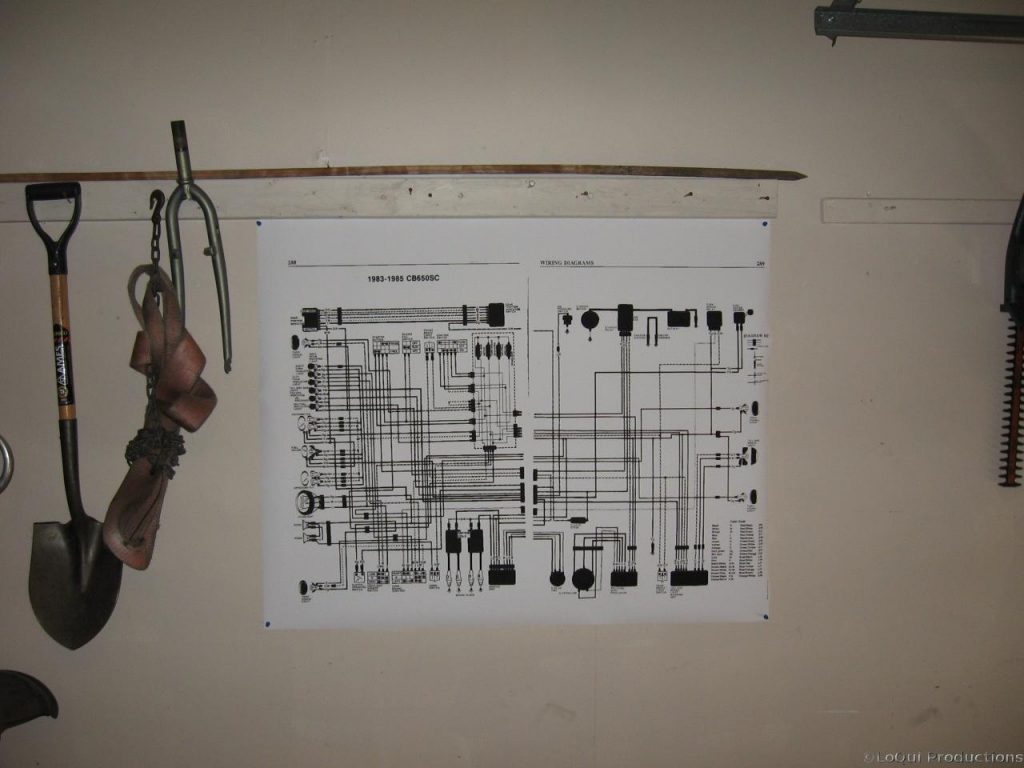
Whenever you’re doing wiring, its good to have the Schematics easily at hand. Actually, whenever the kids at work try to print something to the plotters and get it wrong, its always me they come to because I’m the only one there. The problem being I’ve never actually “used” these plotters so I have no idea how to give them any advice. Well, I could just sketch up a smiley face in gimp and print that, but why waste paper? So I scanned in the wiring diagram from the back of the book and printed it out at 36″x44″.
Paul’s Homemade Coil Compressor
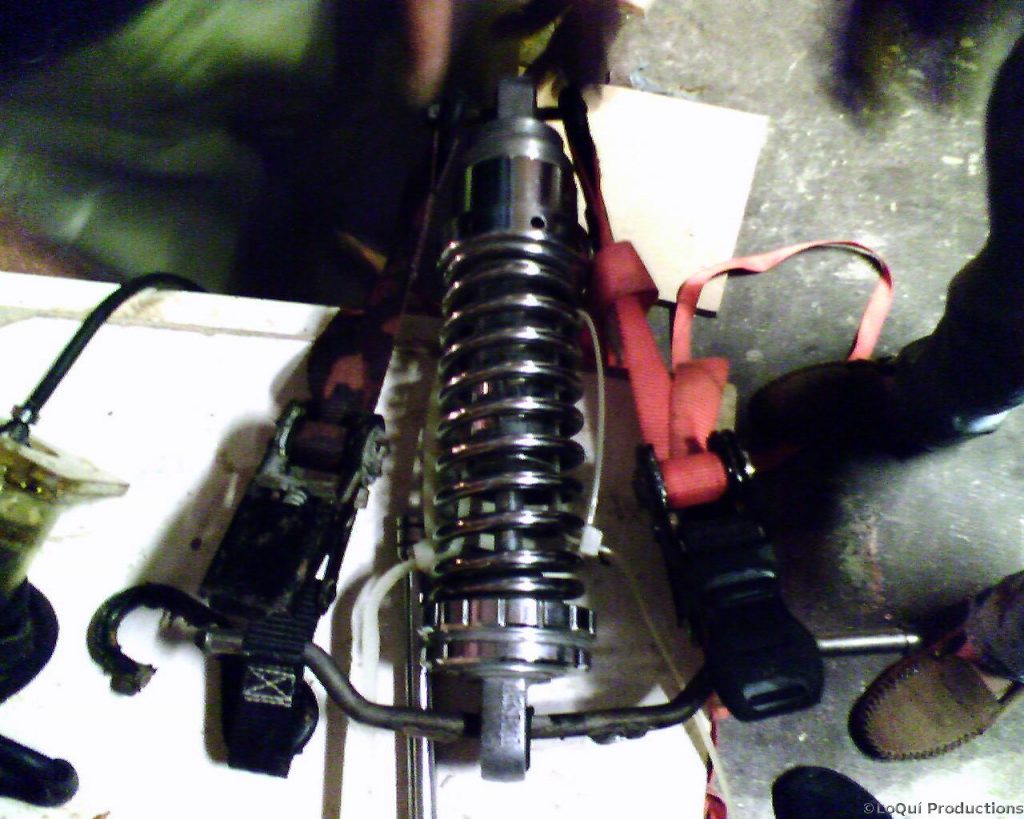
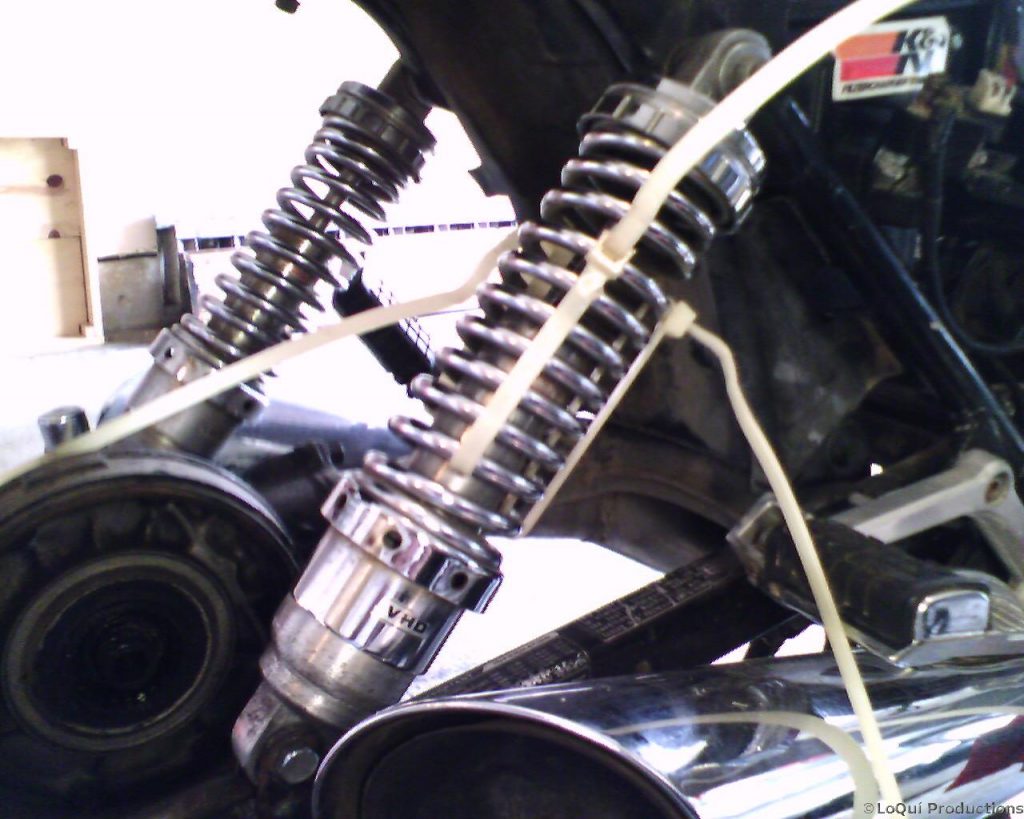
Step 4 in removing the back tire was to disconnect the right shock. Guess what happens when you d/c the shock? That’s right, it extends 2″ and won’t go back in. Nick has a spring compressor, but it was for a car and wouldn’t fit the skinnier coils on this shock. So Paul came down with a short case of the geniuses and devised a homemade compressor using 2 ratcheting tiedowns, an old rusty bolt, and an old exhaust bracket that I think came off a Volvo. We then ran these bigass zipties thru the coils to hold it down. Driving home with this thing was like driving home with a loaded bomb in the passenger seat. And let’s give some big props to these zipties! They were the true champions in this endeavor.
Well, the carbs are on, but…
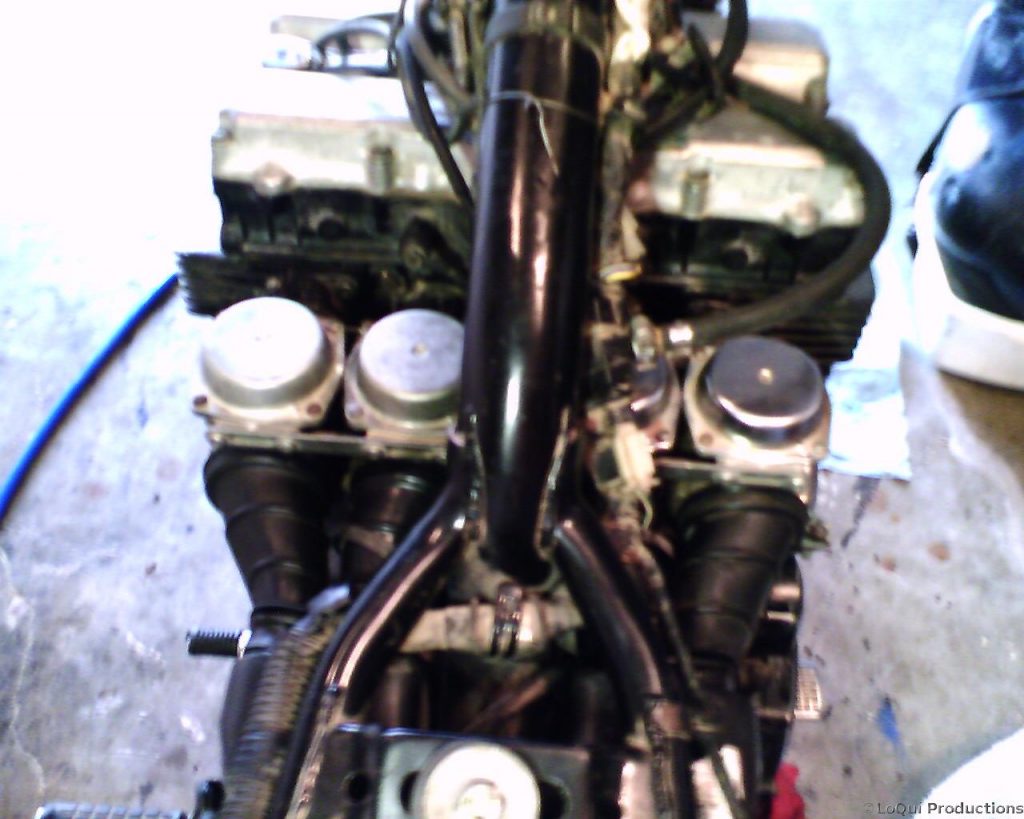
Well, the carbs are on, but there’s these goofy Y shaped rubber air tubes that run from the airbox to the carbs. 1 branches off and feeds the two carbs on the left, and the other one feeds the 2 carbs on the right. Let me tell you what a pain in my assholes these damn tubes are. Honda must have employed 4-armed gorillas to install these rubber bastards. I can wrestle one branch onto one of the carbs, but when I go to snug the other branch onto the carb next to it the first one pops off. I fought it for 2 damn hours and gave up. I’m going to try softening these up with a heater and see if I can’t get them on…
Back Tire
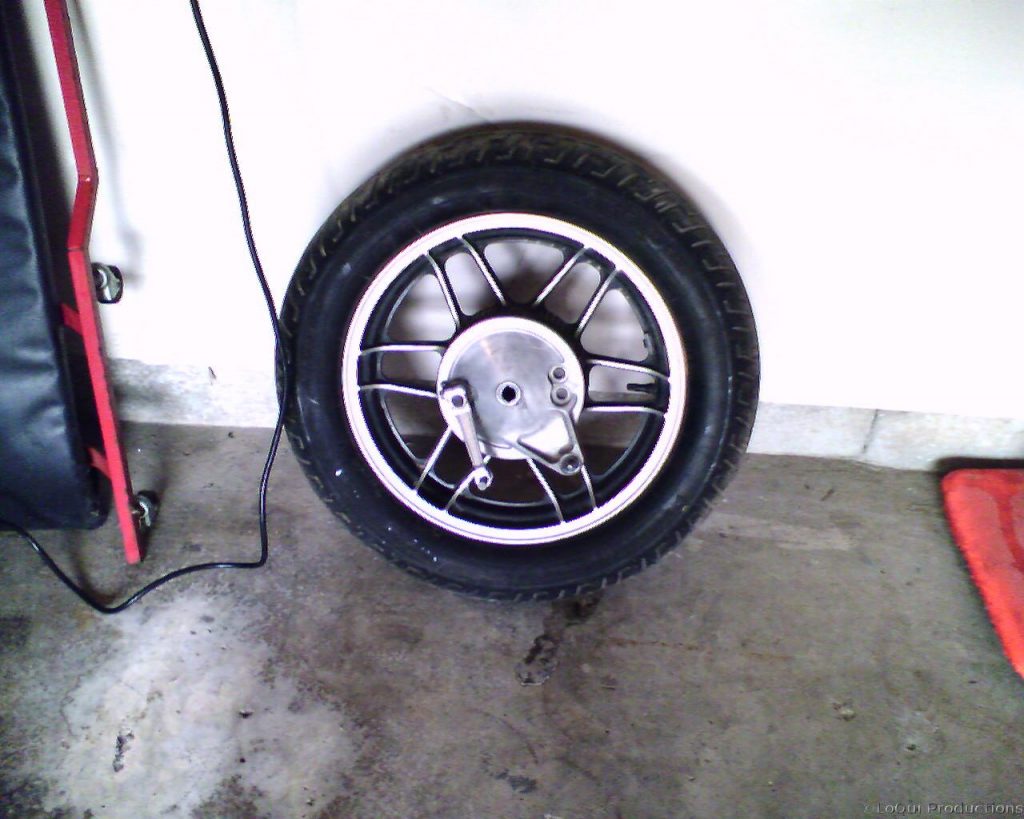
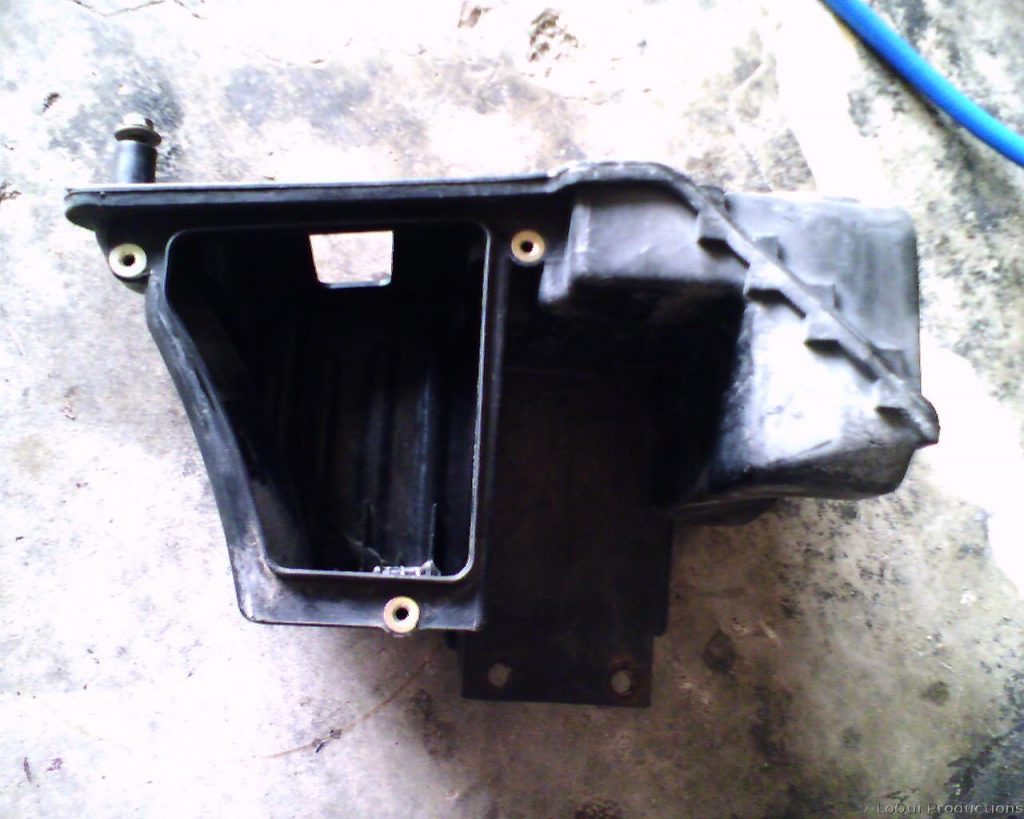
Well, I was about to install the carbs, but I wanted to clean the airbox first. For some damn reason you have to remove the back wheel to remove the airbox. Well, I got the wheel off, got the carbs on, and can’t get the damn back wheel back on until I can get my hands on a spring compressor for the damn coilover shock…
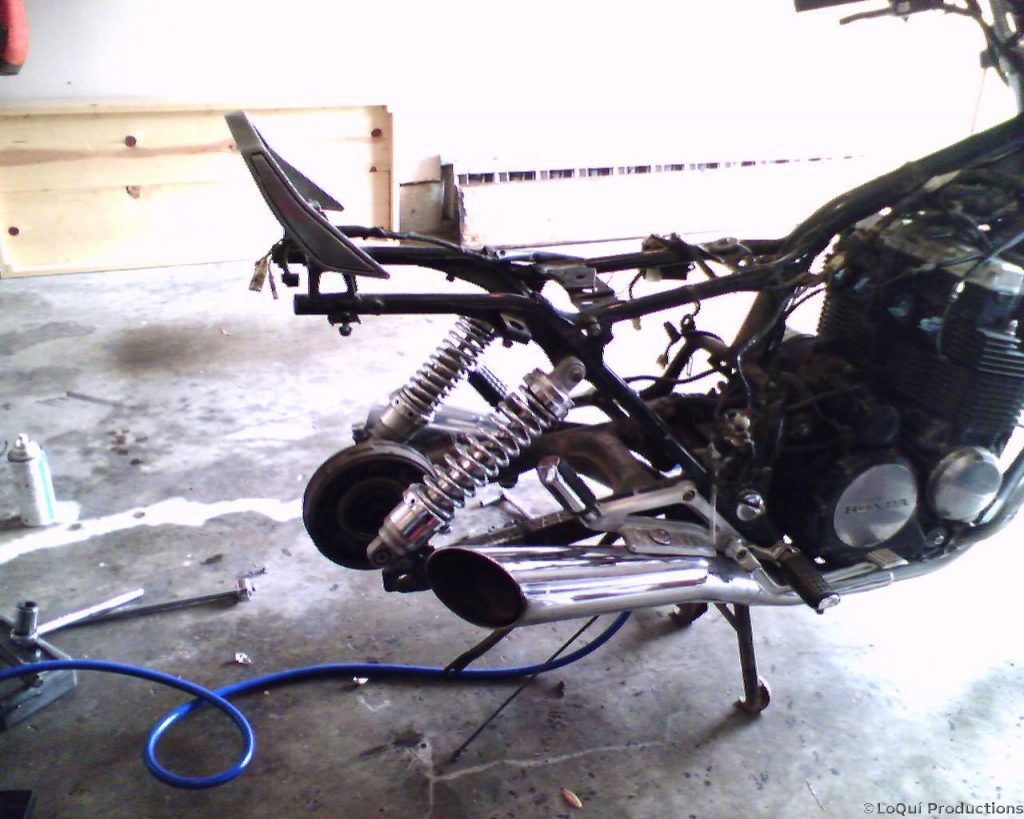
carbs back together
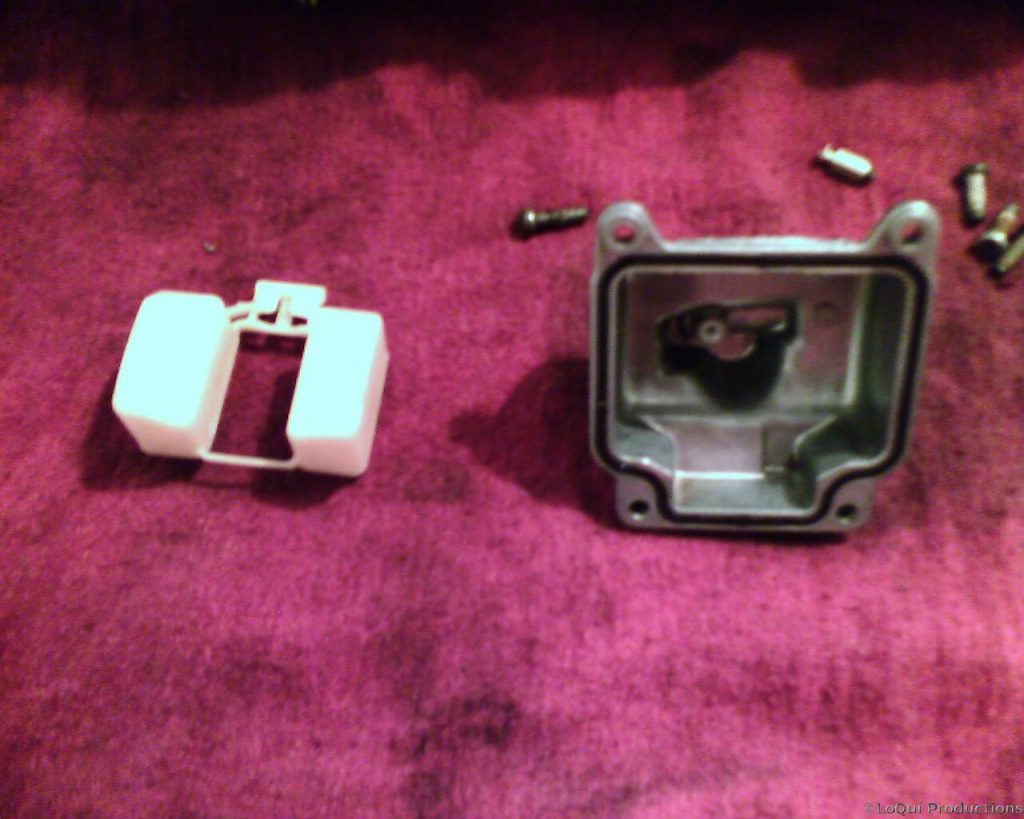
Well, I got the carb parts I needed from Houston Cycle Salvage. I can’t say enough about how cool these guys are. Great prices and very helpful. Carbs are back together and on the bike. They really weren’t that dirty for how old they are, they cleaned up really well.
Carbs
Carburetor is a french word which means “Leave it alone.”
Finally hooked up with nick and got my carbs cleaned out. All was going well until we get to the end. On float had gas in it, and one of the float bowls was cracked all the way thru at one corner and broken off. Oh well, more parts to buy.
Burnt Connector
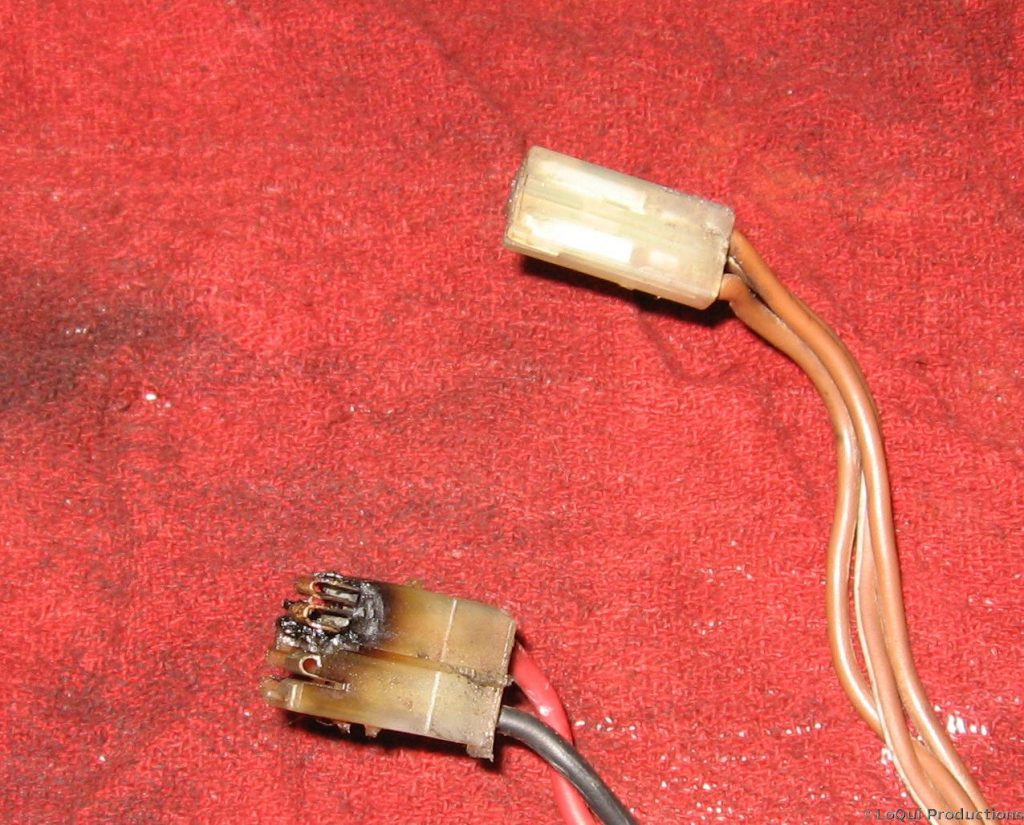
I pulled the Yamaha ignition switch off the bike. It was spliced into the original Honda plugs in the back of the fuse box. One of the connectors (red wire) looks like it got kinda hot. I noticed the same thing on 2 other Nighthawks in the salvage yard. Hope this isn’t a common occurance. The ign switch I bought for it came off a VF500C (magna) I believe, its the exact same switch tho, and doesn’t look near as toasty. Good thing I’ve got a full can of dielectric grease.
Coming along nicely…
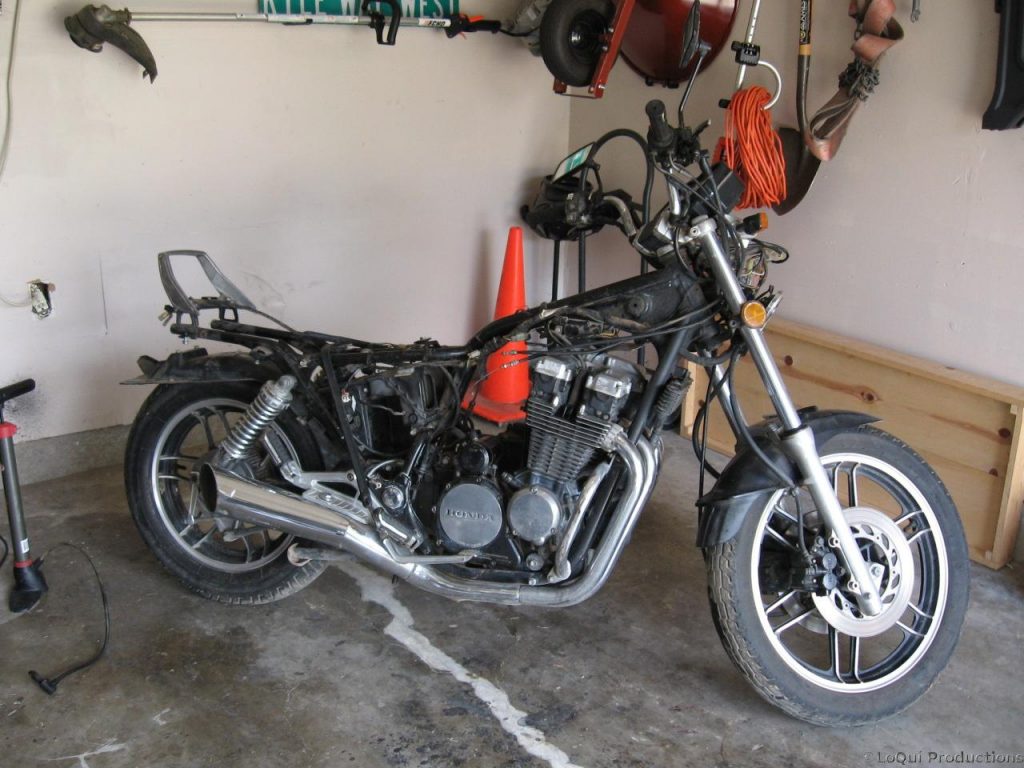
DuctTape is NOT The Force!!!
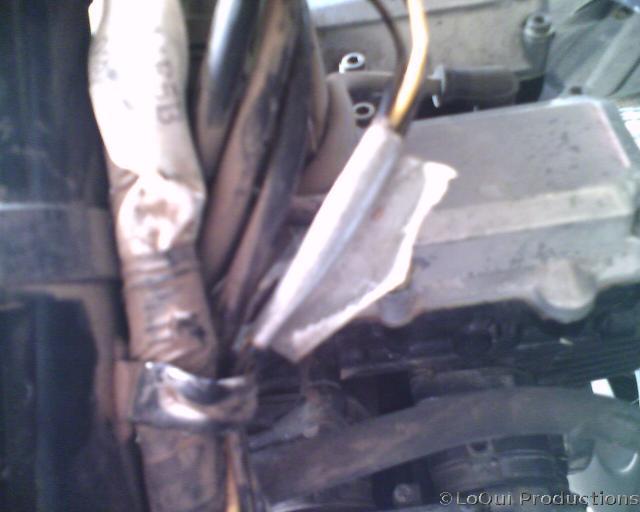
It had to happen sooner or later. In this case it was sooner. I pulled the tank off and sure enough there were a couple wires all wrapped up with ducttape. I don’t care what StarWars geeks claim, ducttape is NOT as good as The Force. Could this be one of the causes for my electrical problems???
