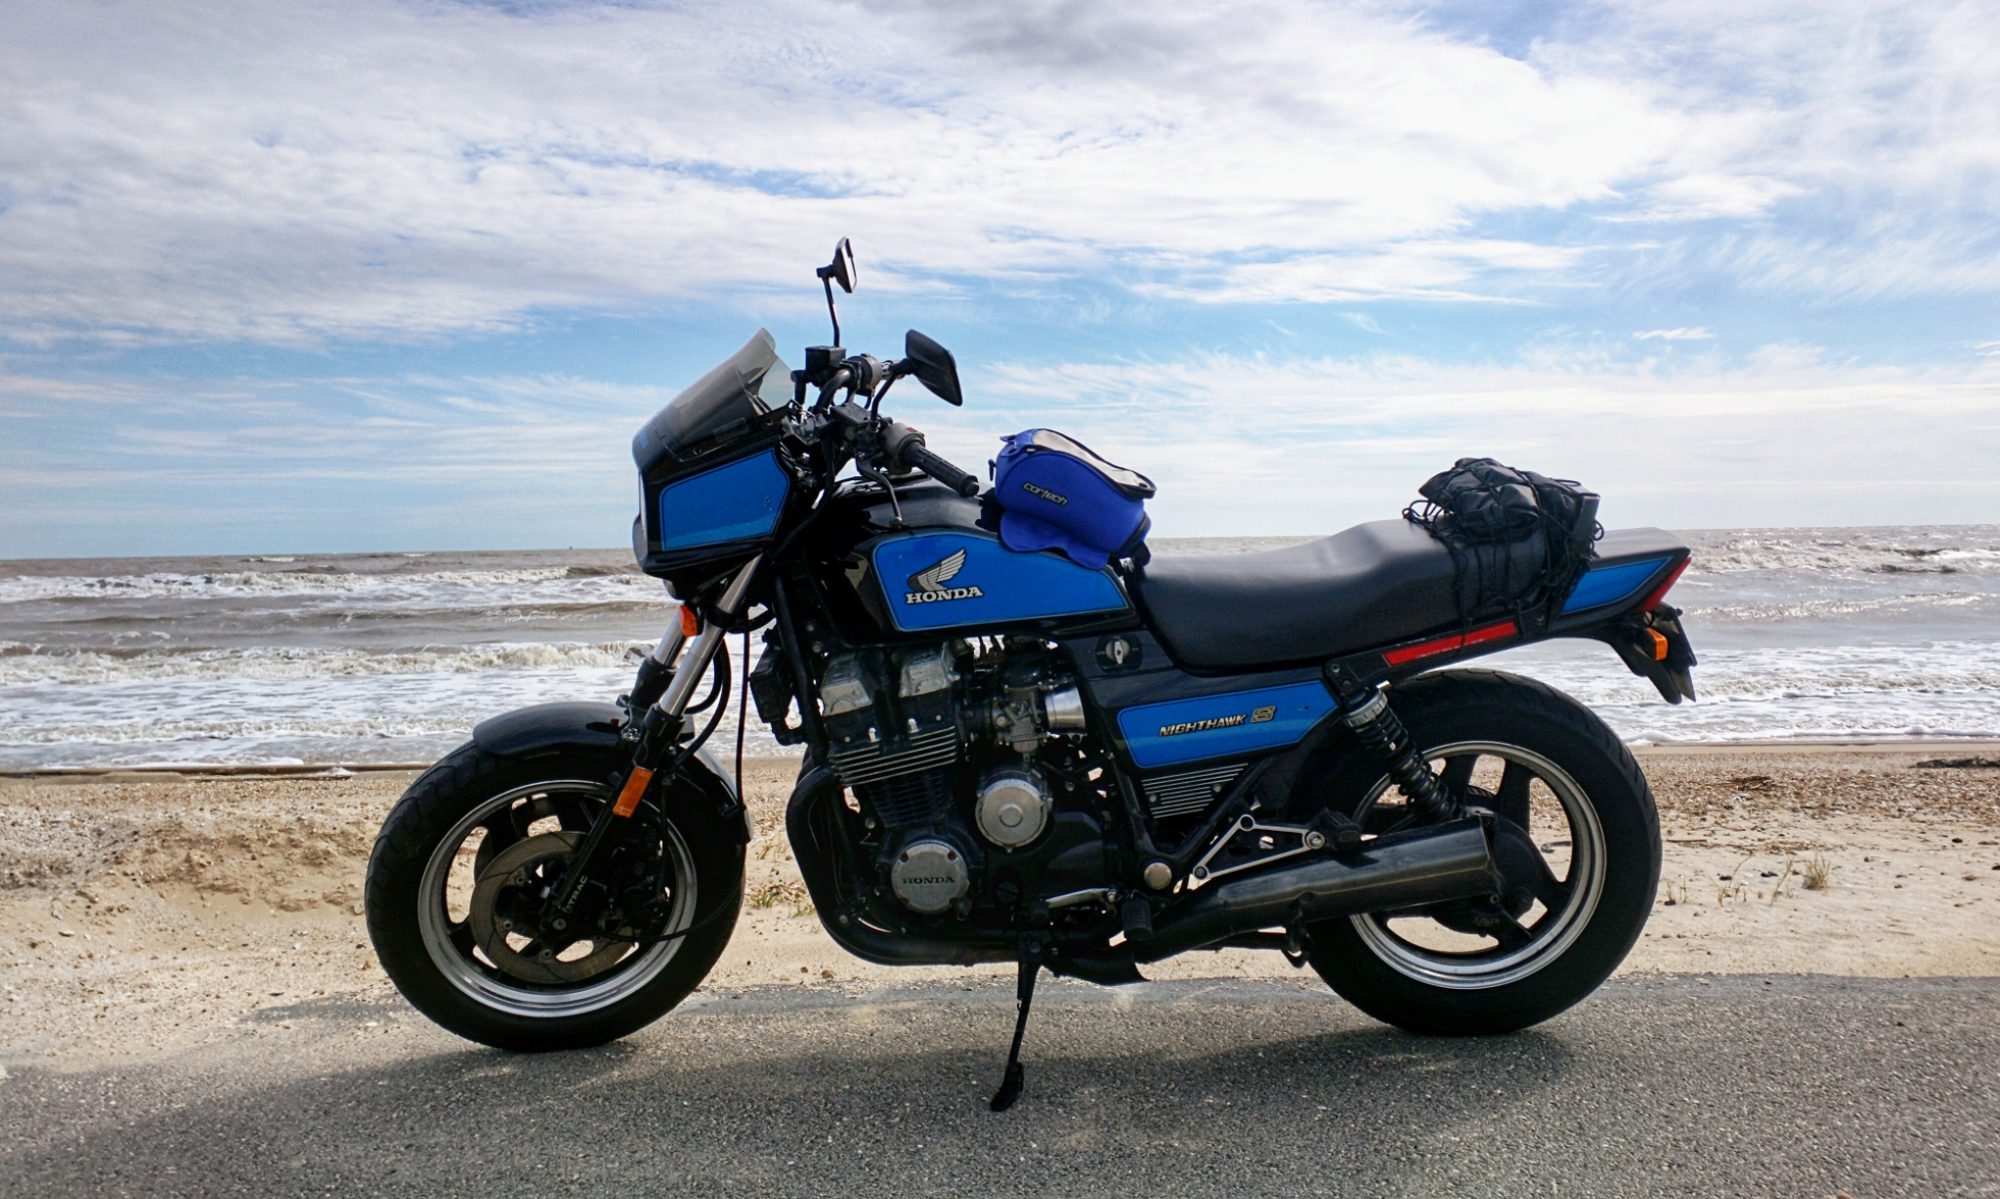
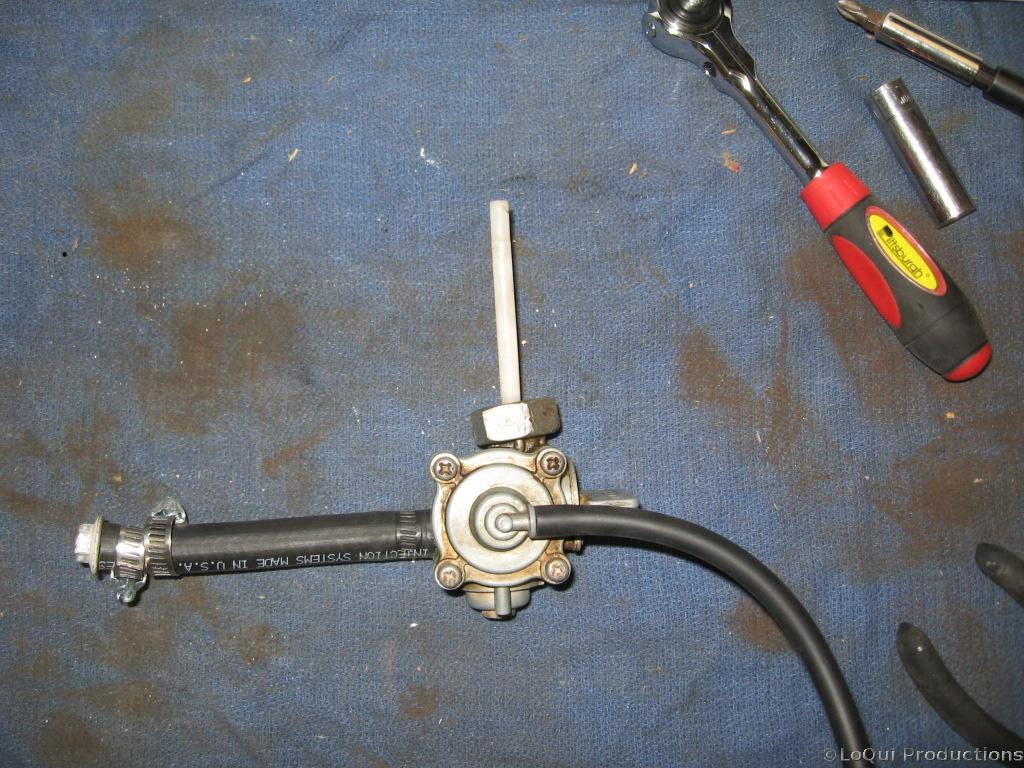
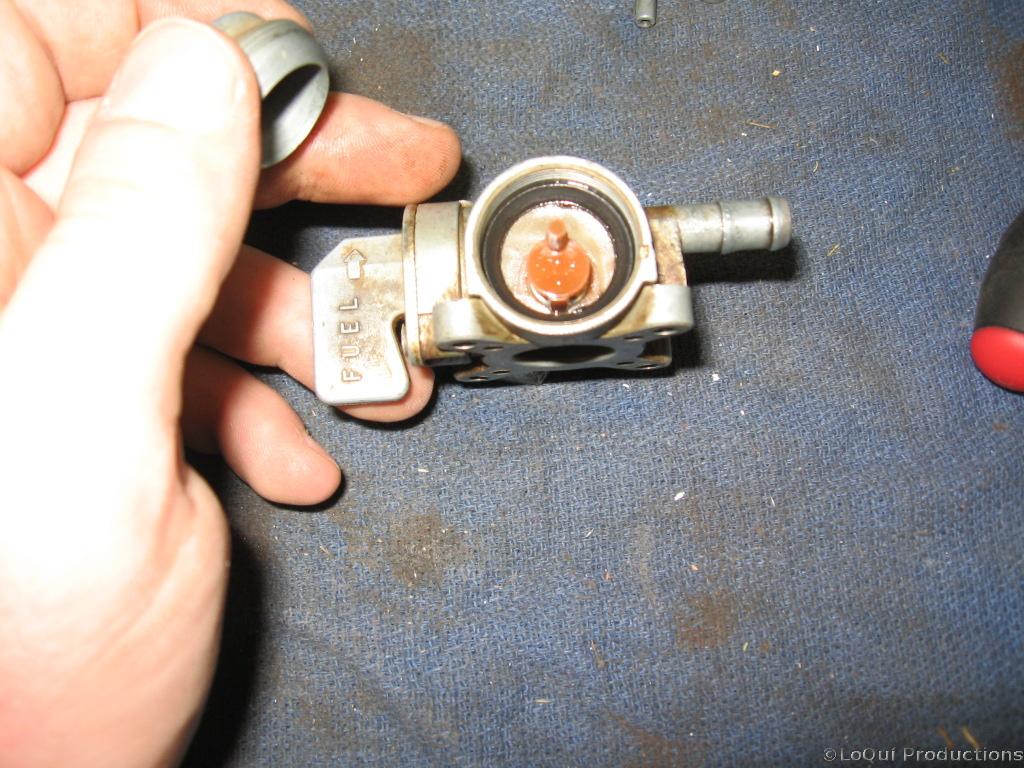
Here’s the infamous “reserve tank”. This straw sticks a couple inches up into the tank to sip fuel, when the level falls below the top of this straw the bike “runs out of gas”. When you switch it to reserve it bypasses the straw and starts slurping the sludge off the bottom of the tank. There is a strainer around this, but the original one on my bike was busted and wasn’t straining anything.
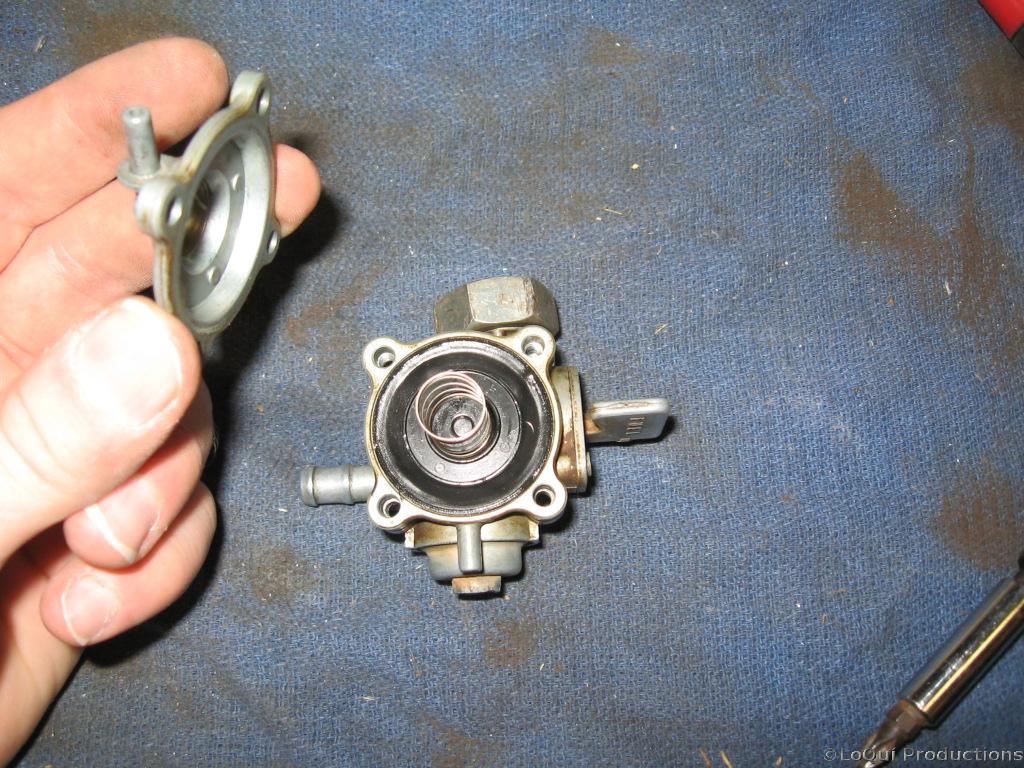
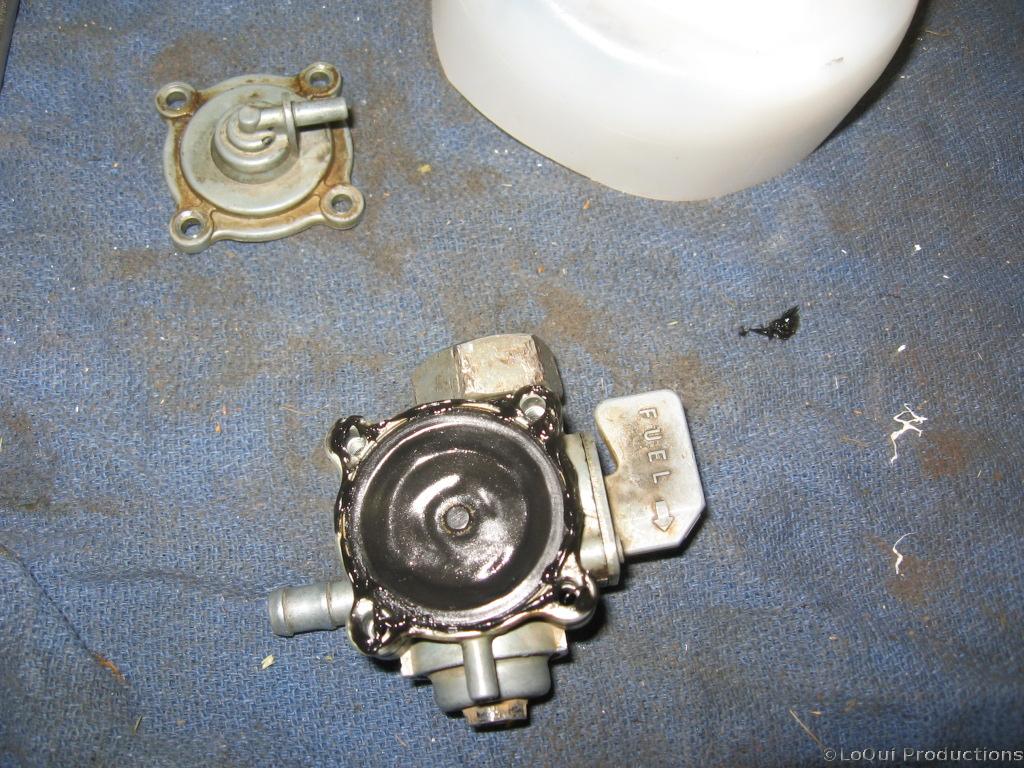
Ok, pull out the straw, the fuel line, and the vacuum line. Remove the 4 screws holding the diaphragm cover on and just lift it off. Don’t let the spring jump off and get lost.
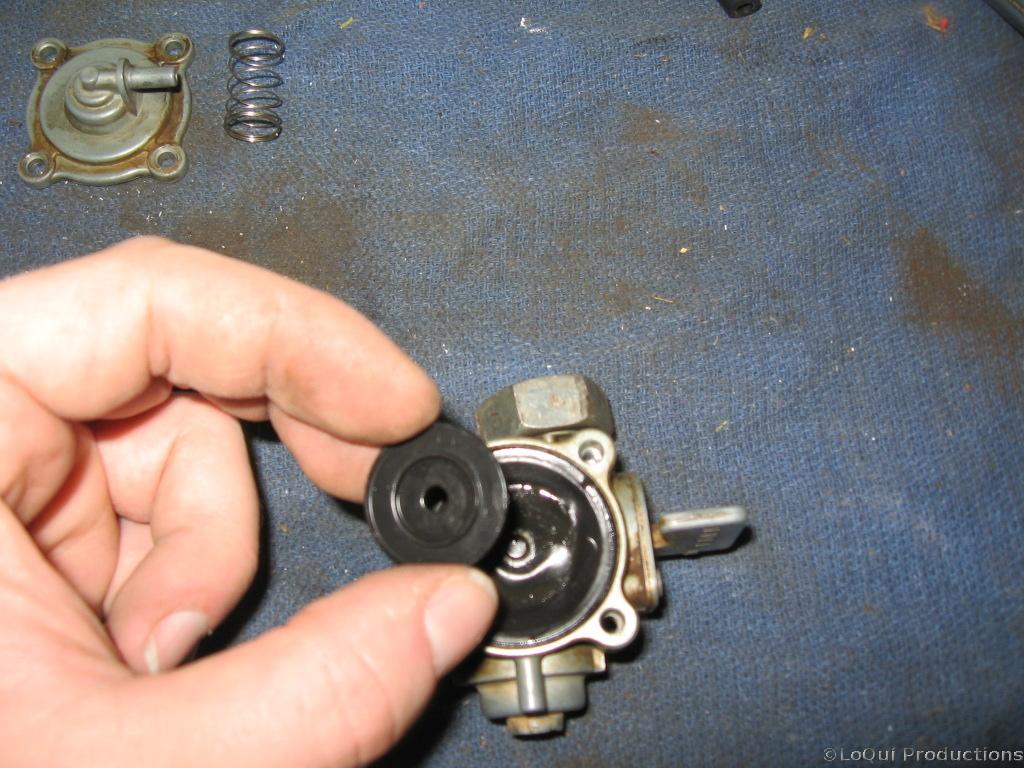
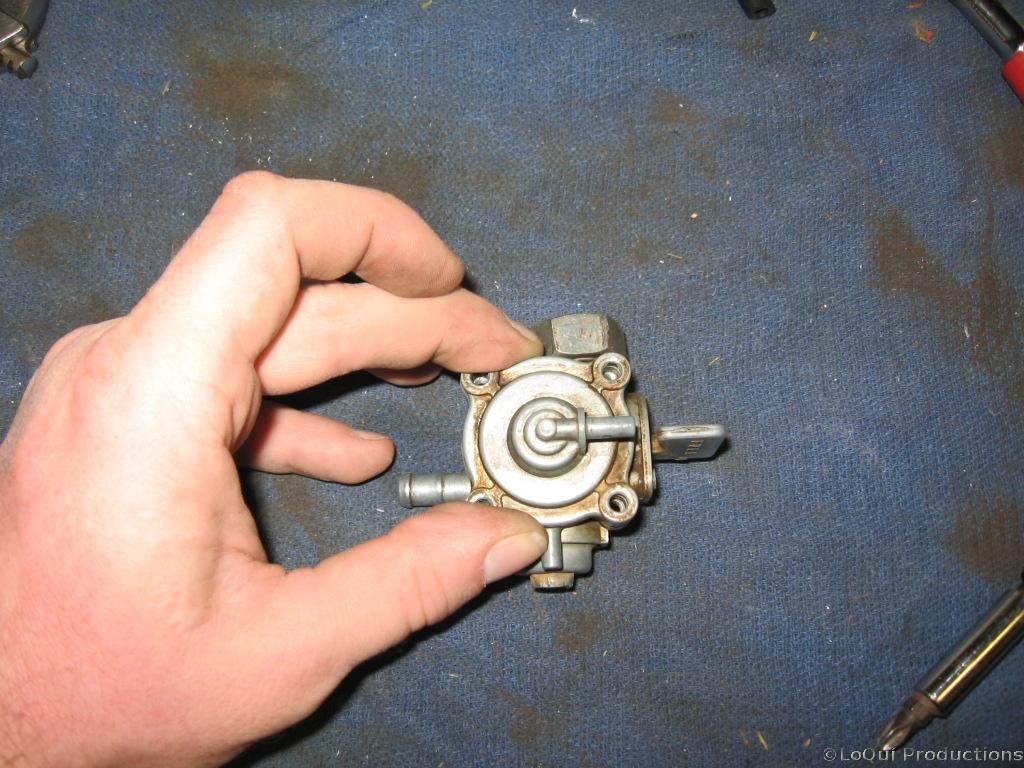
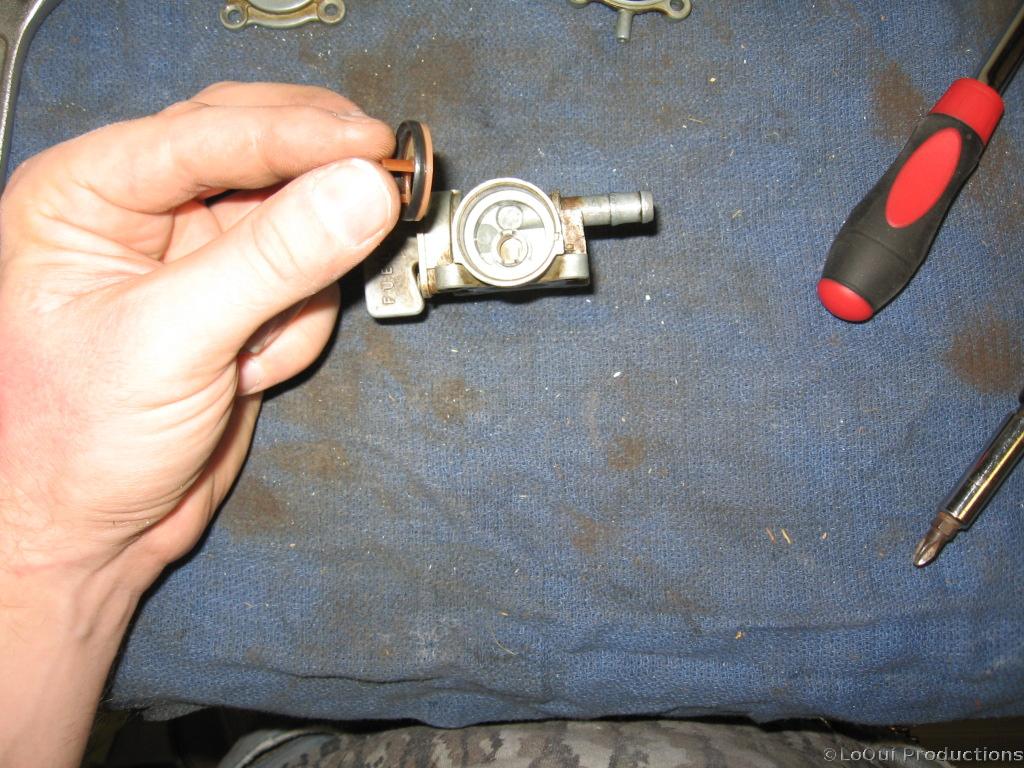
There’s a small plastic disk that keeps the spring centered and protects the rubber diaphragm. You should be able to remove the entire middle wafer, diaphragm and all. Check the rubber diaphragm for holes, if there are any you need a new one. Mine looks ok on this front.
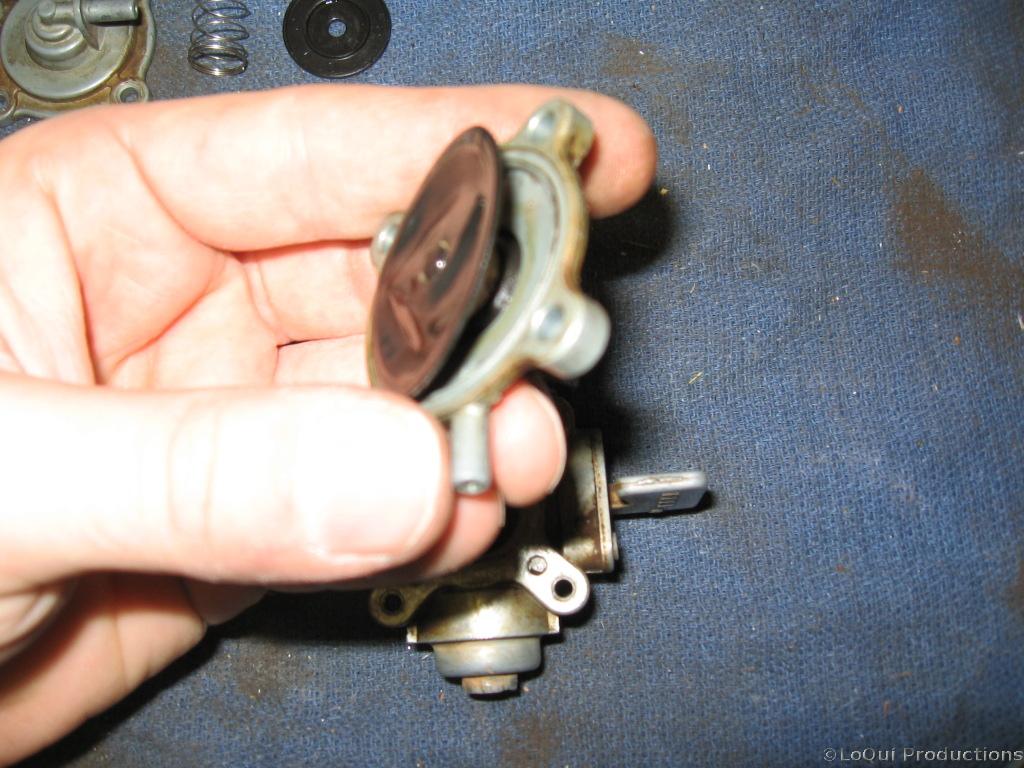

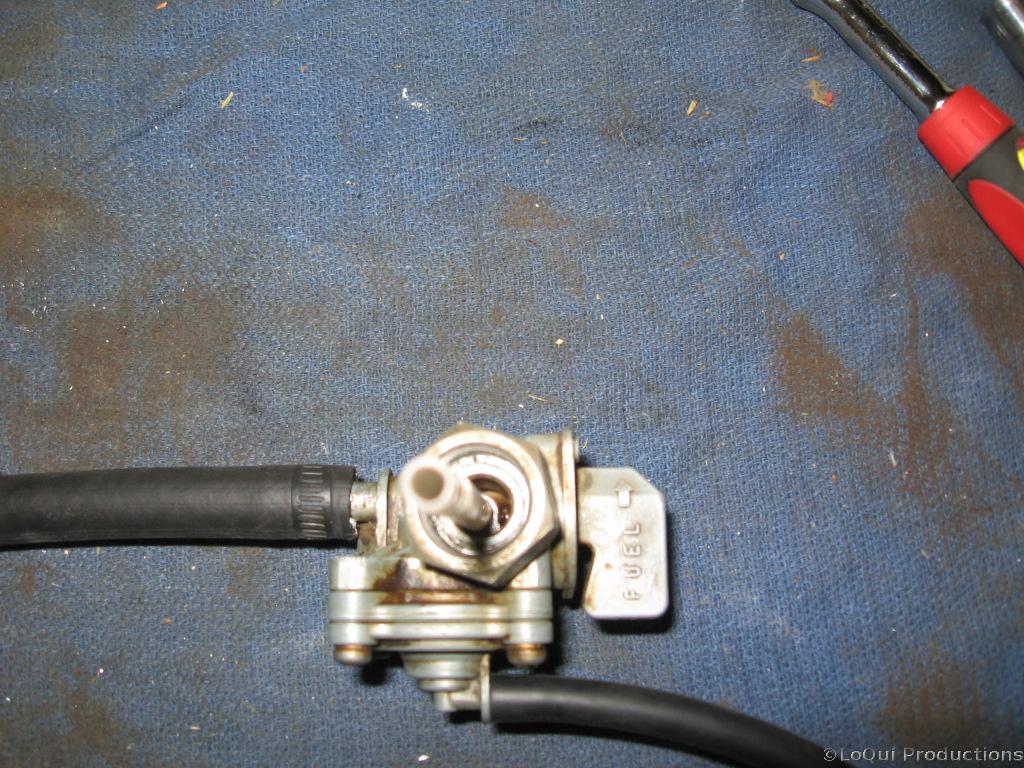
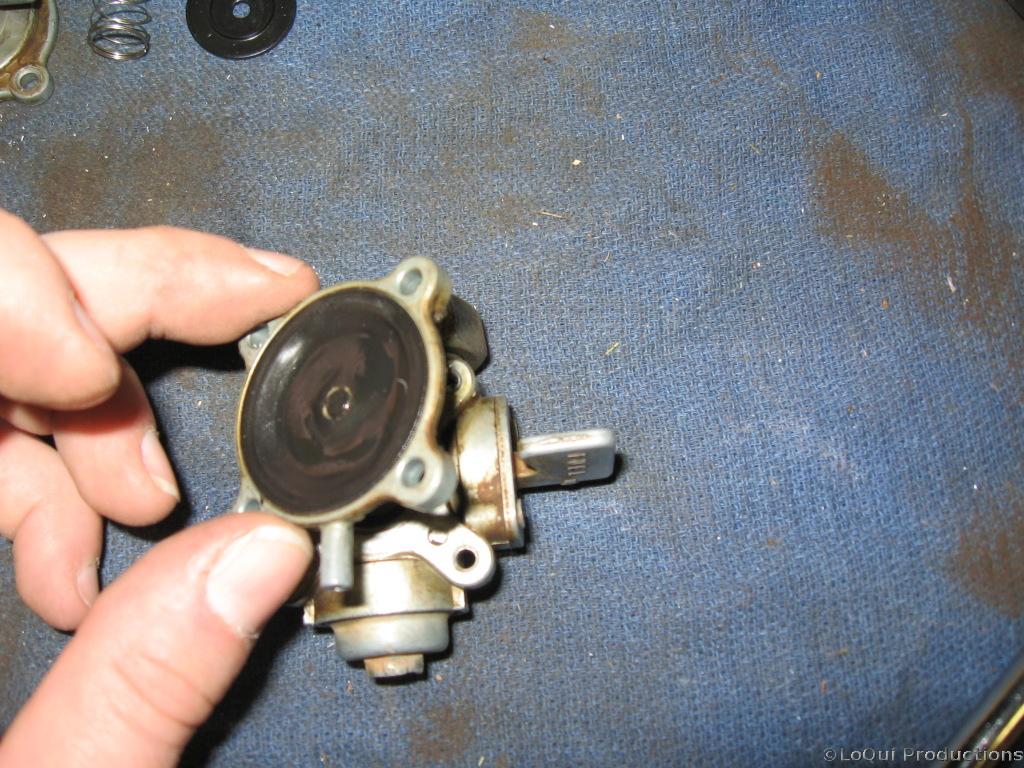
Push up the diaphragm from the other side and you can clean out any crud underneath it. Then flip the whole mess over. There’s a 10mm hex fitting on the bottom. This appears to be a bowl and strainer setup to further clean the fuel.
Unscrew the bowl and you can remove the strainer and a black compression gasket. Check that the strainer screen is intact and doesn’t have any gaping holes. Also check that the gasket is in good shape.
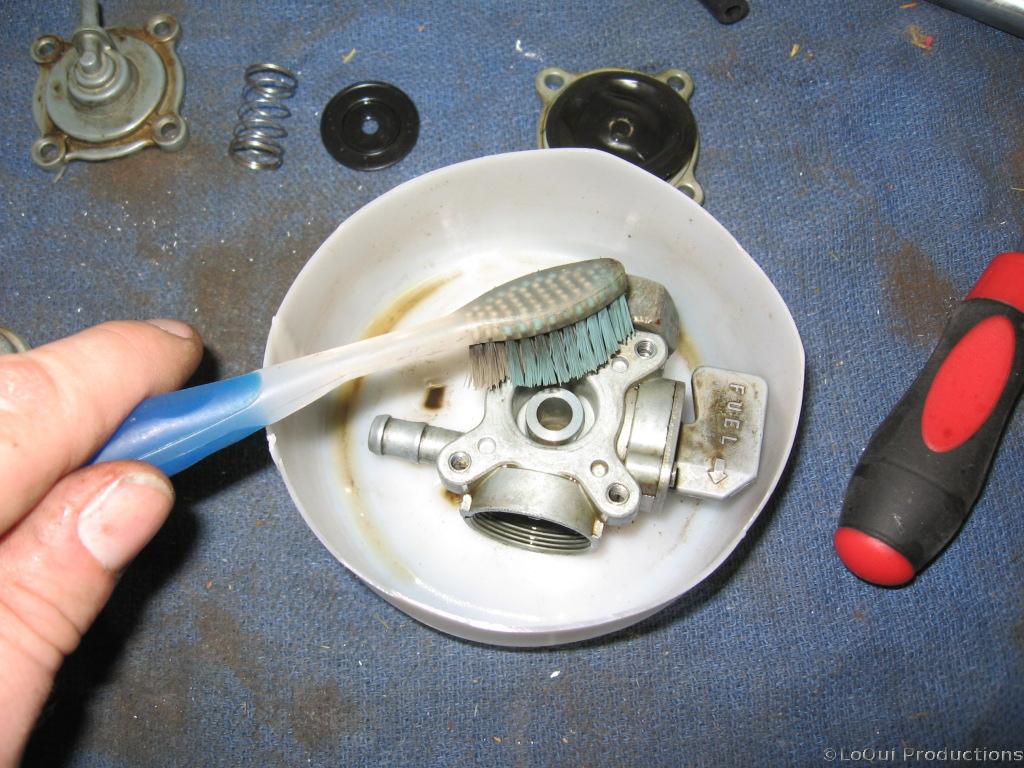 Now scrub it clean. I used carb cleaner but some clean gasoline would probably have cleaned it just as well. Be careful not to tear the rubber diaphragm. The main part you want to worry about is the mating surfaces where all the wafers come together. If there are any knicks or gouges gas will leak. Mine wasn’t that bad to begin with thankfully. An old toothbrush and some q-tips come in handy.
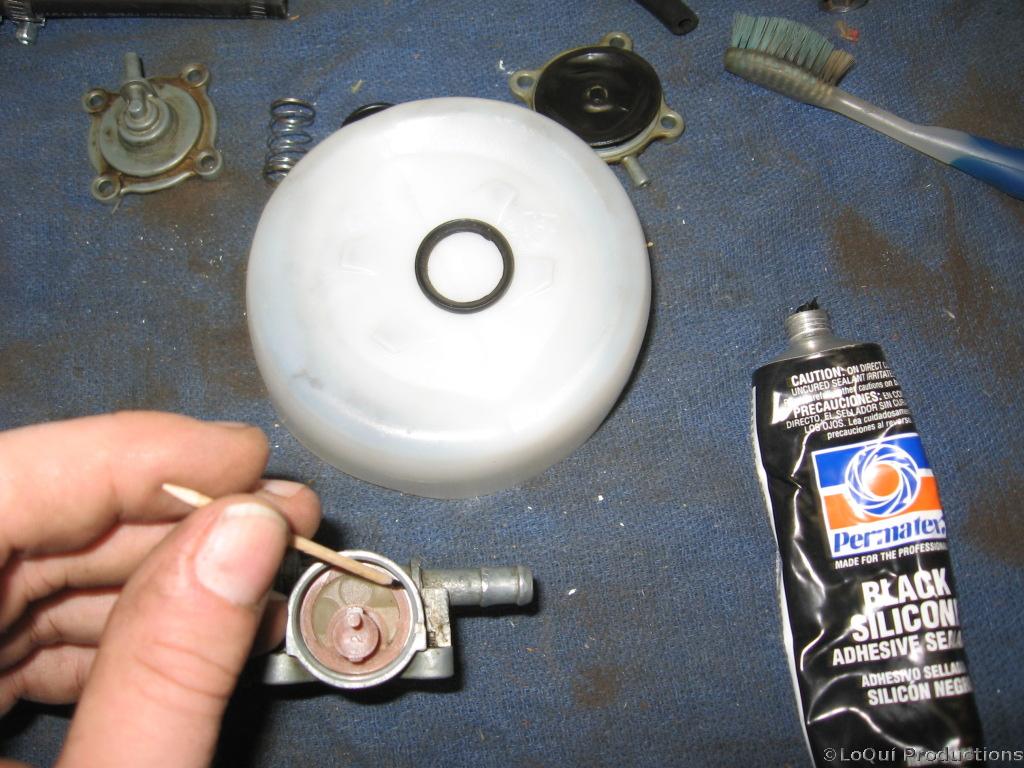
I used just the smallest amount of RTV gasket sealant around the strainer before putting the compression gasket back in. Just enough to spread a thin layer, you don’t want it fouling the strainer, and loose gobs of RTV floating around the fuel system probably won’t help things. Remember when it’s all reassembled a bead of goo will spread out, so smear it into a thin line before hand. I also got funny and put some teflon tape around the threads of the bowl. I don’t know how well teflon tape holds up in gasoline, but I figured it couldn’t hurt. I also smeared a thin thin layer of RTV around the diaphragm wafers along the mating surfaces. Again, don’t use too much, when it’s reassembled the excess RTV will spooge out the sides. You don’t want it gluing the diaphragm shut.
I reattached it to the tank, placed it over a bucket overnight with a paper towel directly underneath it. The towel was still dry in the morning, so it looks like I fixed the leak. I’ll continue to keep an eye on it of course. Also, This doesn’t seem to be an issue on mine, but the area around the ON/OFF/RES switch could possibly leak. This part is riveted on and doesn’t seem serviceable. If it does leak the following from Dennis Hammerl might come in handy…
FYI: in the old days before that was rendered not-serviceable, there
were two screws that could be removed and a biscuit that had holes in
it. The petcock handle slides across the holes opening and closing them
to get off/on/res. If you're real handy, drill the rivets out and buy a
part for an old bike (IE: CB350) it will fit.
Tap the holes and use screws, great cheap repair. The part is called "petcock packing set"