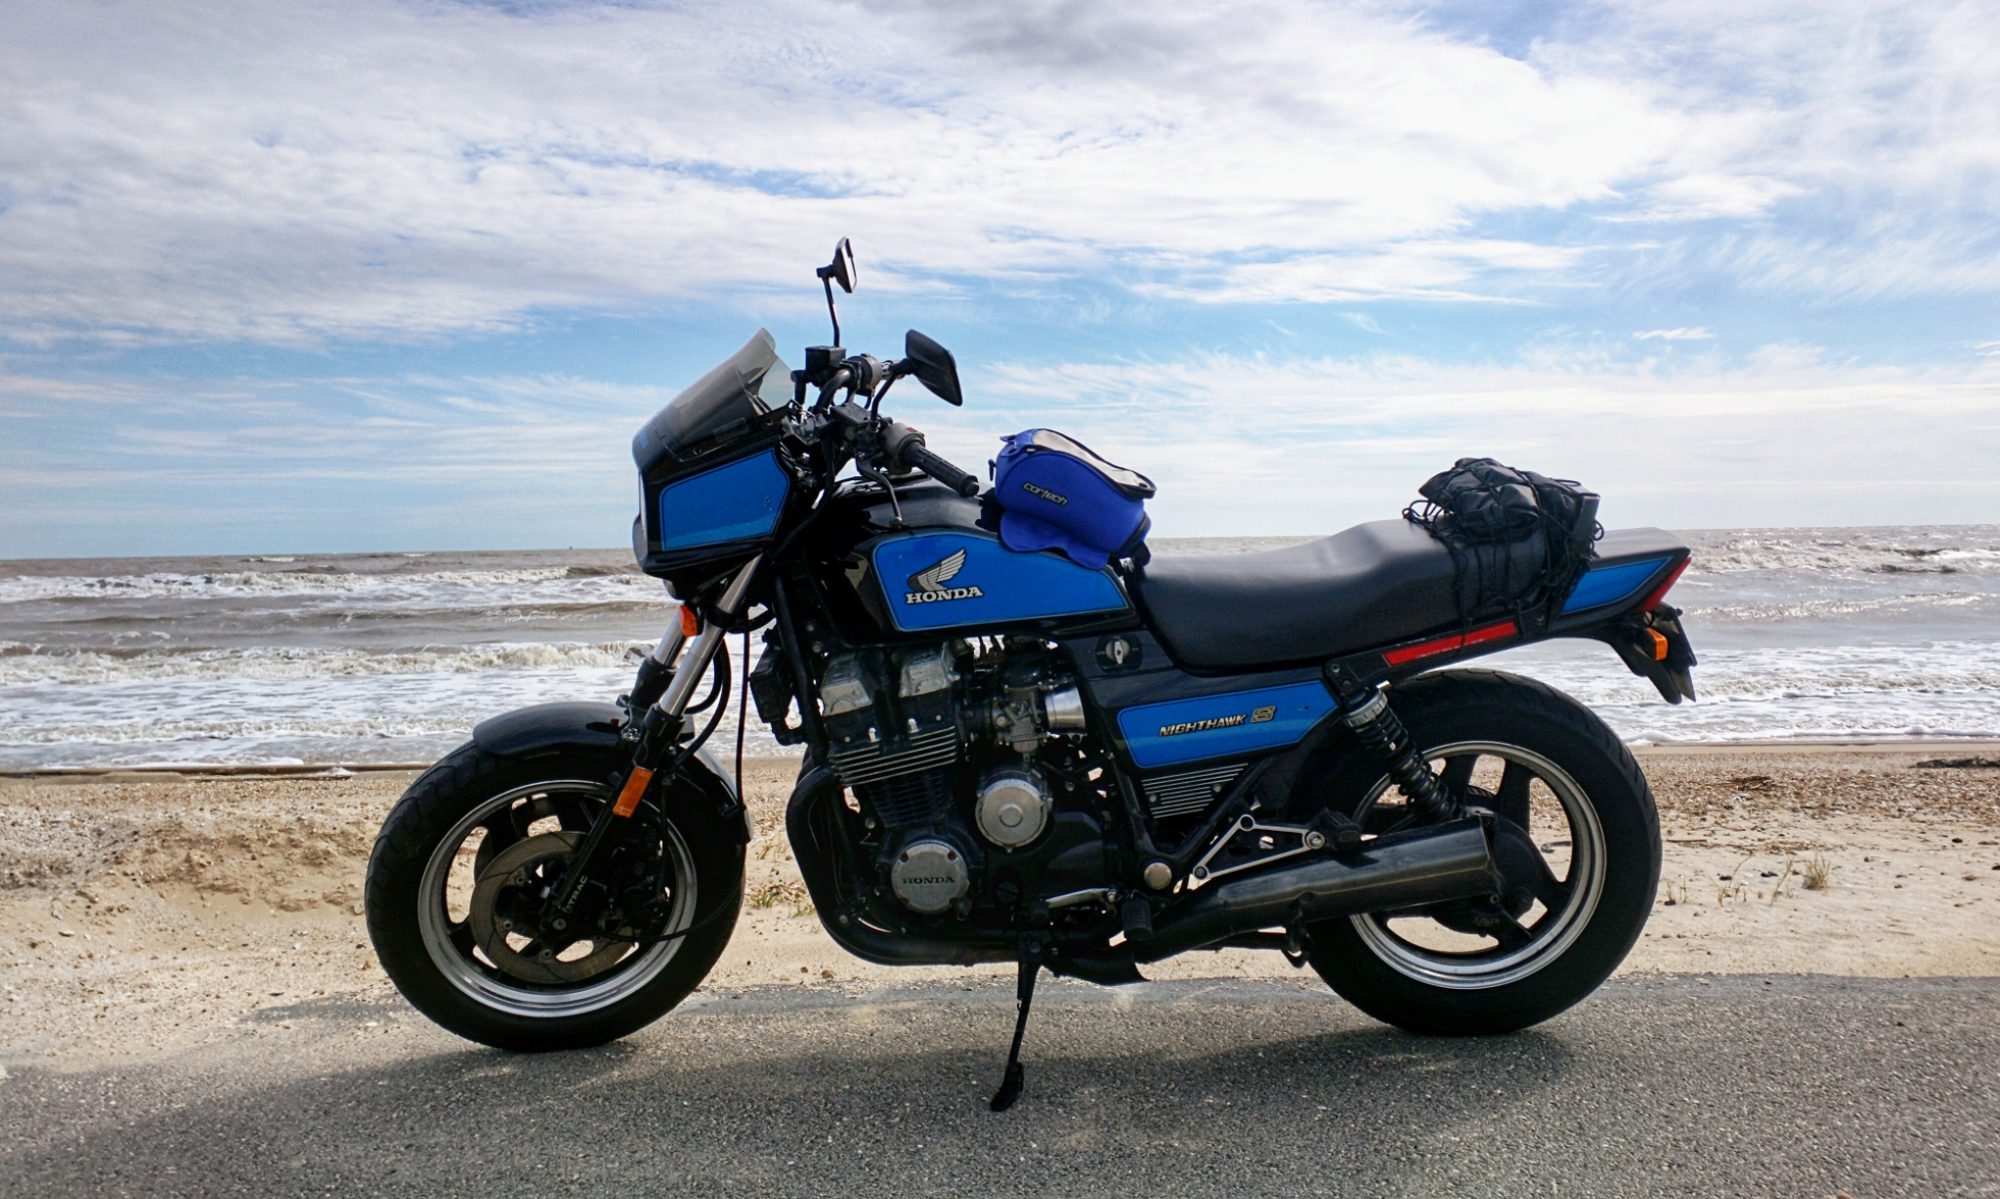
FIRST RIDE!!!!!!
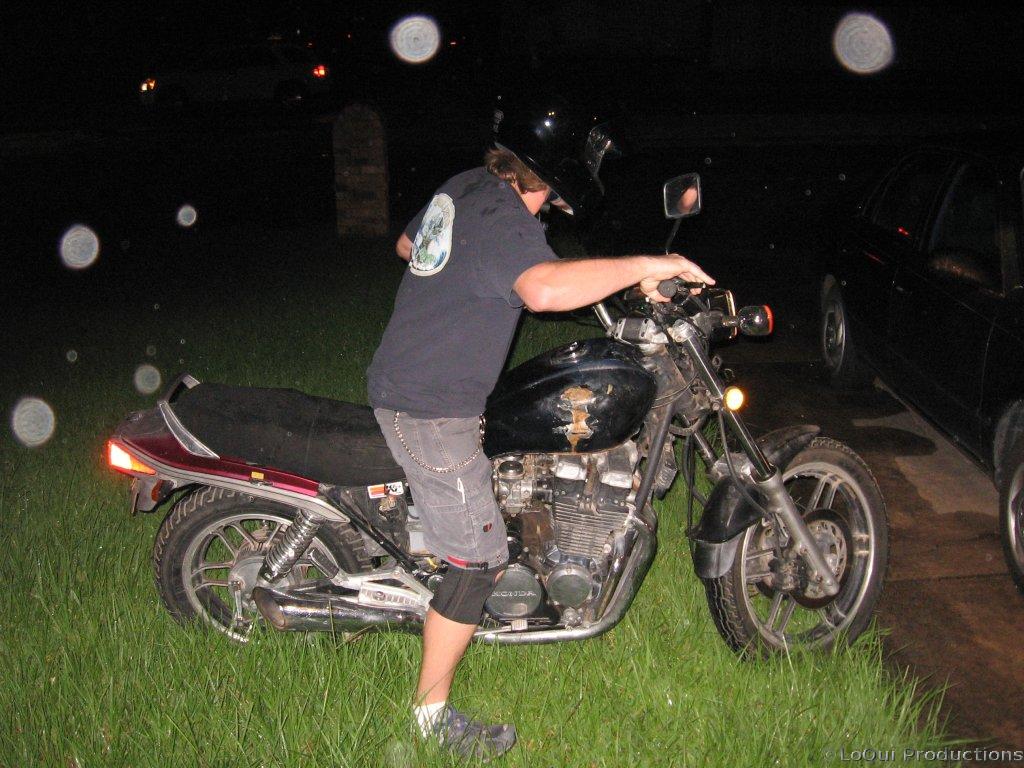
It only took 10 months but it finally rides!!!
First, props to Nick. That dude is a damn genius when it comes to all things mechanical. If it in any way uses some sort of incendiary reaction to create forward motion he can fix it. He’s like rainman around engines and in this case hydraulic systems. He came over last night in the middle of a storm (did you know there’s a tropical storm in the gulf? Edouard or something like that). Well Nick did some tricks, flipped over a little flap thing, gave the bleeder valve a blow job, and next thing you know I’ve gotta clutch!
So, I’m an inexperienced rider, it’s dark, it’s raining, wind is gusting around 30 mph, my tires are bad…do you think I waited until morning to ride this thing??? It rides nice, pulls real good around 4Krpm, so I was shifting around 3500 and didn’t go any higher than 50mph. Nick said he got it over 60mph but he’s crazy and he hasn’t seen these tires in the daylight.
:):):):):)
Clutch Cyls rebuild
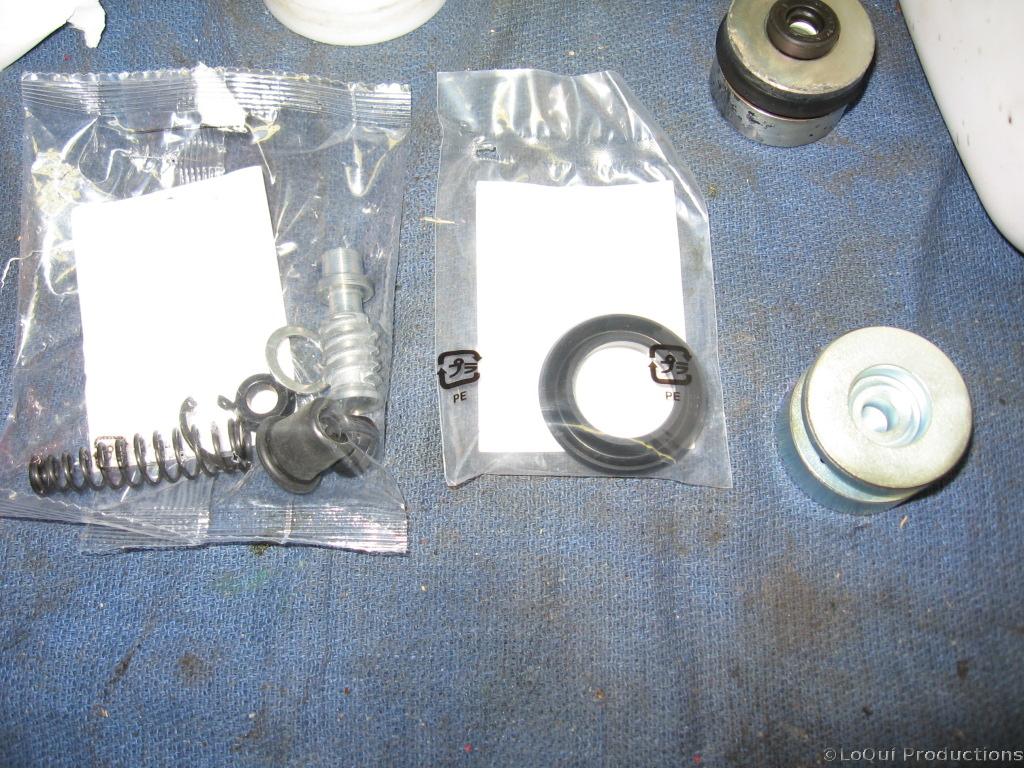
My new parts arrived the other day. Time to rebuild the clutch cylinders. First I filled a small cup with brake fluid and soaked the parts in it. This made the rubber pieces more pliable and easier to slide over the metal pieces. Especially when it came time to install the piston back in the slave cylinder, you have to press the cup in all the way around and make sure to keep it very straight as you insert it. The piston in the master cylinder was almost as much fun. It’s very spring loaded, and you have to press it down to install the washer and circlip. This would be a good time to ask a friend to lend a 3rd hand.
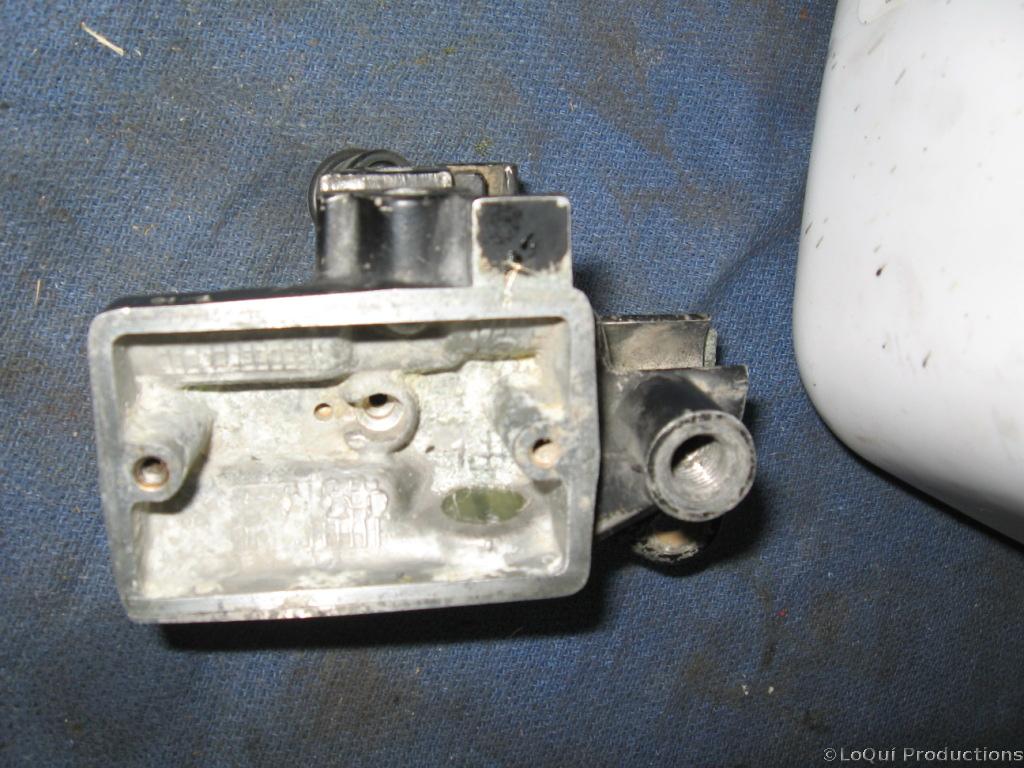
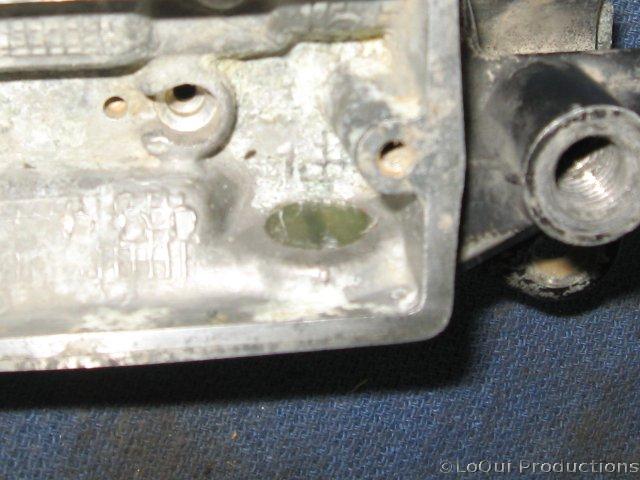
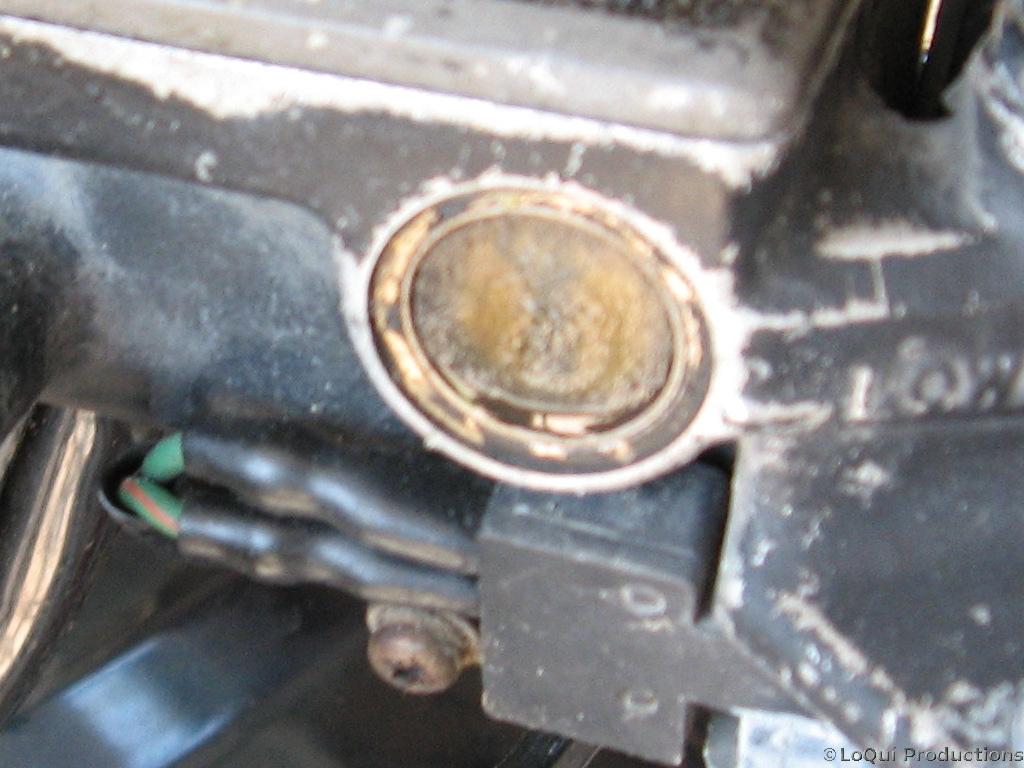
Well, my epoxy sight glass seems to have come out ok. If it doesn’t leak, or react to the hydraulic fluid it should be ok.
Clutch – Slave Cylinder
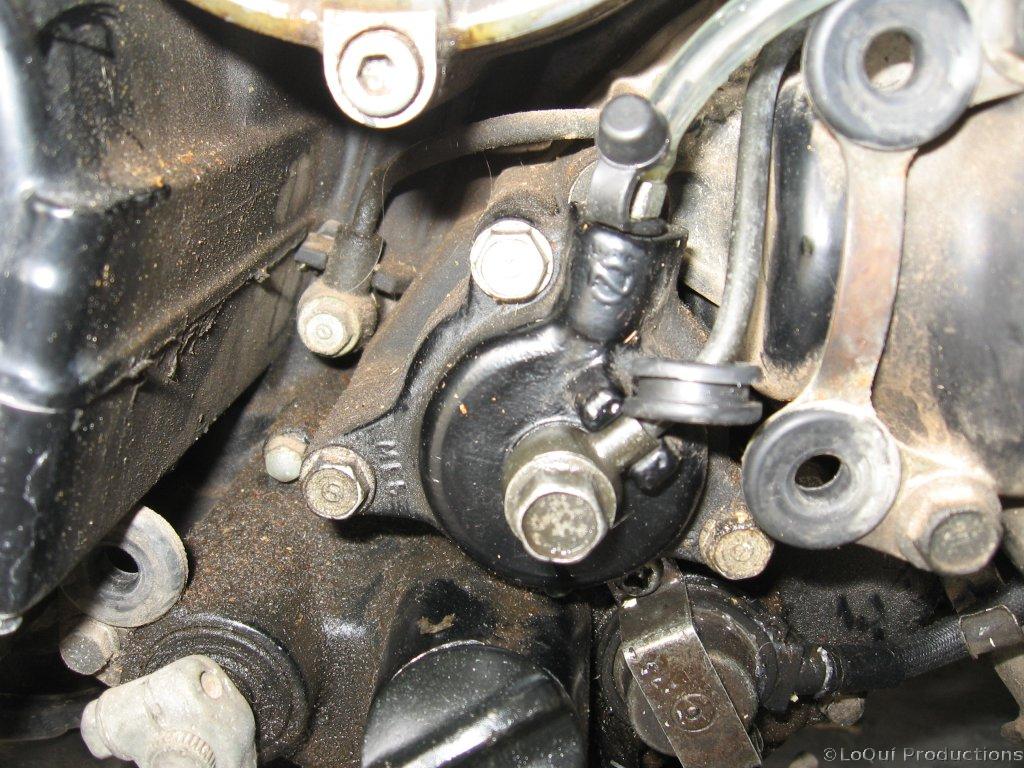
Time to remove the slave cylinder. Pop off the plastic guard over the lower left side of the transmission. No bolts or screws, just tabs in rubber grommets holding it on. Assuming the system is empty and the clutch line is already removed, there’s just 3 bolts holding it in place. The slave cyl will come off at that point followed by the spacer. Be careful not to drop the piston as you remove this. If it’s not damaged you can use it again. Mine looks pretty corroded, so I’ll be ordering a new one.
Clutch – Master Cylinder
Well, the clutch has never worked. That was one of the “disclosed” problems with this bike when I bought it. The other problems were all just extra surprises that I didn’t have to pay any extra for! I’ve been messing with this clutch off and on, and now it’s the only thing left between me and the open road, so now I have to tackle it.
Fuseblock
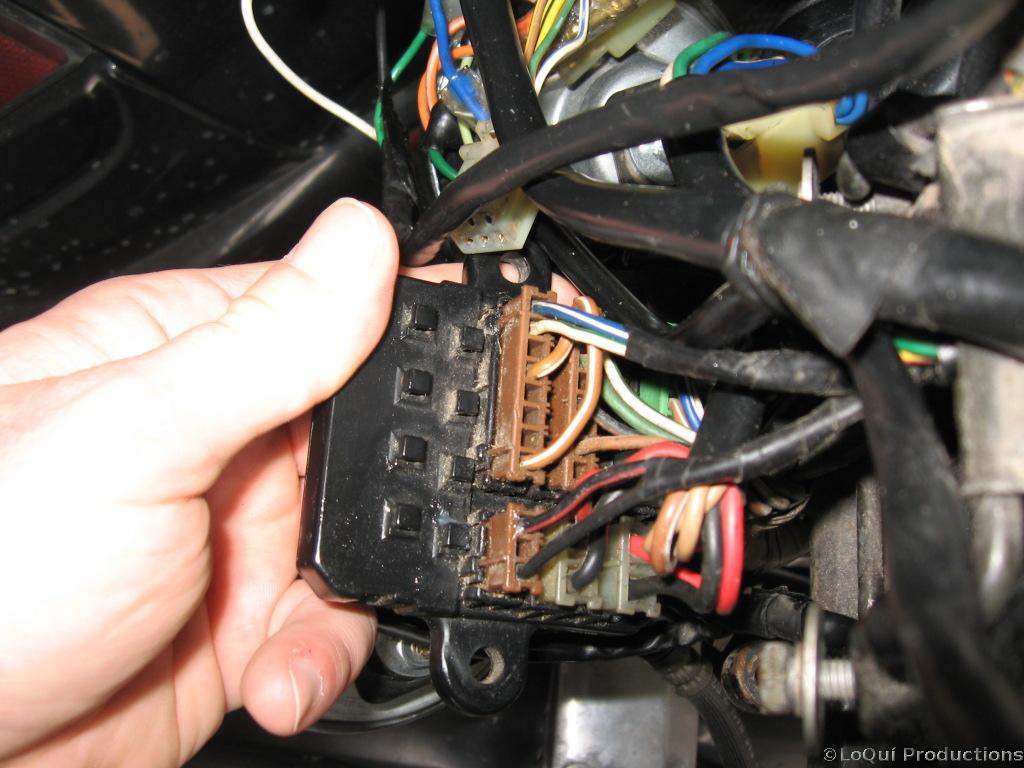
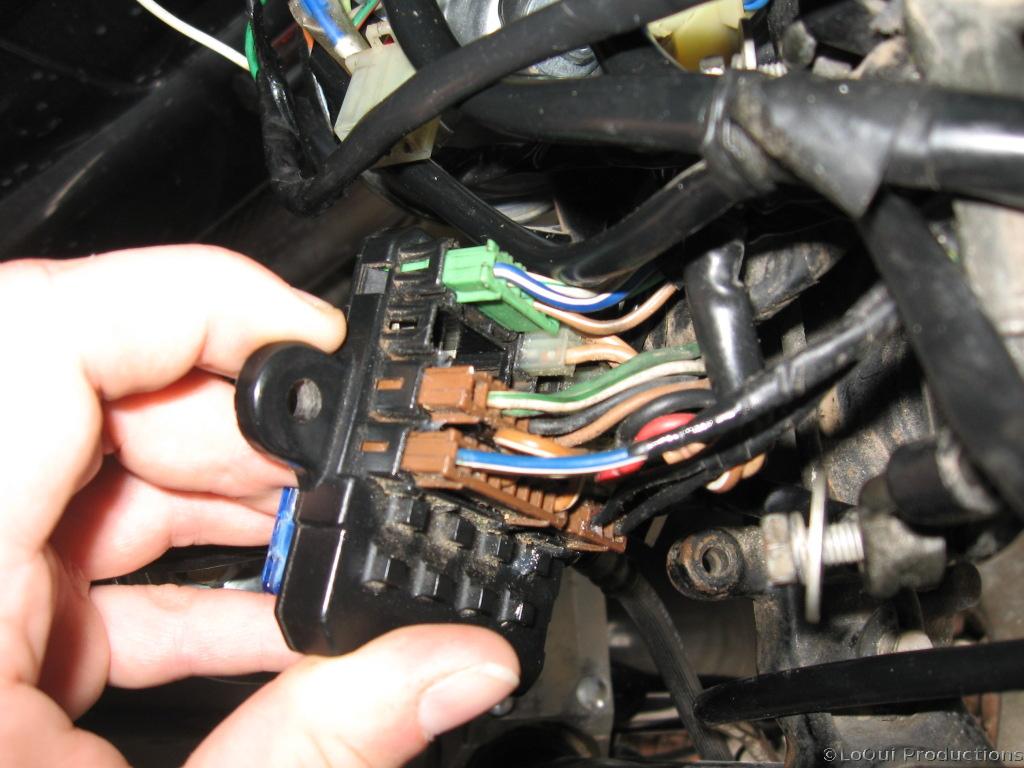
Ok, sometimes I turn on the key, and nothing happens. I’ve tried wiggling the key, and that doesn’t appear to be it, which is good because I just bought this ignition switch. I’ve narrowed the problem down to the top left corner of the fuseblock. This is where the main red/black hot wires go in and out of the fuseblock. If I just barely touch/wiggle/press in the red/black plugs all will work again. This could be kinda annoying if they wiggle loose while motoring down the highway at night so I pulled the fuseblock apart…
FuelCock
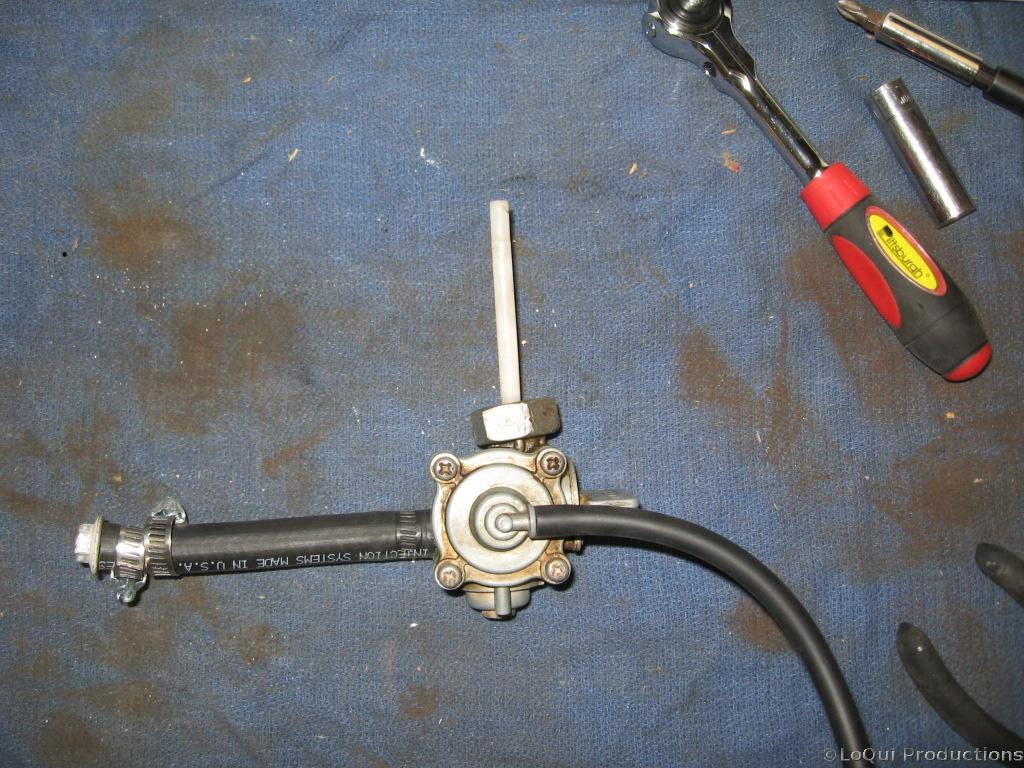
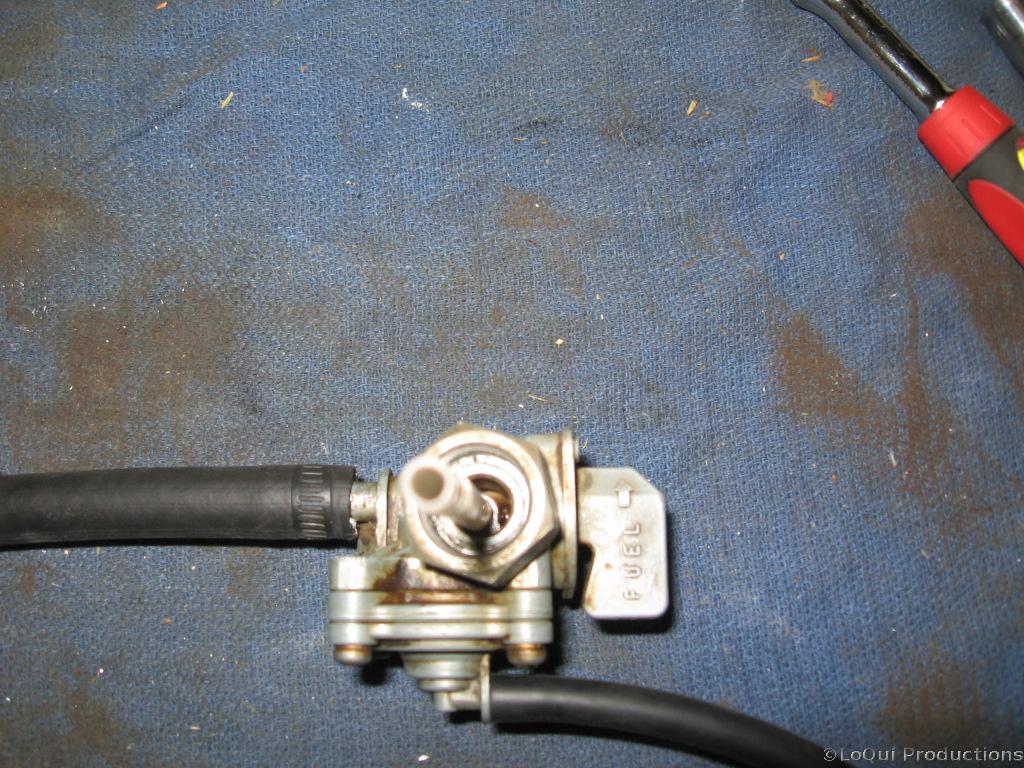
Here’s the infamous “reserve tank”. This straw sticks a couple inches up into the tank to sip fuel, when the level falls below the top of this straw the bike “runs out of gas”. When you switch it to reserve it bypasses the straw and starts slurping the sludge off the bottom of the tank. There is a strainer around this, but the original one on my bike was busted and wasn’t straining anything.
LCD Module
Asphyxiation Modulation
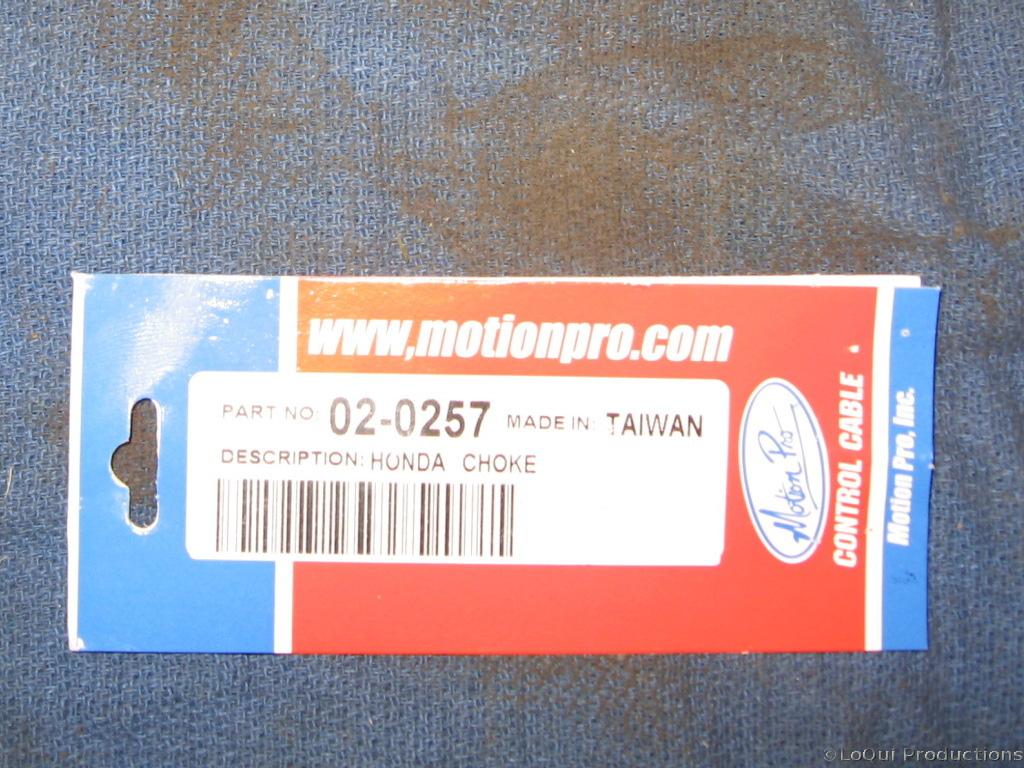
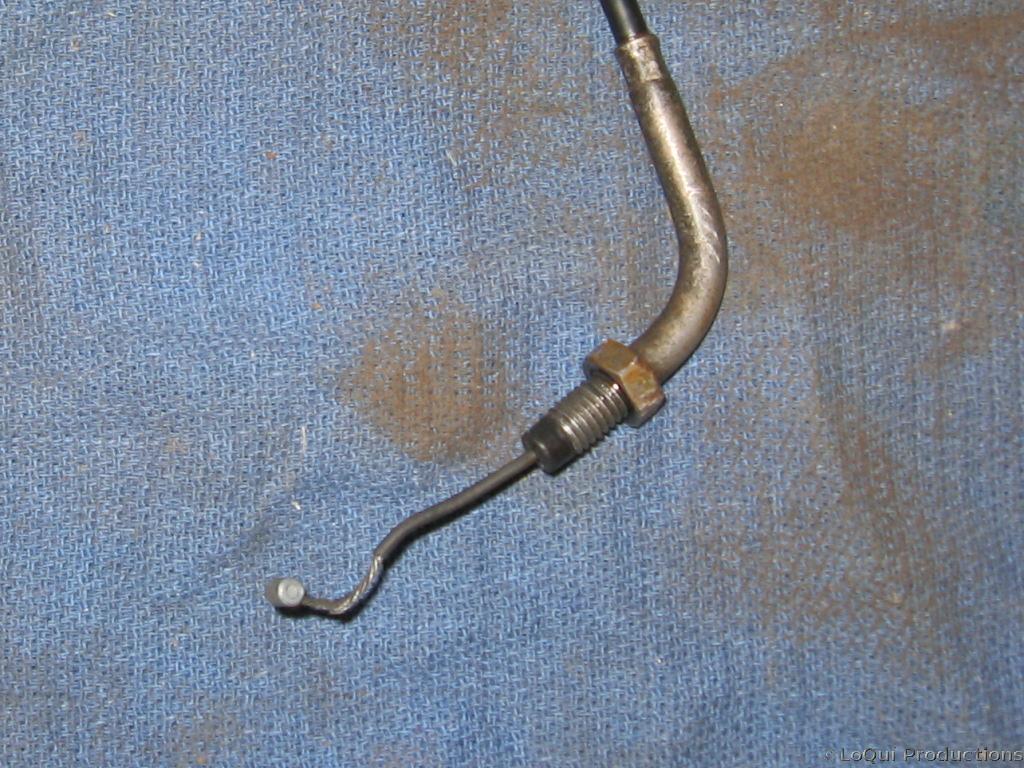
I finally replaced the choke cable. What? The LCD module for the gear indicator and fuel gauge? Don’t worry, I haven’t forgotten about that. I ordered a new speedo cluster off of eBay and as soon as it arrives we’ll put that back in. But while I was out Friday morning looking for a new LCD module locally at the salvage yards I also asked about a new choke cable since my old one didn’t move very well. They checked the wall of choke cables and didn’t have the one for my bike, but I noticed all the packages had the same website on them, http://www.motionpro.com/, so when I got home I checked their website. Found the cable for my bike for $14.99 + $6 s/h and placed the order. I got an email by 2pm saying it was shipped, and it was in my mailbox by Monday. That’s what I call prompt and responsive service! I ordered a damn OEM Service Manual off of Amazon.com over a week ago, paid twice the S/H as the cable, and that STILL hasn’t even shipped yet!!
Gear Indicator: Part duh
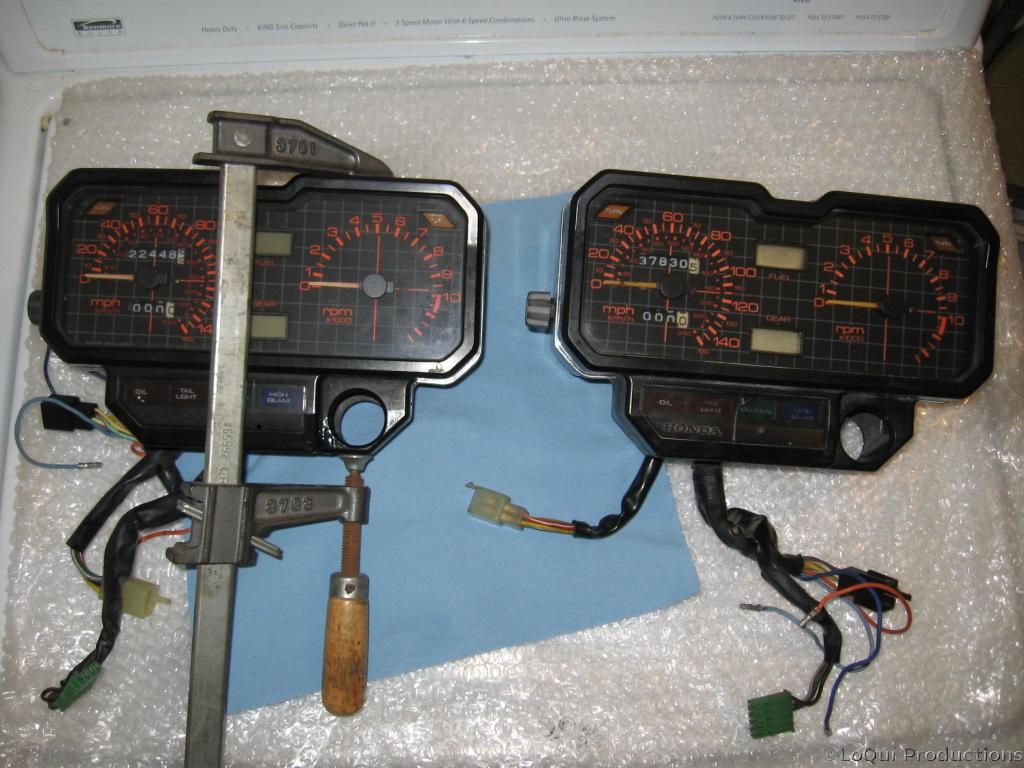
Well, I bit the bullet and pulled the instrument panel apart. Dunno what I’ve accomplished, but I thought I’d post some pics so I’ll remember how to put it back together.
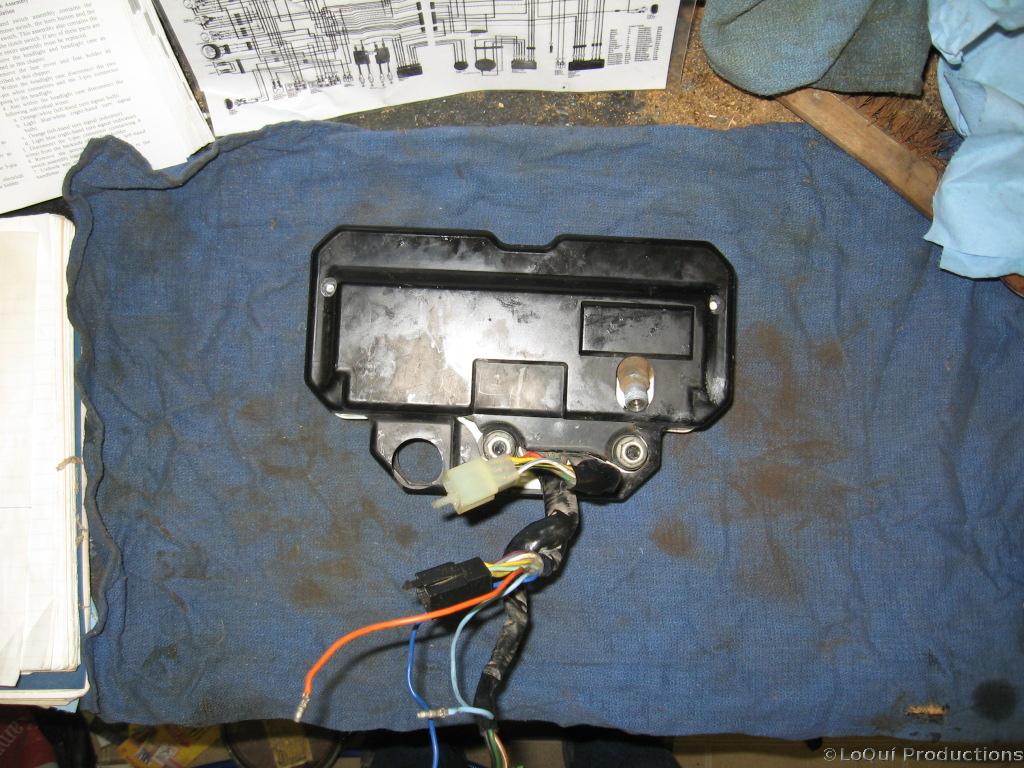 Ok, the instrument panel is off the bike, it’s just held on by 2 nuts on the bottom. There’s also a handful of wires to unplug here. The 3 for the blinker indicators, and one going to the back of the fuseblock, and another connector that runs back to the gear change switch. Here’s the instrument panel laying face down, I’m about to remove the back cover. Its just 2 screws on the back, and the turn handle for resetting the trip odometer on the side. You may be able to slide it off without removing this bit, if not there’s a really tiny screw inside holding it in place, don’t lose that.
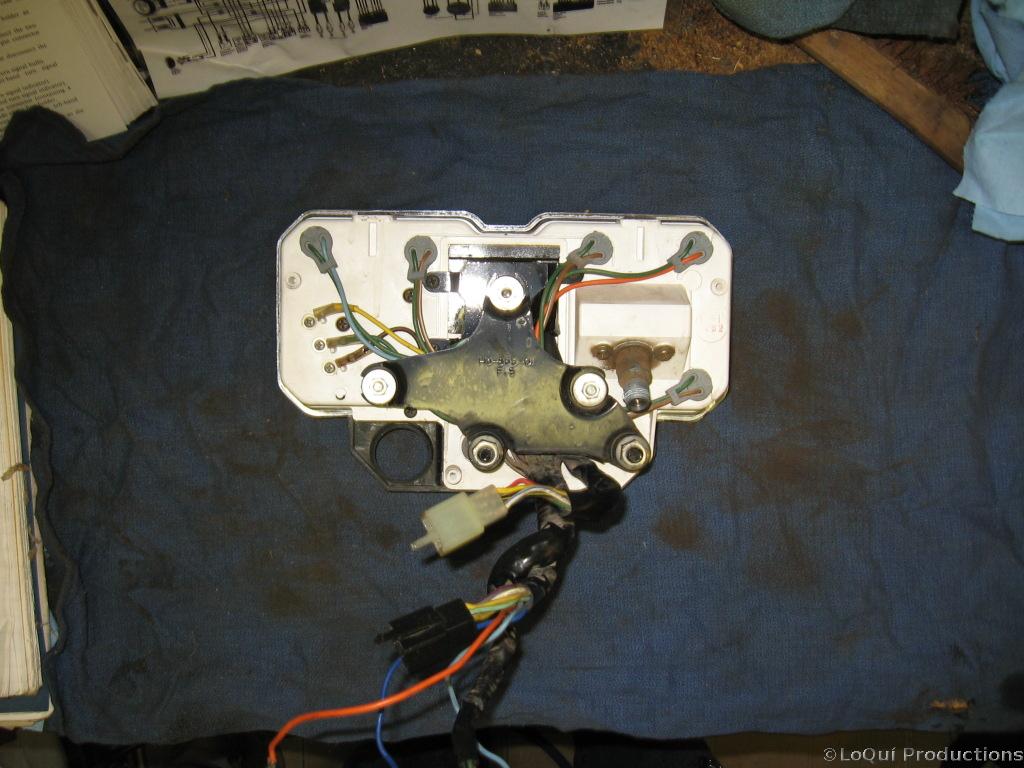
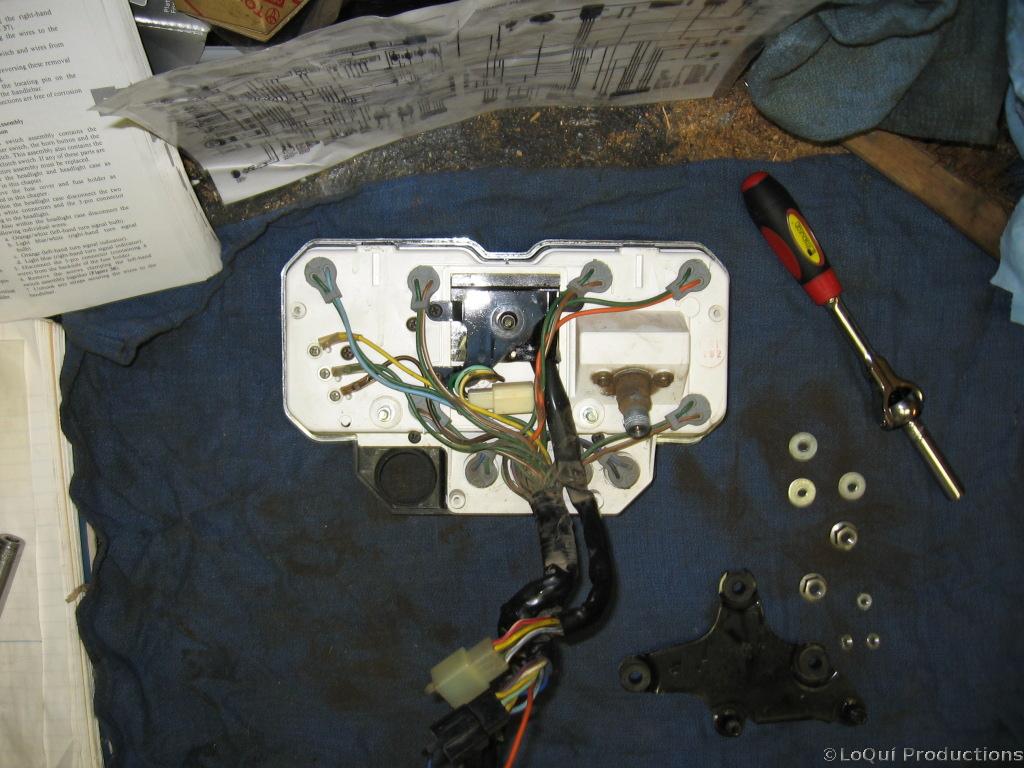 Ok, the cover is off, now to remove that big black metal bracket, its just three tiny nuts holding that on. Underneath that is a smaller black metal bracket held on by three screws. Underneath all that is a black rubber piece that I just pulled out.
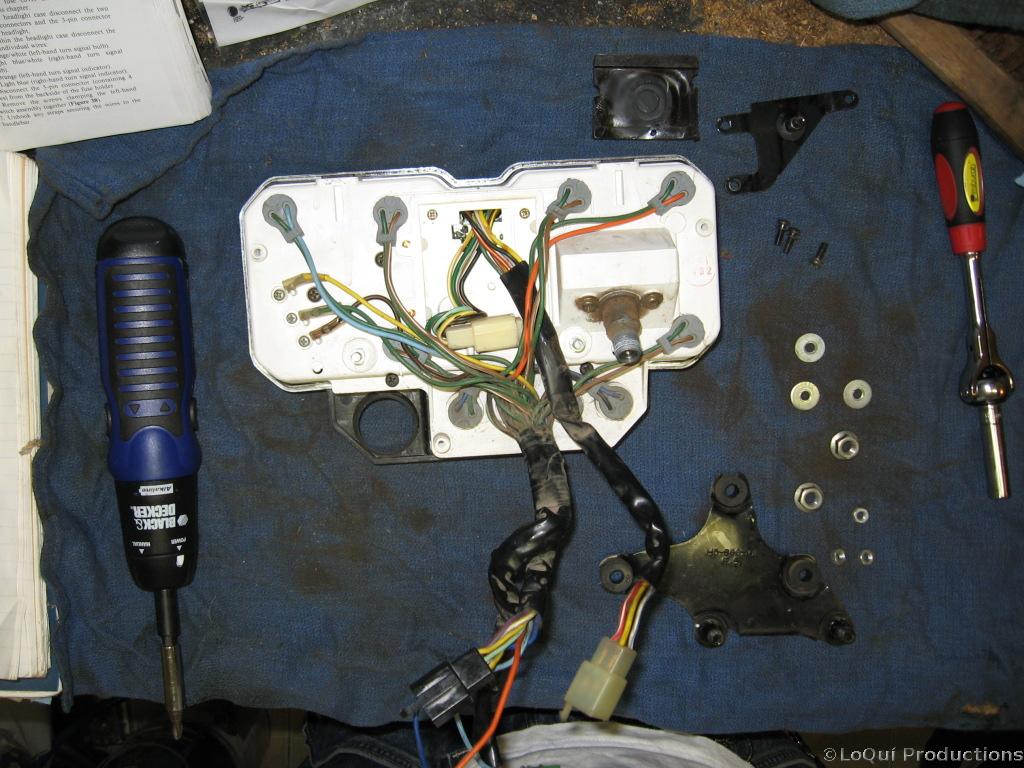
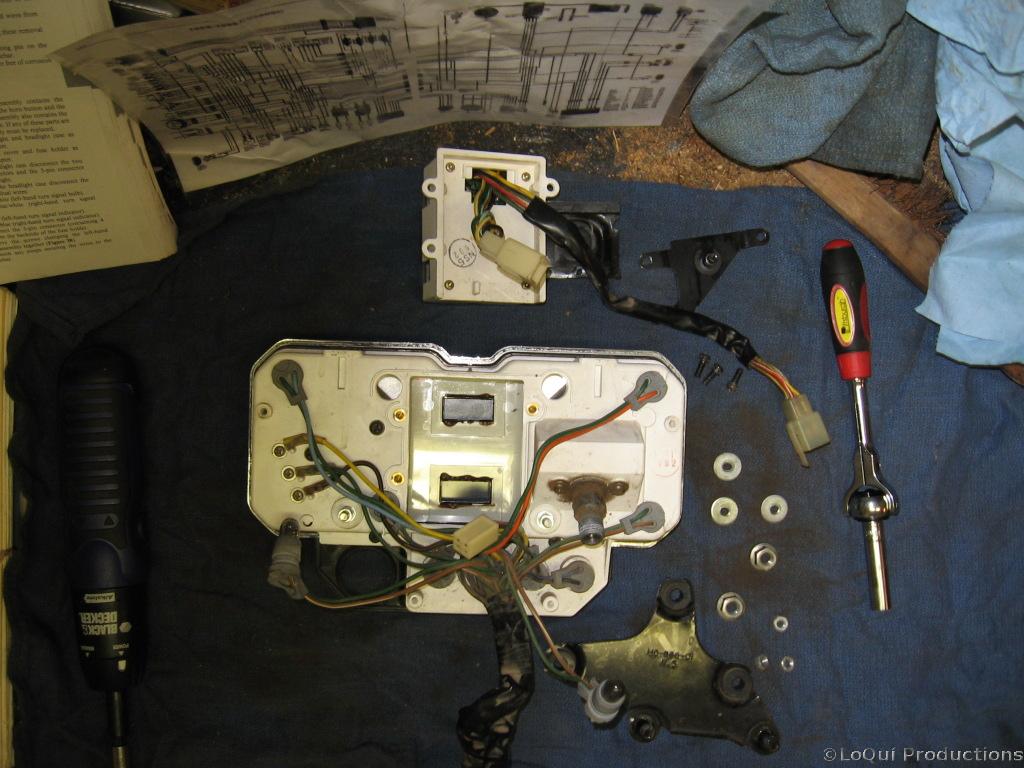 Ok, at this point the LCD module will just slide up and out. I had to remove the 2 center bulbs from the top of the panel because their wires were blocking the LCD module. These are just held in by friction. Grab the grey rubber housing and gently pull it straight up. Once the bulbs and wires are out of the way, the LCD module will come straight up and out as well, make sure the small wiring connector has been disconnected.
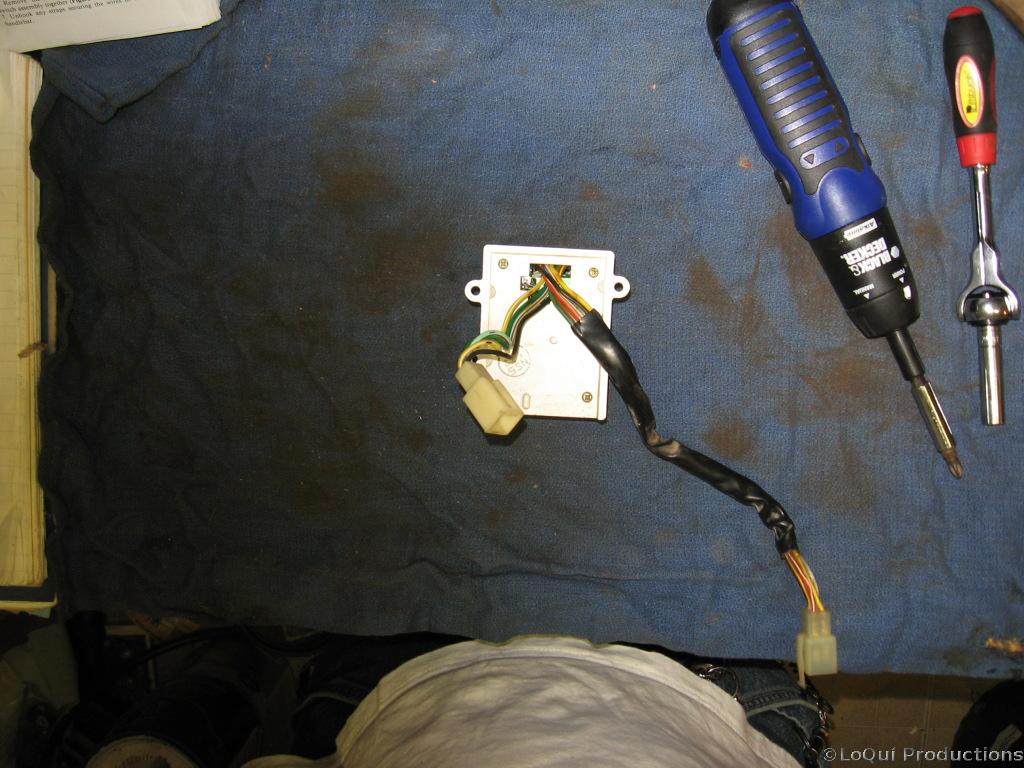
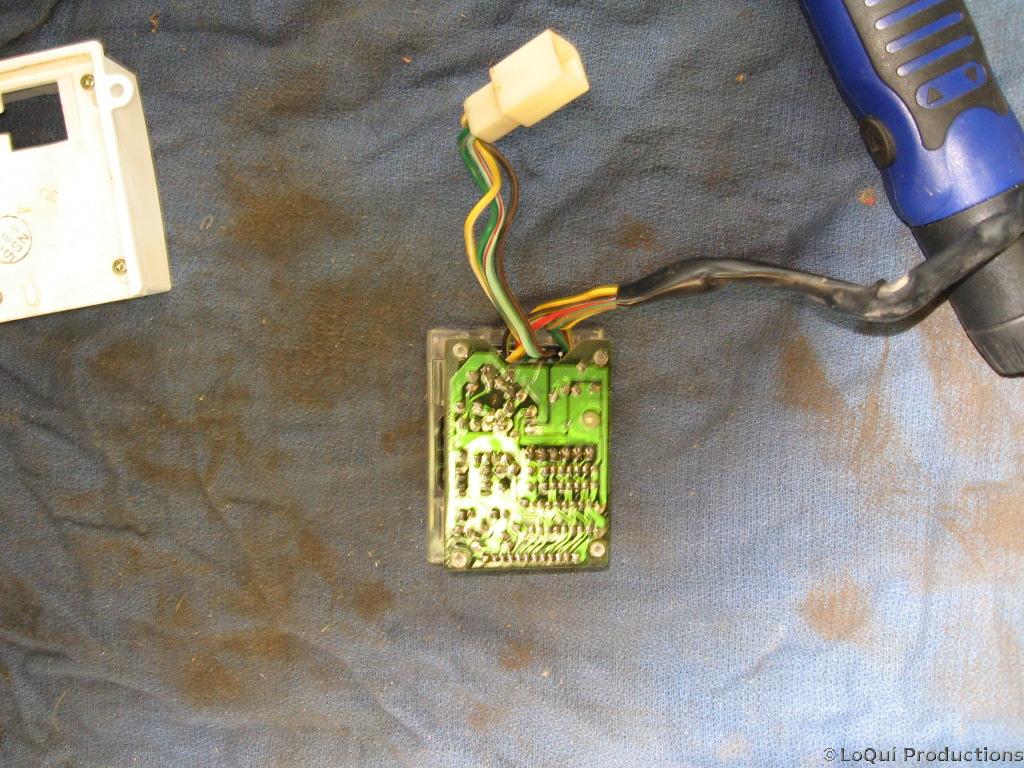 Ok, the module is out, now we gotta open it up. It’s got 4 screws, just remove those and it comes off. Now we have 2 PCBs sandwiched together with all the interesting bits in between. Removing the top PCB is a bit tricky. Look closely, 2 of the stems are split and have a catch. Gently squeeze these together and the PCB should come off. The clear ribbon connector btwn the two PCBs is just barely long enough to allow enough for them to come apart, don’t put too much tension on this as you don’t want to bust any of the solder points.
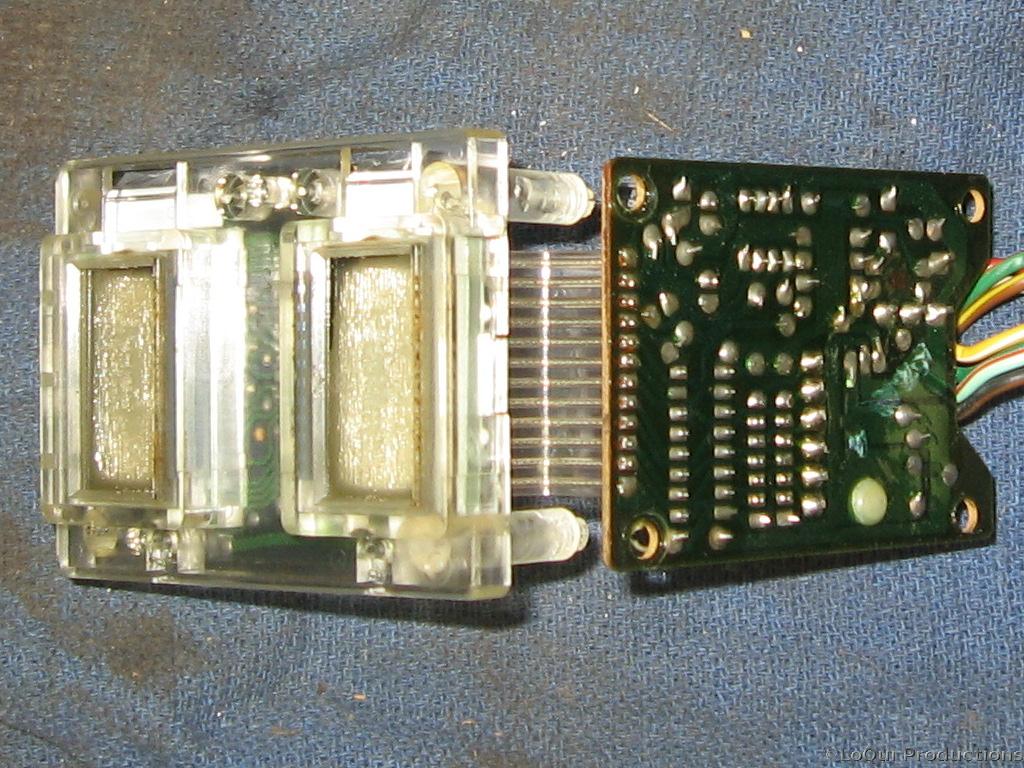
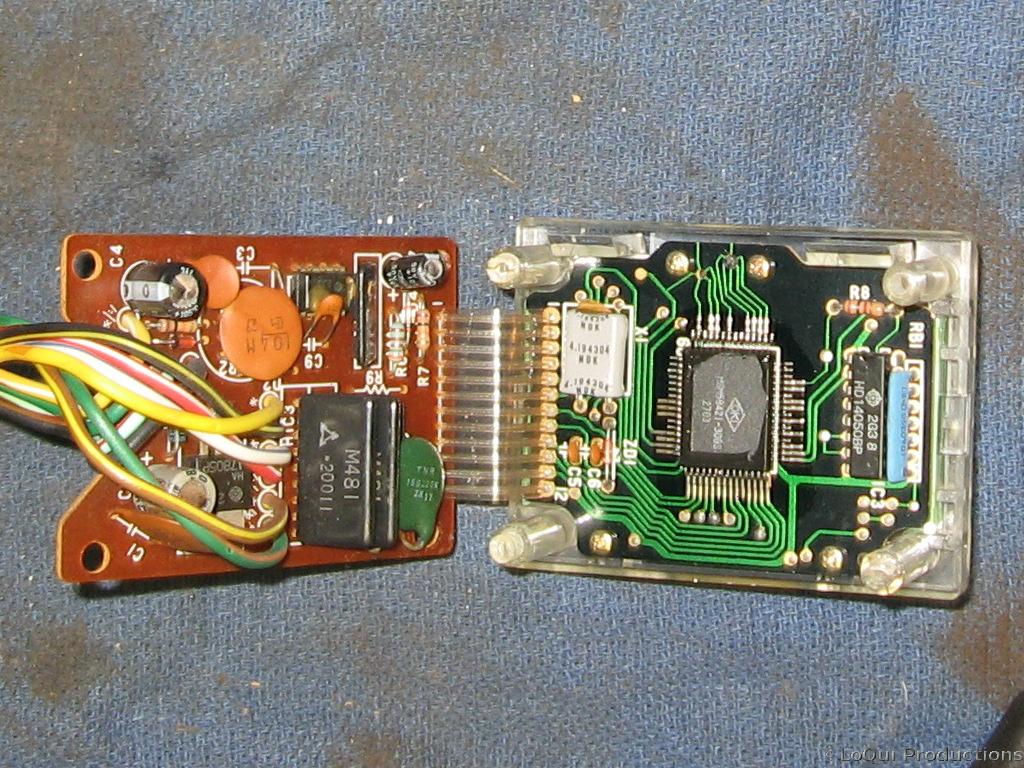 Ok, the module is out, and apart, and it’s all exposed. So wtf is wrong with it? There’s no obvious malfunction. No broken solder points or traces or exploded capacitors or voltage regulators. No burnt resistors or wires or chips. The Clymer manual is less than detailed on this part.
I’ve got this crazy idea of running 12v in through the brown/black wire, grounding the dark green wire, then grounding one of the 6 wires that normally lead to the gear selector switch and seeing if I get any life at all. I’ll post the results of that smoke test next.
*UPDATE*
The results on the smoke test were negative. No life, no smoke. I plugged it up just like I said I would, then I put my multimeter inline from the ground and one of the 6 wires that goes back to the Gear Selector Switch. I got the same 5v I got on those while this whole thing was on the bike. The good news there is that that means the wiring on the bike is not the issue.
So, its off to  .
.
